> ## Documentation Index
> Fetch the complete documentation index at: https://docs.wpos.ai/llms.txt
> Use this file to discover all available pages before exploring further.

# Onboarding

> Watch the full WPOS onboarding walkthrough, and see what happens when you create your account: workspace setup, a few questions, and the dashboard tour.

export const YouTubeVideo = ({id, title, caption}) => {
  const [playing, setPlaying] = useState(false);
  return <div className="demo-embed">
      {playing ? <iframe src={`https://www.youtube-nocookie.com/embed/${id}?autoplay=1&rel=0&playsinline=1`} title={title} allow="accelerometer; autoplay; clipboard-write; encrypted-media; gyroscope; picture-in-picture; web-share" referrerPolicy="strict-origin-when-cross-origin" allowFullScreen /> : <button type="button" className="yt-facade" onClick={() => setPlaying(true)} aria-label={`Play video: ${title}`} title={title}>
          <span className="yt-facade-thumb" style={{
    backgroundImage: `url(https://i.ytimg.com/vi/${id}/maxresdefault.jpg)`
  }} aria-hidden="true" />
          <span className="yt-facade-play" aria-hidden="true">
            <svg width="26" height="26" viewBox="0 0 24 24" fill="currentColor">
              <path d="M8 5.14v13.72a1 1 0 0 0 1.52.85l10.97-6.86a1 1 0 0 0 0-1.7L9.52 4.29A1 1 0 0 0 8 5.14z" />
            </svg>
          </span>
        </button>}
      {caption ? <p className="demo-caption">{caption}</p> : null}
    </div>;
};

New to WPOS? Start with the onboarding walkthrough: a full tour of the
platform, from creating your account to a finished site.

<YouTubeVideo id="TCNLJAm4ftM" title="WPOS Onboarding Walkthrough" caption="The full platform tour: one pricing page in, a finished site out" />

## Create your account

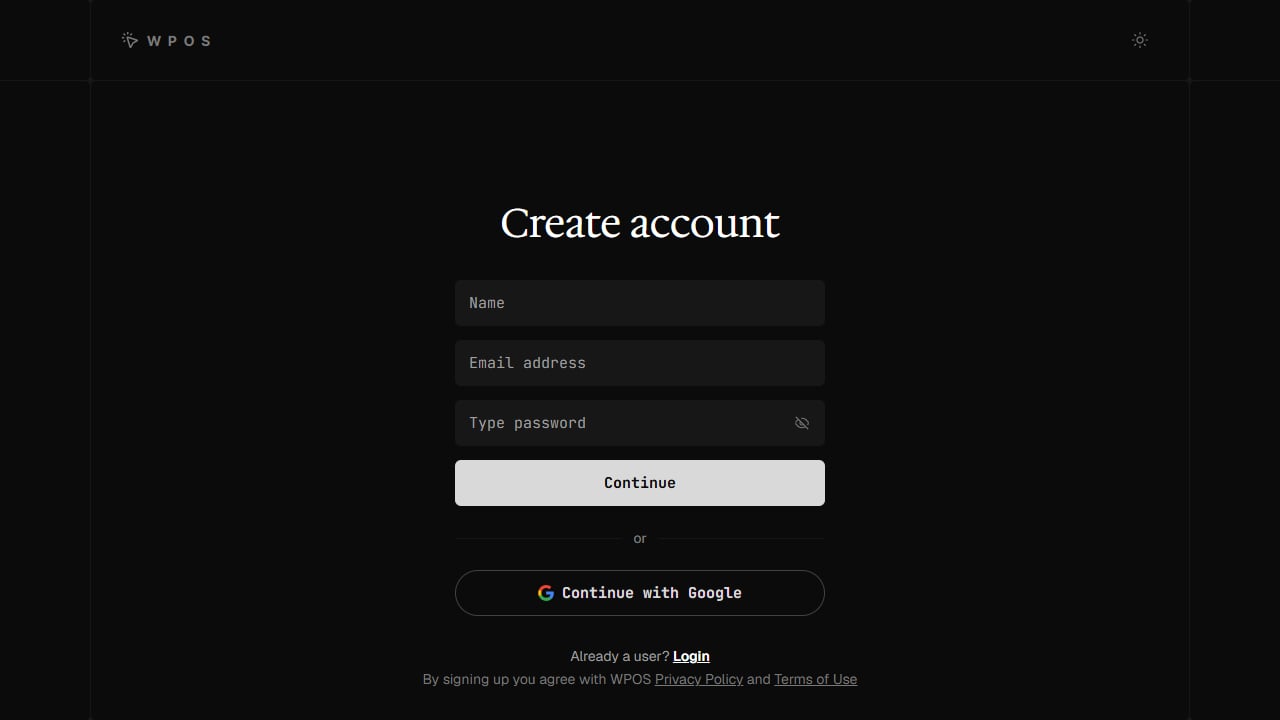
<Frame caption="Create your account at app.wpos.ai with your name, email, and a password, or continue with Google.">
  <img src="https://mintcdn.com/wpos/0iN1wl9s70lh6vWp/images/surfaces/onboarding-signup.png?fit=max&auto=format&n=0iN1wl9s70lh6vWp&q=85&s=a5cba58faad275b5137491dda944e334" alt="The WPOS Create account screen with name, email address, and password fields, a Continue button, and a Continue with Google option." width="1280" height="720" data-path="images/surfaces/onboarding-signup.png" />
</Frame>

<Steps>
  <Step title="Sign up">
    Go to [app.wpos.ai](https://app.wpos.ai) and create an account with your
    name, email, and a password, or click **Continue with Google**. If you sign
    up with email, WPOS sends a verification link; open it to confirm your
    address before you sign in.
  </Step>

  <Step title="Set up your workspace">
    Next, WPOS asks how you will use it:

    * **For my agency**: collaboration features and shared context.
    * **Just for me**: personal usage and individual settings.

    Pick **For my agency** if you run client work with a team.
  </Step>

  <Step title="Answer a few questions">
    WPOS asks a few short questions so it can fit the workspace to you. The
    agency path covers how you found WPOS, your team size, your role, the
    services you provide, your ideal client, the hosting you use, and your
    toolkit. **Just for me** asks three of them. Use **Next** to move on and
    **Back** to change an earlier answer. Your progress is saved, so you can
    finish later from where you left off.
  </Step>

  <Step title="Open your workspace">
    The welcome screen confirms your workspace is ready. Click **Continue to
    workspace** to open the dashboard.
  </Step>
</Steps>

## Take the dashboard tour

The first time you open the dashboard, WPOS offers a short tour:

* **Quick tour**: sandboxes and sites, setting one up, and running it.
* **Full tour**: every page of the workspace, one at a time.
* **Maybe later**: skip it for now.

The tour only shows the parts of the workspace your role can use. To take it
again, open **Settings**, find **Product tour**, and click **Take a tour**.

## Next steps

<CardGroup cols={2}>
  <Card title="Quickstart" icon="rocket" href="/get-started/quickstart">
    Connect your first site and make your first change.
  </Card>

  <Card title="Install the plugin" icon="download" href="/get-started/install">
    Get WPOS onto a site and connected to your account.
  </Card>

  <Card title="Workspace" icon="layer-group" href="/agencies/workspace">
    Your sites, account, and billing in one place.
  </Card>

  <Card title="Invite members" icon="user-plus" href="/agencies/invite-members">
    Bring your team into the workspace.
  </Card>
</CardGroup>