Calendly is a scheduling platform. Connect it to WPOS and the agent can use it as part of the work it does on your site.
Calendly is a scheduling platform. Connected to WPOS, it lets the agent create scheduling links and pull event and user data to add booking to a site, all from the chat beside your site’s live preview.Category: Scheduling Actions available: 51+
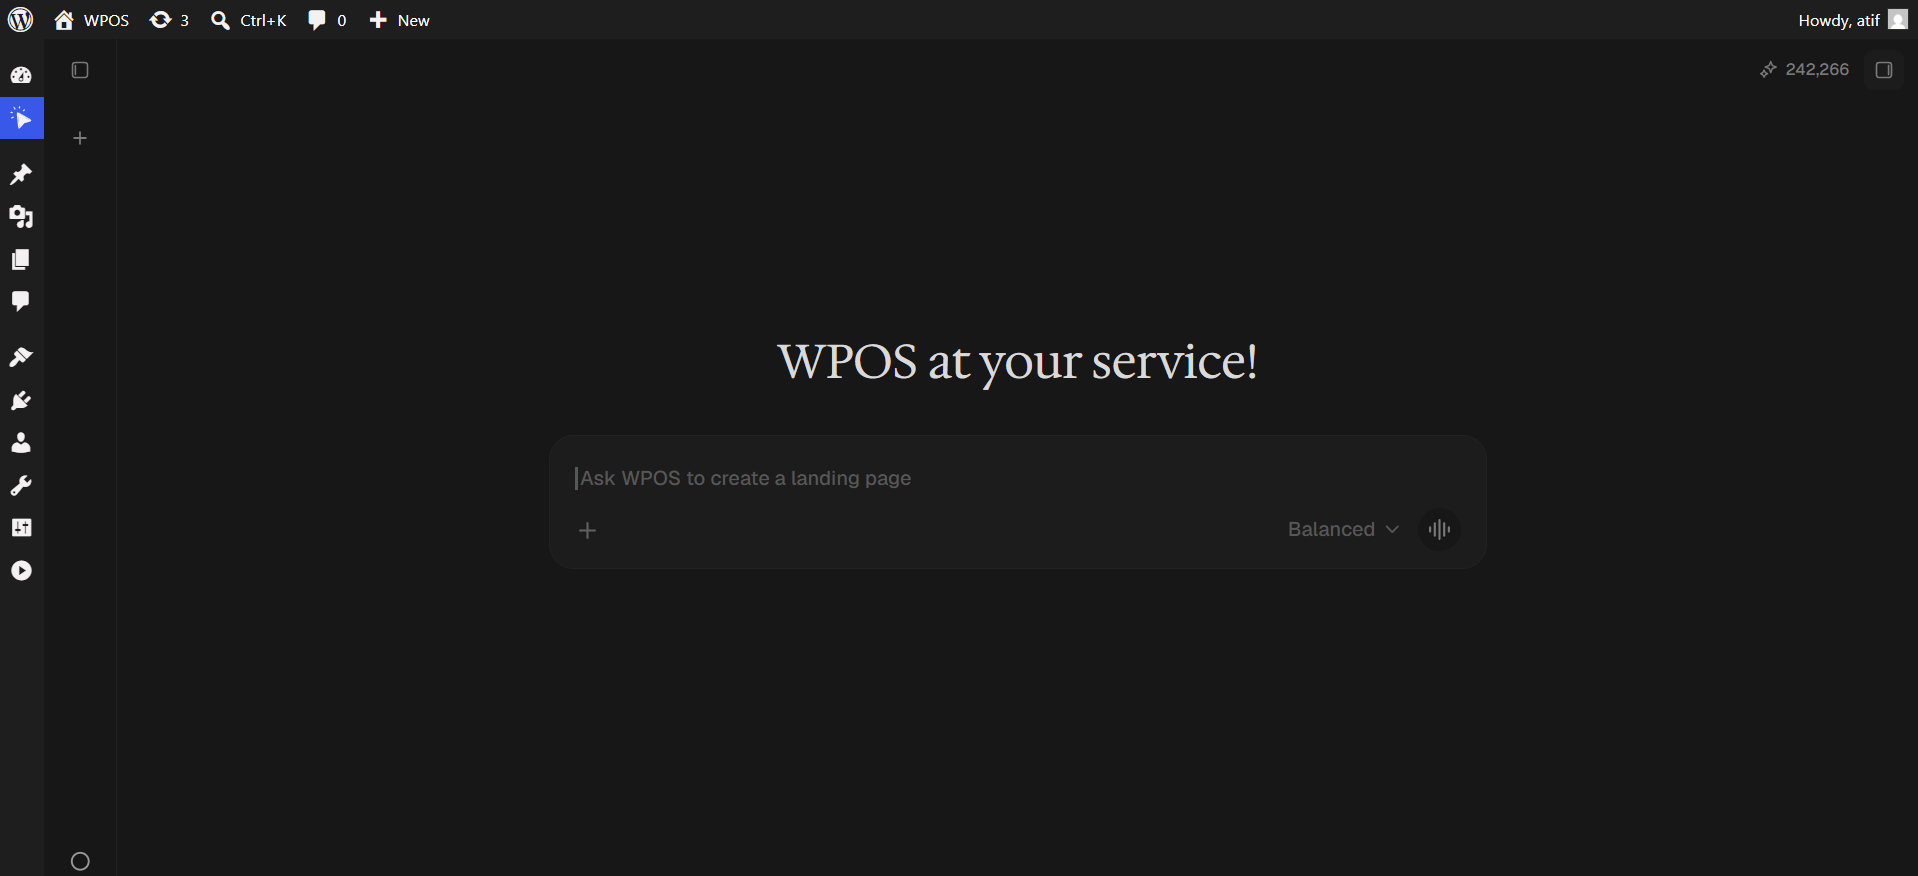
In WordPress admin, open WPOS. You land on the chat screen.
WPOS opens on the chat screen.
2
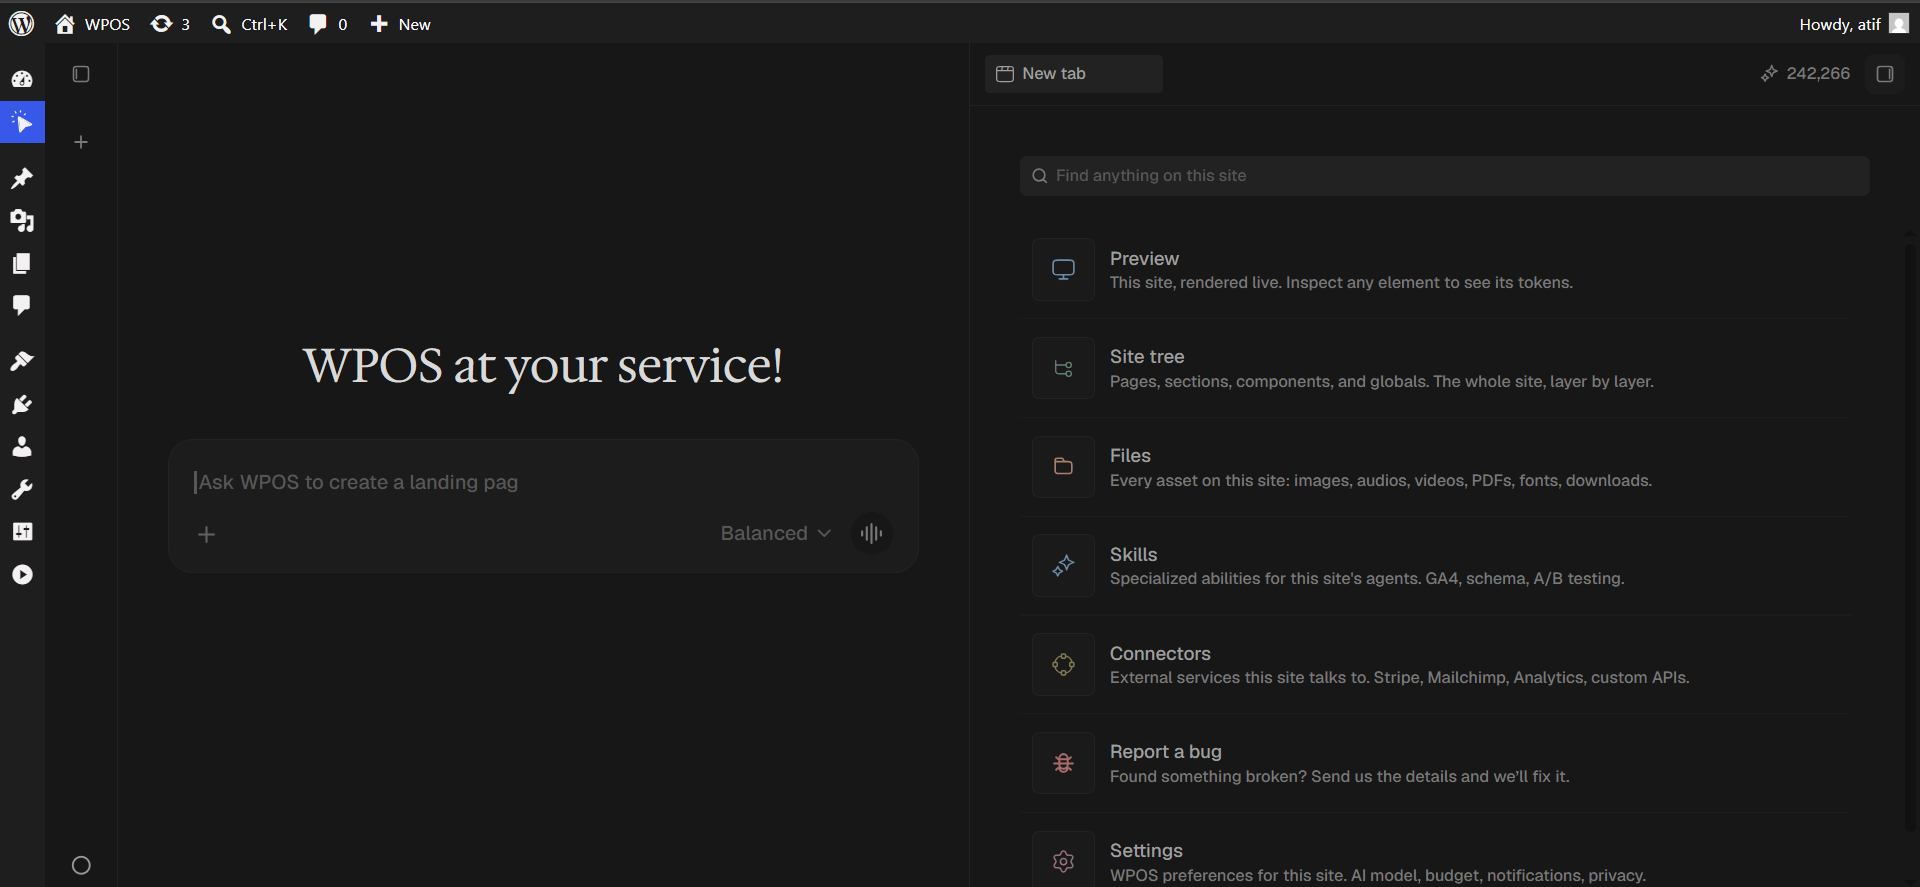
Open a new tab and choose Connectors
Click the + button to open the launcher panel, then choose Connectors.
The launcher panel. Connectors is the fifth entry.
3
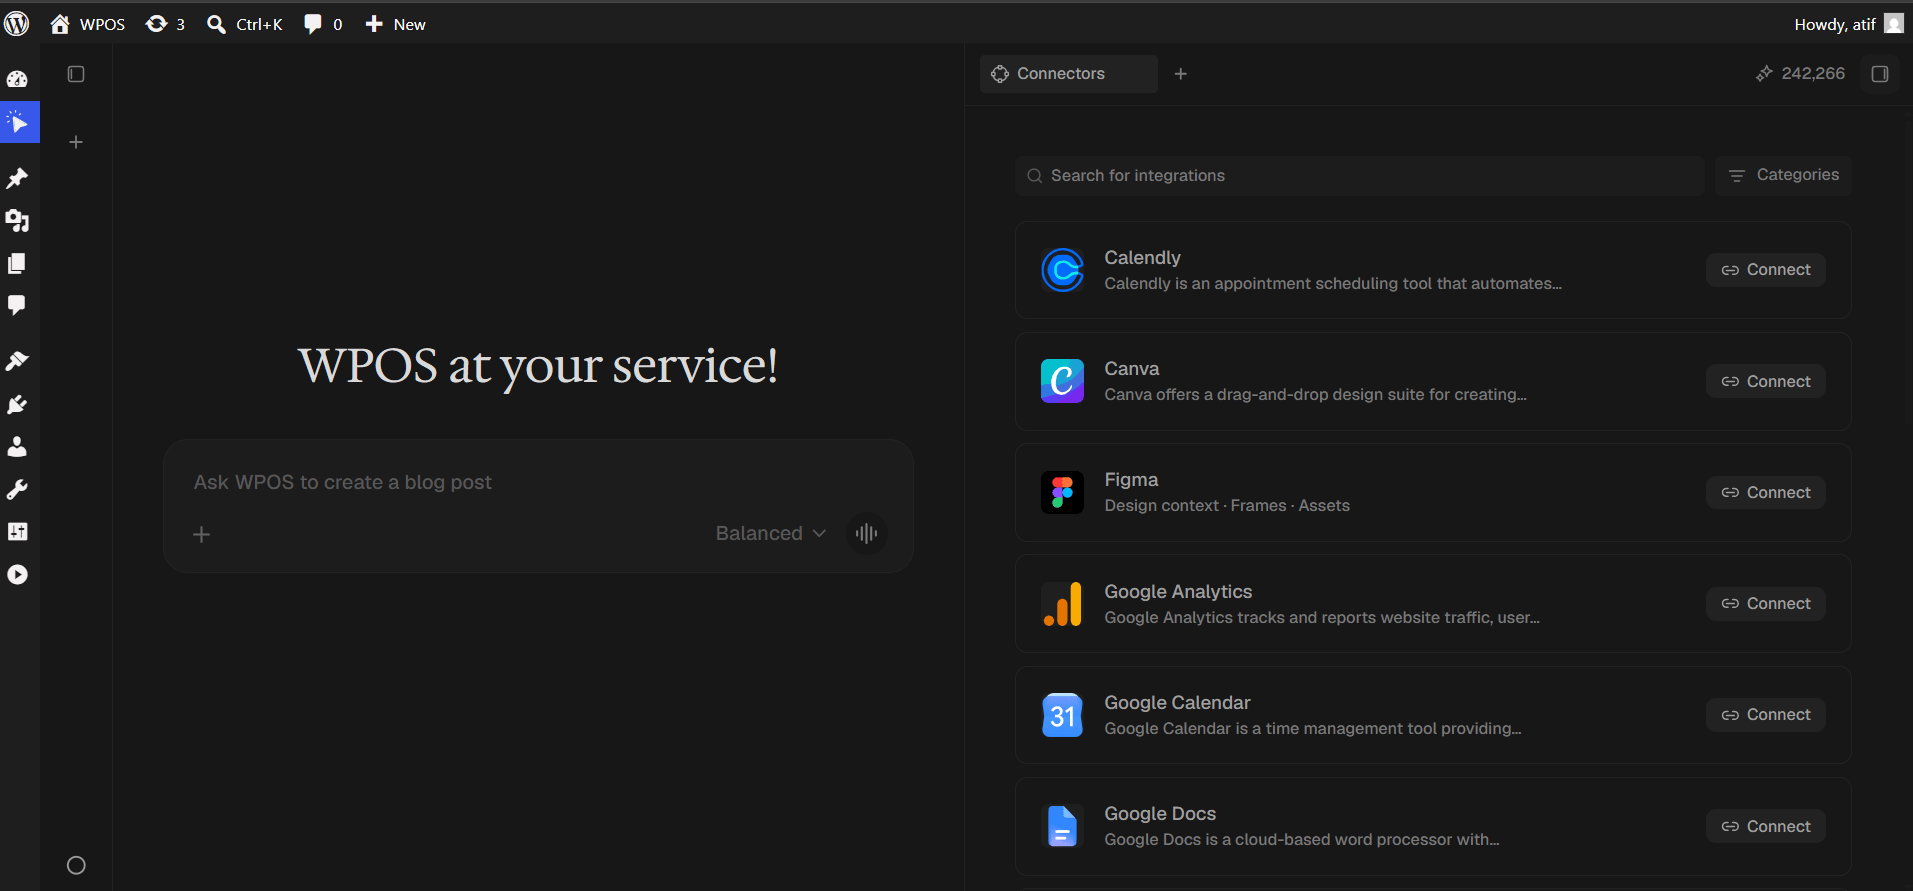
Find the connector
Every available connector is listed alphabetically, each with a button showing what it needs.
The Connectors panel, sorted alphabetically.
4
Search and press Connect
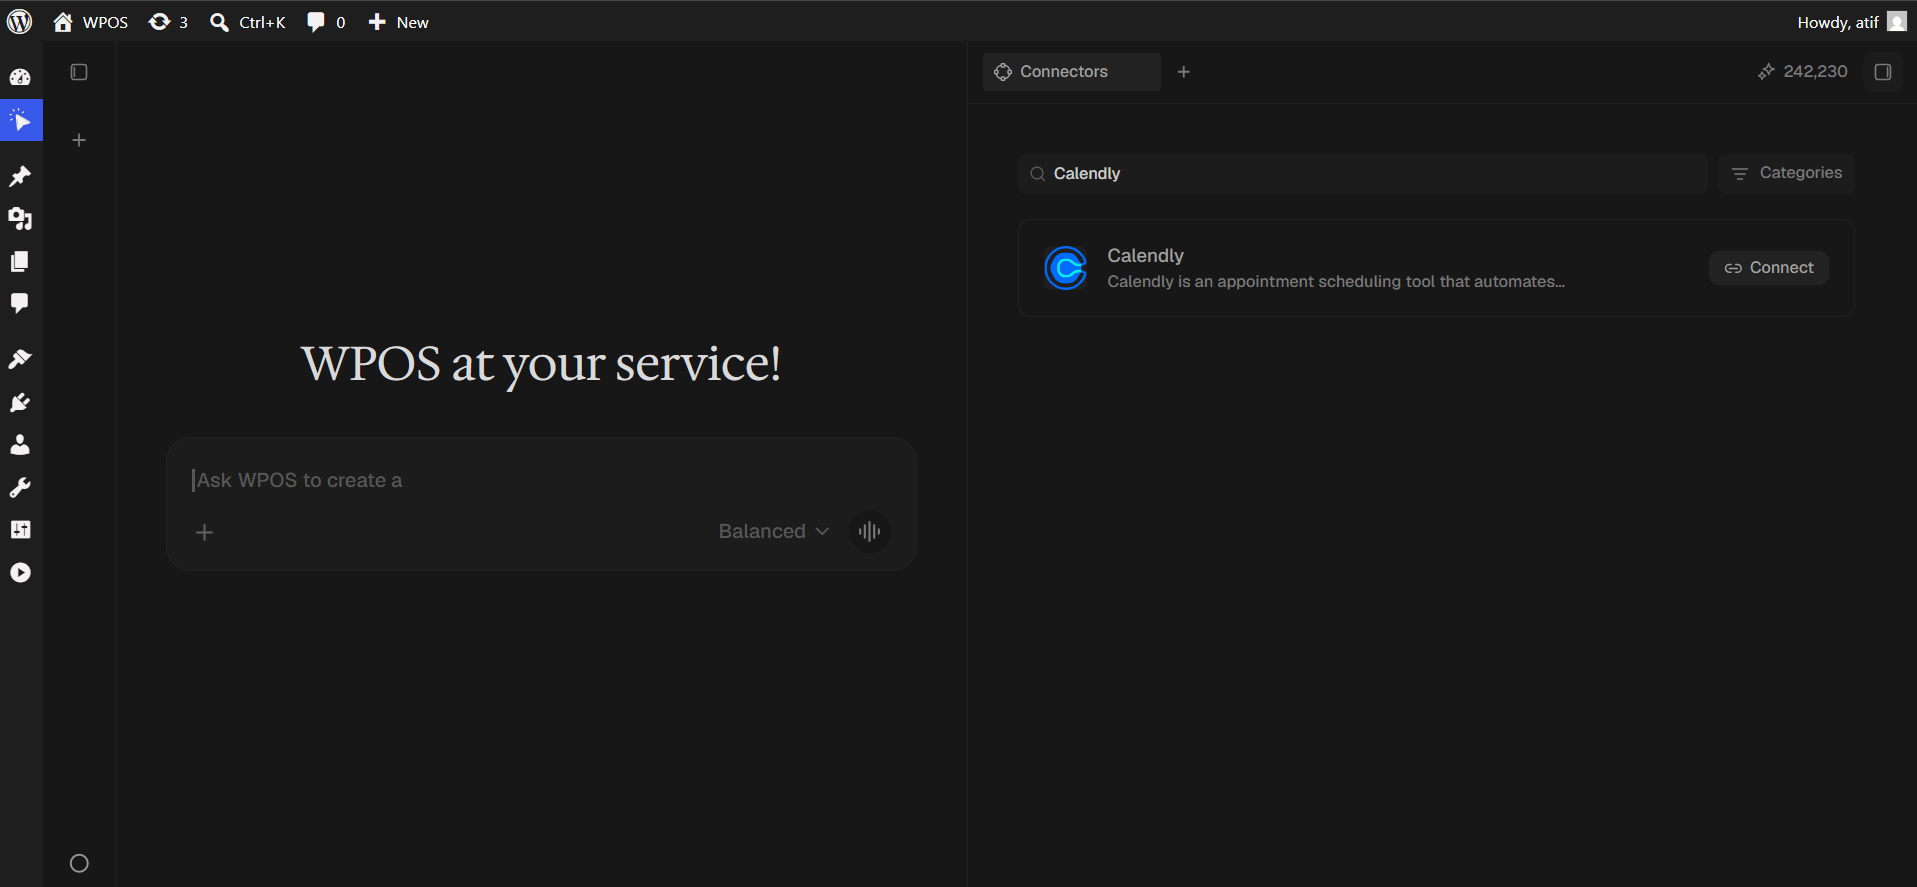
Type Calendly into Search for integrations, then press Connect.
Search narrows the list to one row.
5
Sign in and authorize
A popup opens on Calendly. Sign in, or continue with Google or Microsoft if that is how your account was created, then approve the requested access.
Calendly sign-in can sever the popup link to WordPress, so the popup may look closed while sign-in is still running. WPOS waits up to 45 seconds, so let it finish rather than pressing Connect again.
6
Composio confirms and returns you
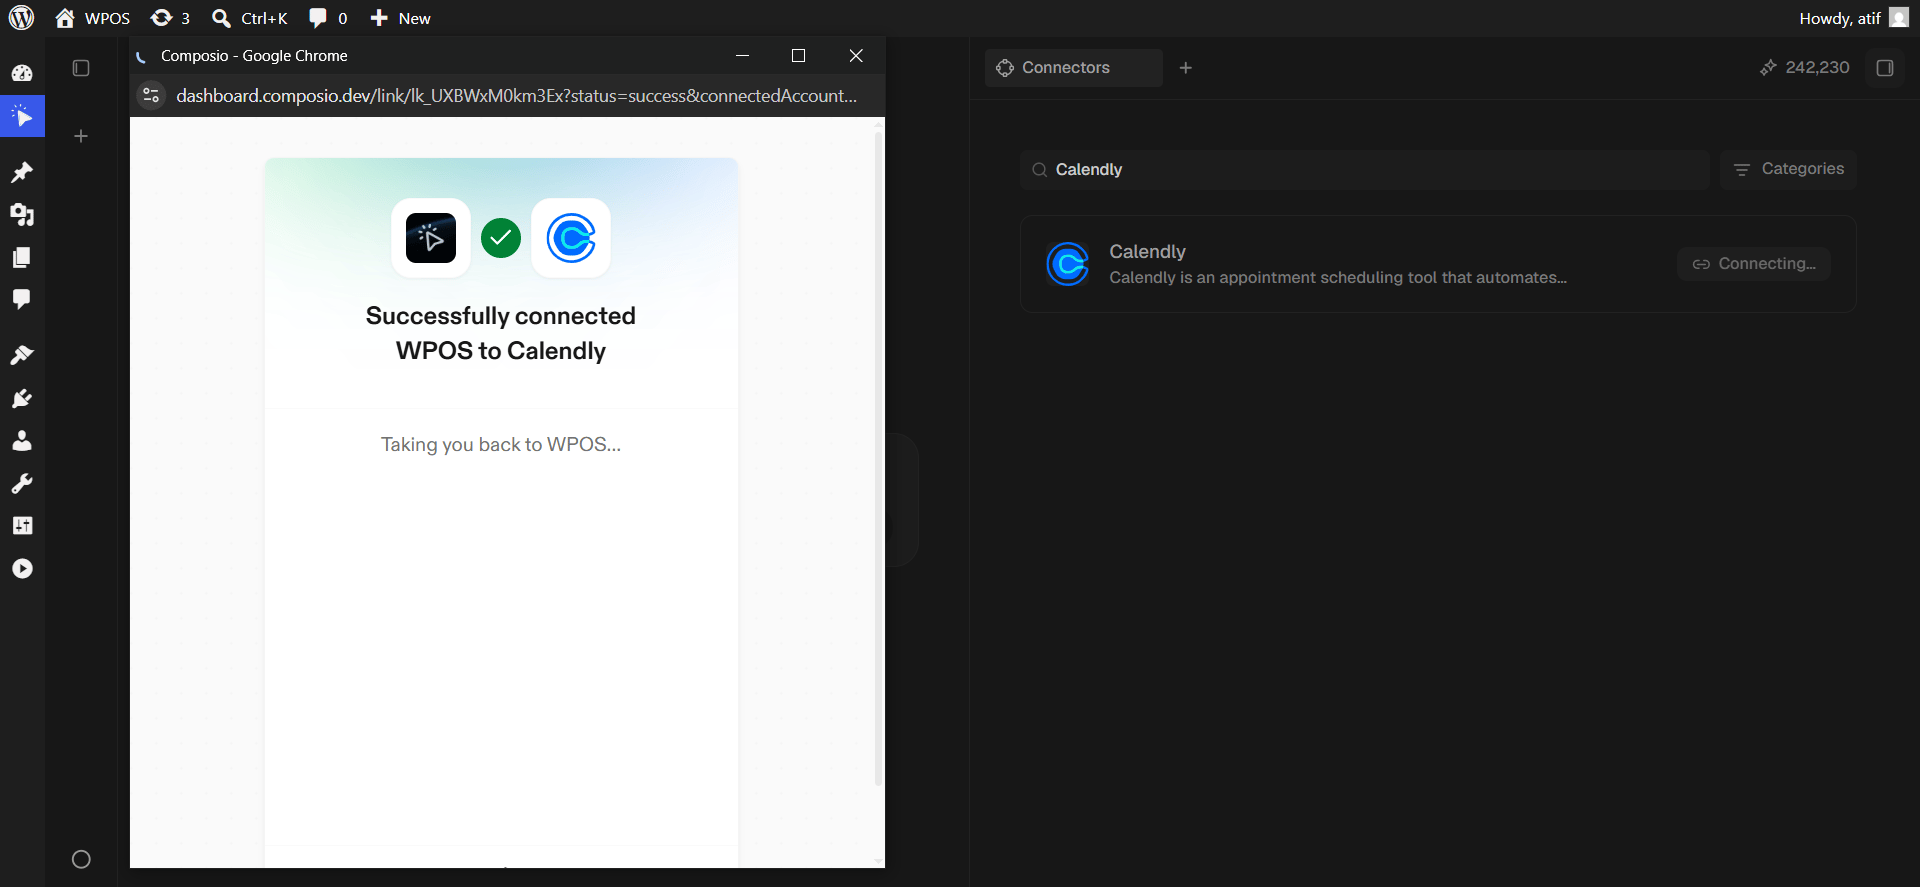
A Composio page confirms “Successfully connected WPOS to Calendly” and returns you automatically.
Composio confirms, then returns you to WPOS.
7
Confirm in WPOS
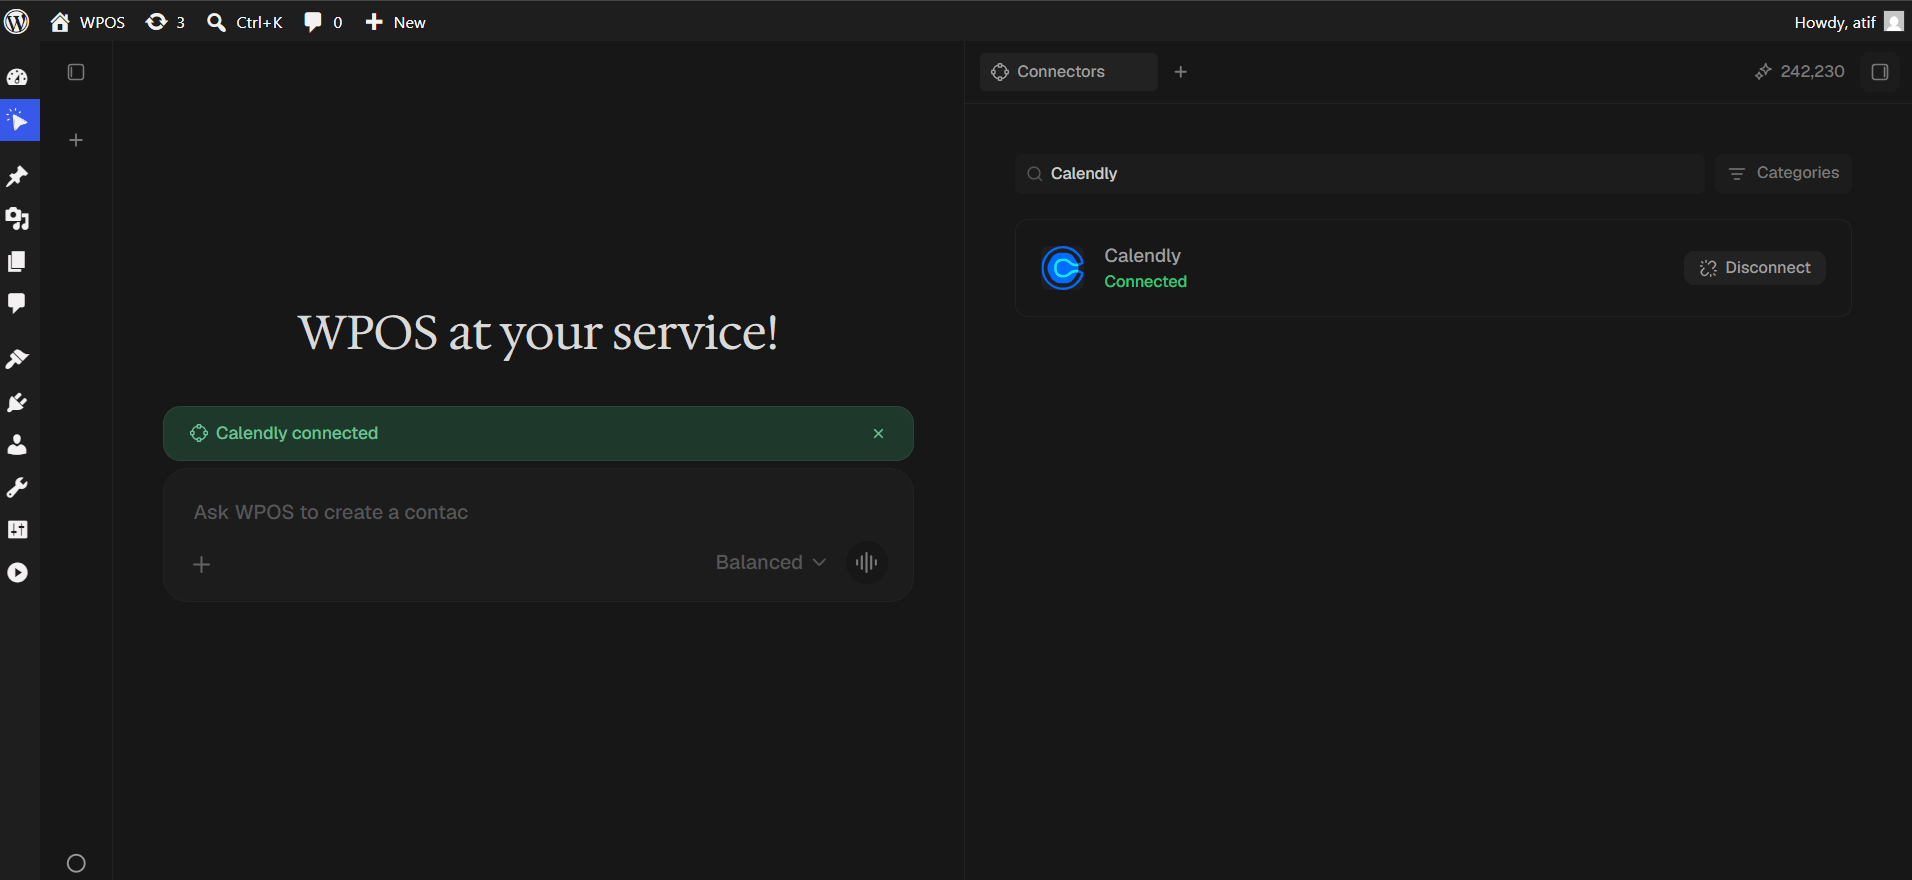
The row reads Connected and a green “Calendly connected” banner appears in the chat.