Intercom is a customer messaging and support platform. Connect it to WPOS and the agent can use it as part of the work it does on your site.
Intercom is a customer messaging and support platform. Connected to WPOS, it lets the agent create and manage contacts, and handle support tickets from the work you do on a site, all from the chat beside your site’s live preview.Category: CRM and sales Actions available: 129+
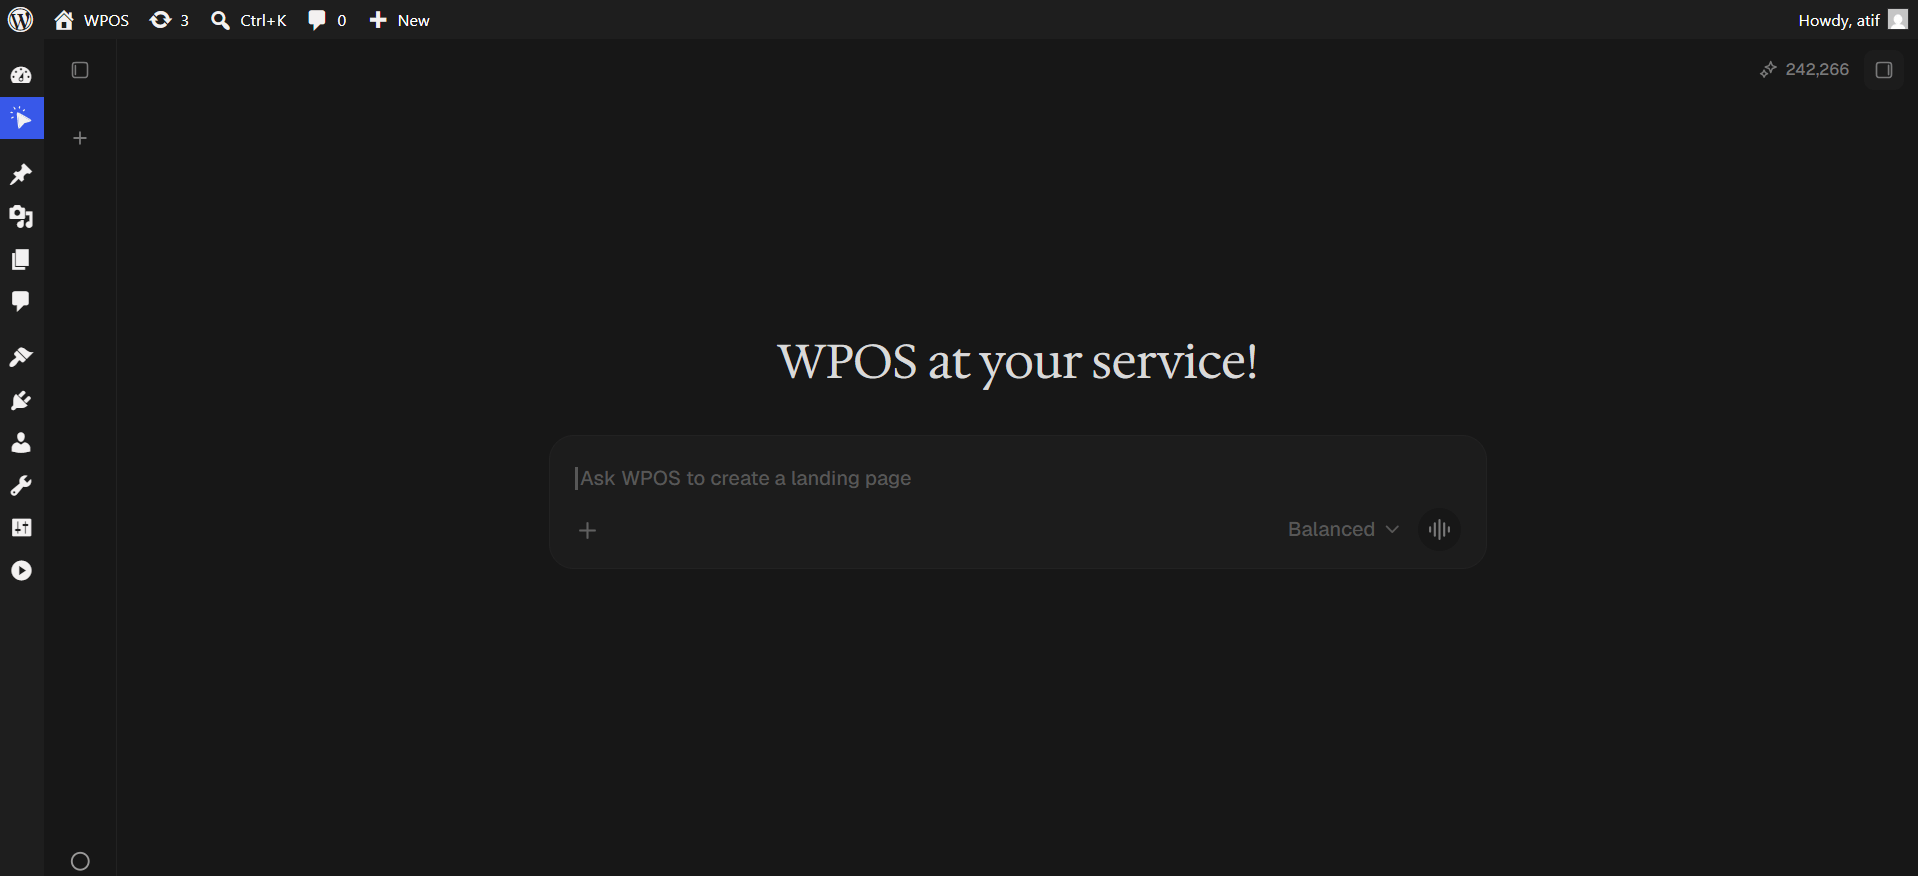
In WordPress admin, open WPOS. You land on the chat screen.
WPOS opens on the chat screen.
2
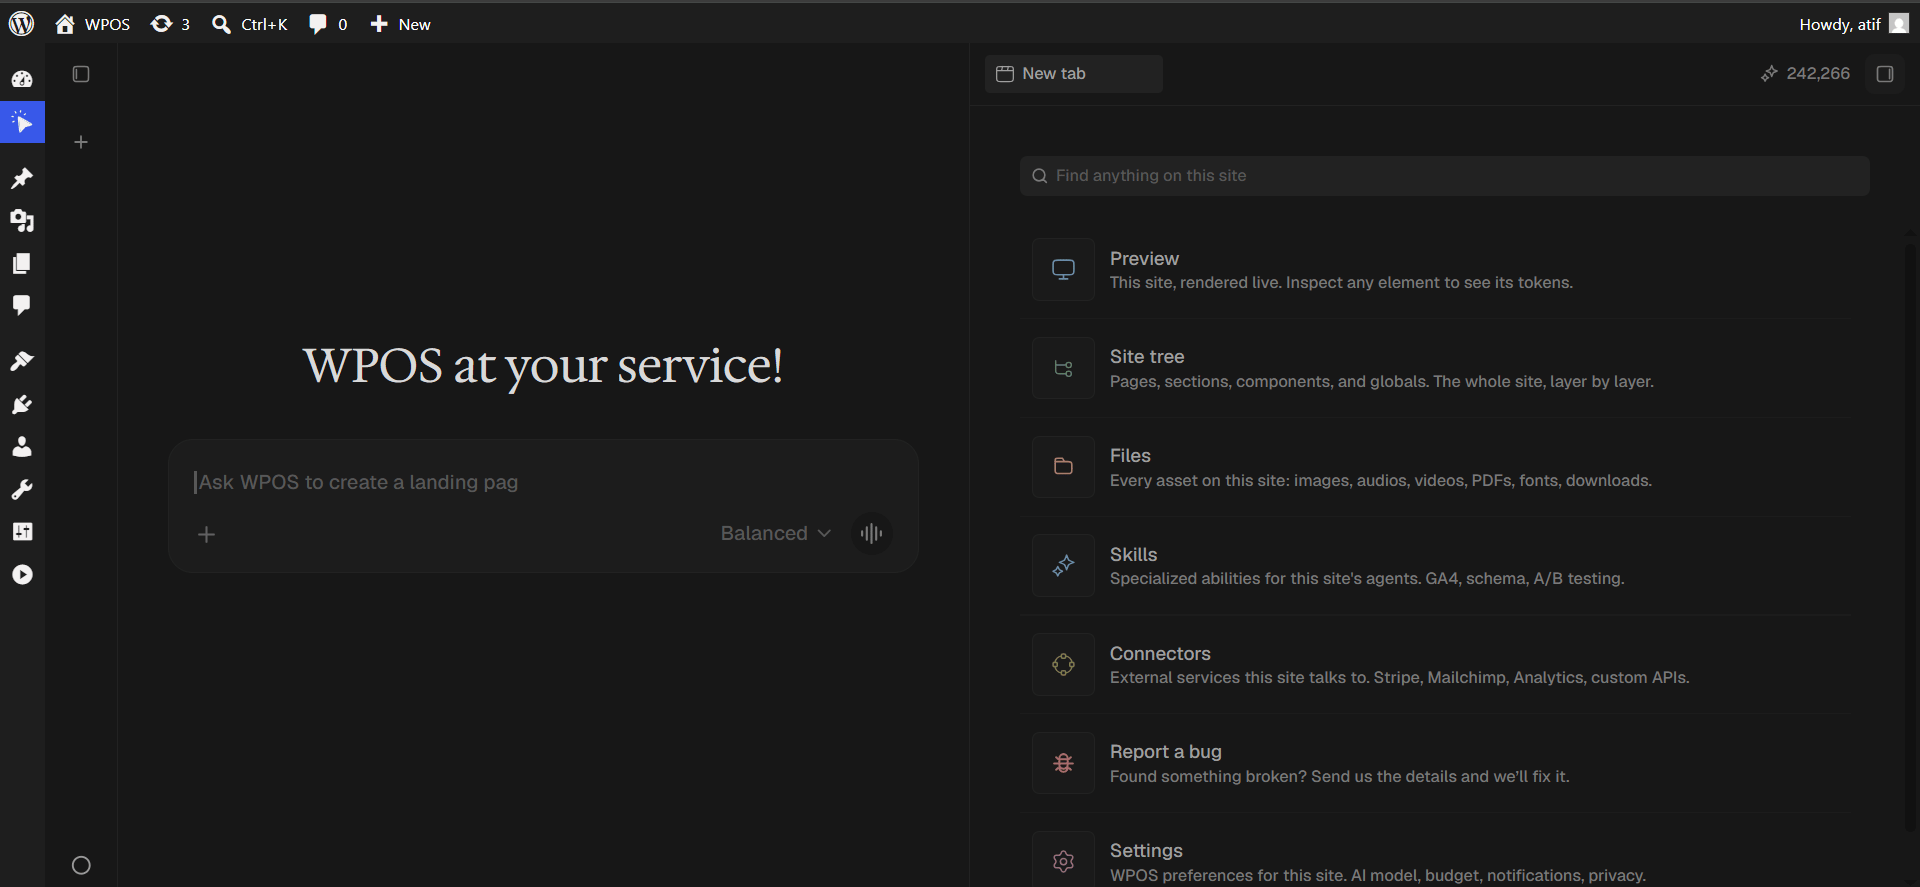
Open a new tab and choose Connectors
Click the + button to open the launcher panel, then choose Connectors.
The launcher panel. Connectors is the fifth entry.
3
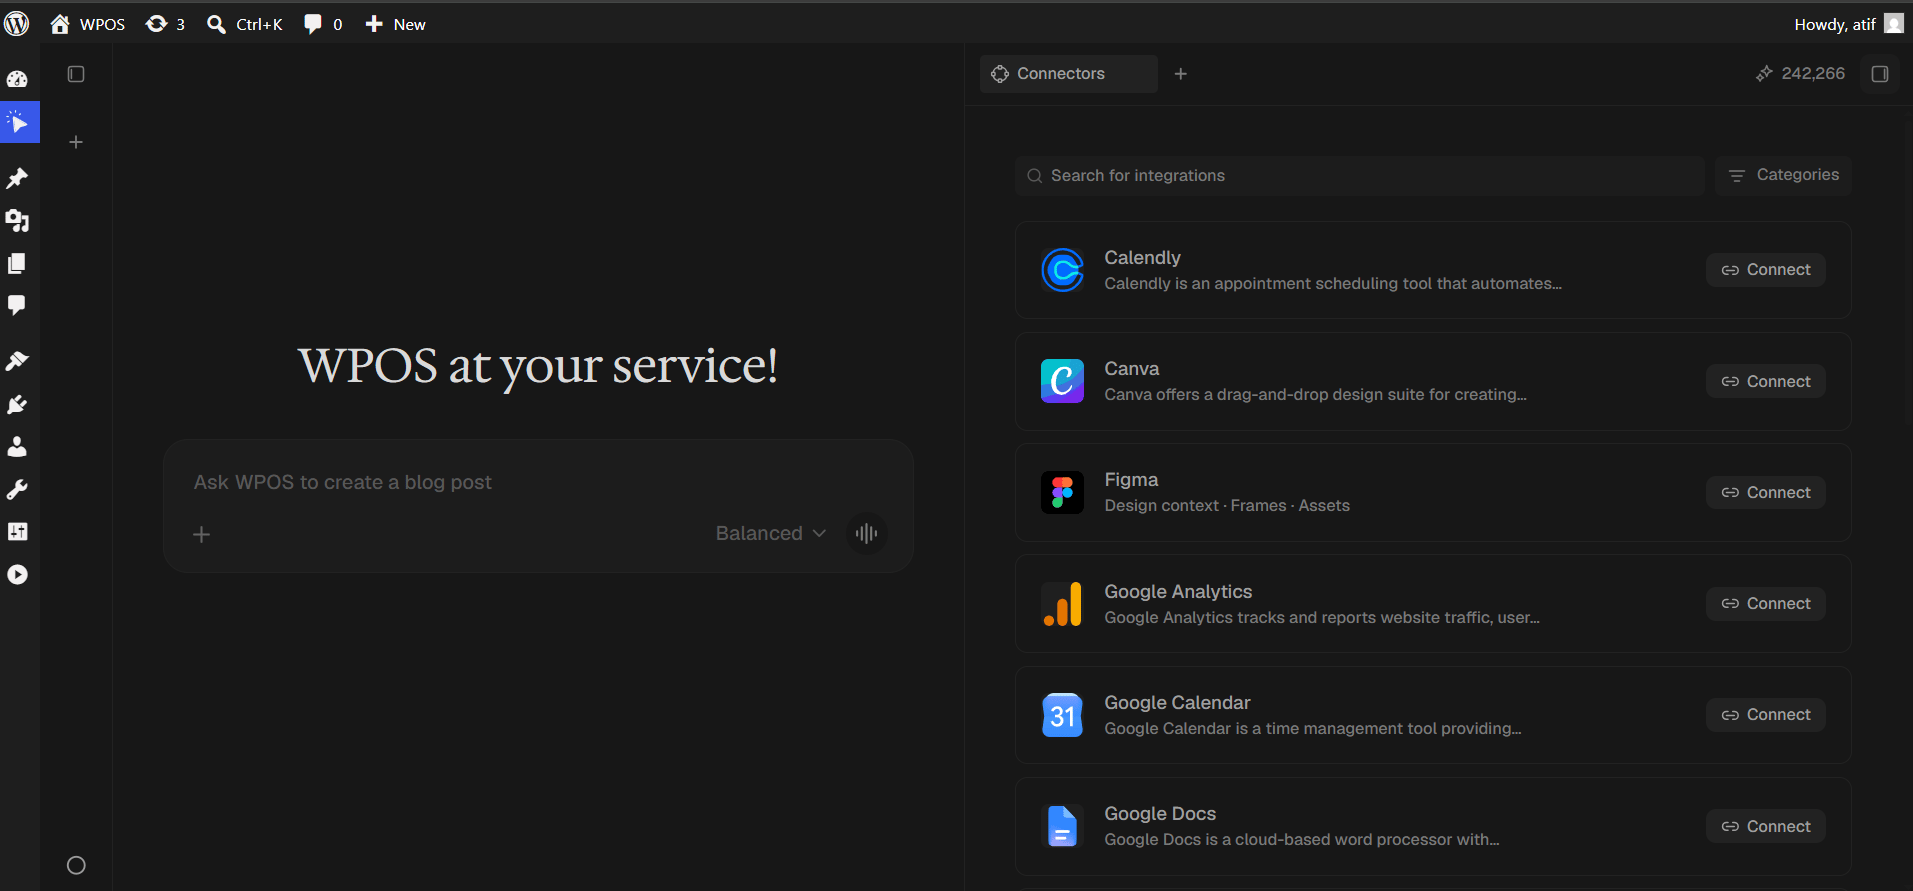
Find the connector
Every available connector is listed alphabetically, each with a button showing what it needs.
The Connectors panel, sorted alphabetically.
4
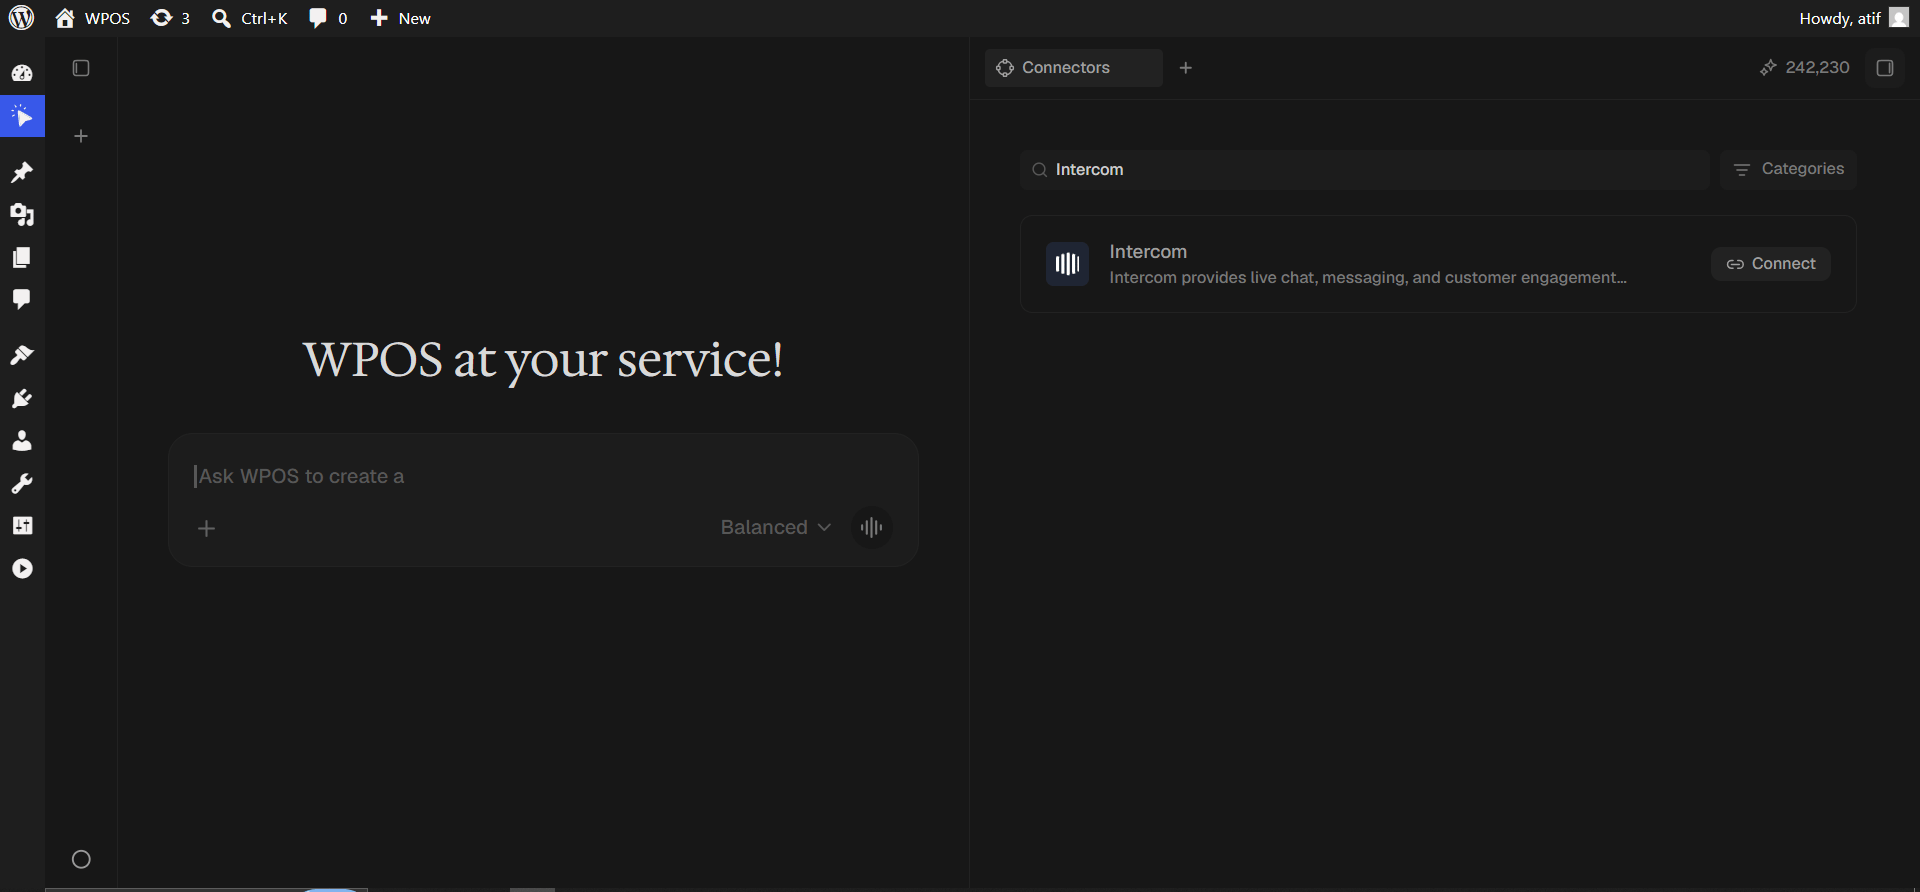
Search and press Connect
Type Intercom into Search for integrations, then press Connect.
Search narrows the list to one row.
5
Sign in to Intercom
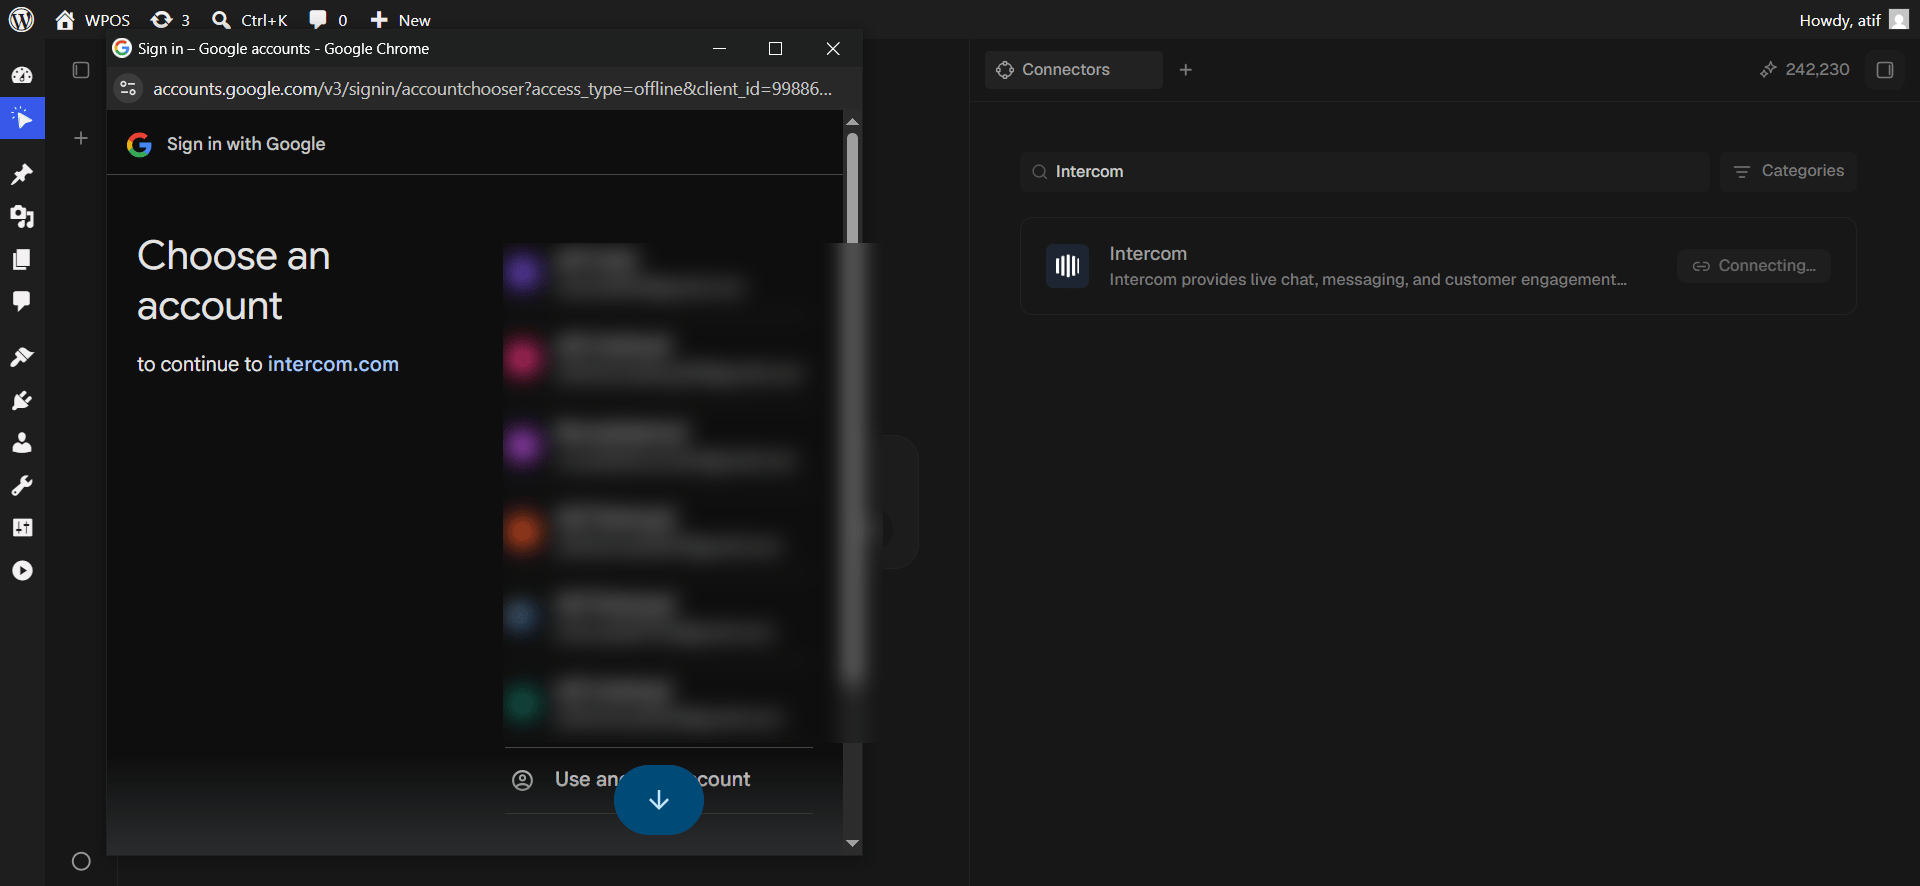
A popup opens on Intercom’s sign in. Signing in with Google shows the account chooser headed “to continue to intercom.com”.
Signing in to Intercom with Google.
6
Share your details with Intercom
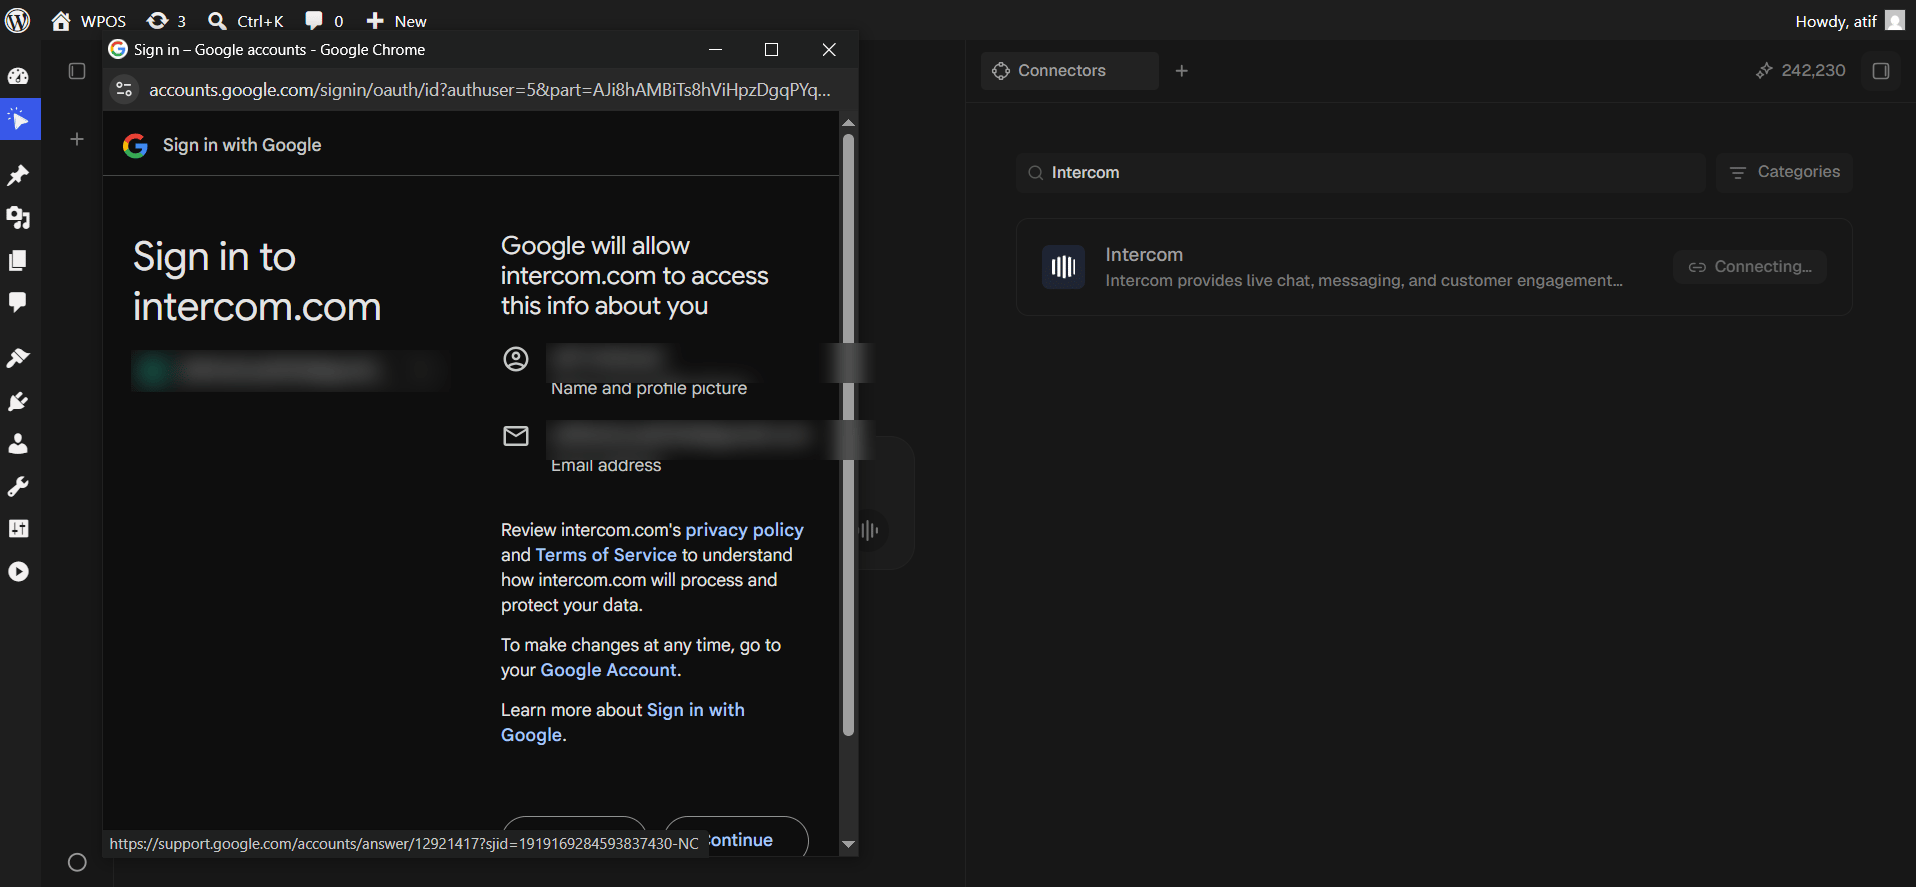
Google confirms what intercom.com will receive: your name, profile picture, and email address. Click Continue.
Google confirms what is shared.
7
Authorize Composio in Intercom
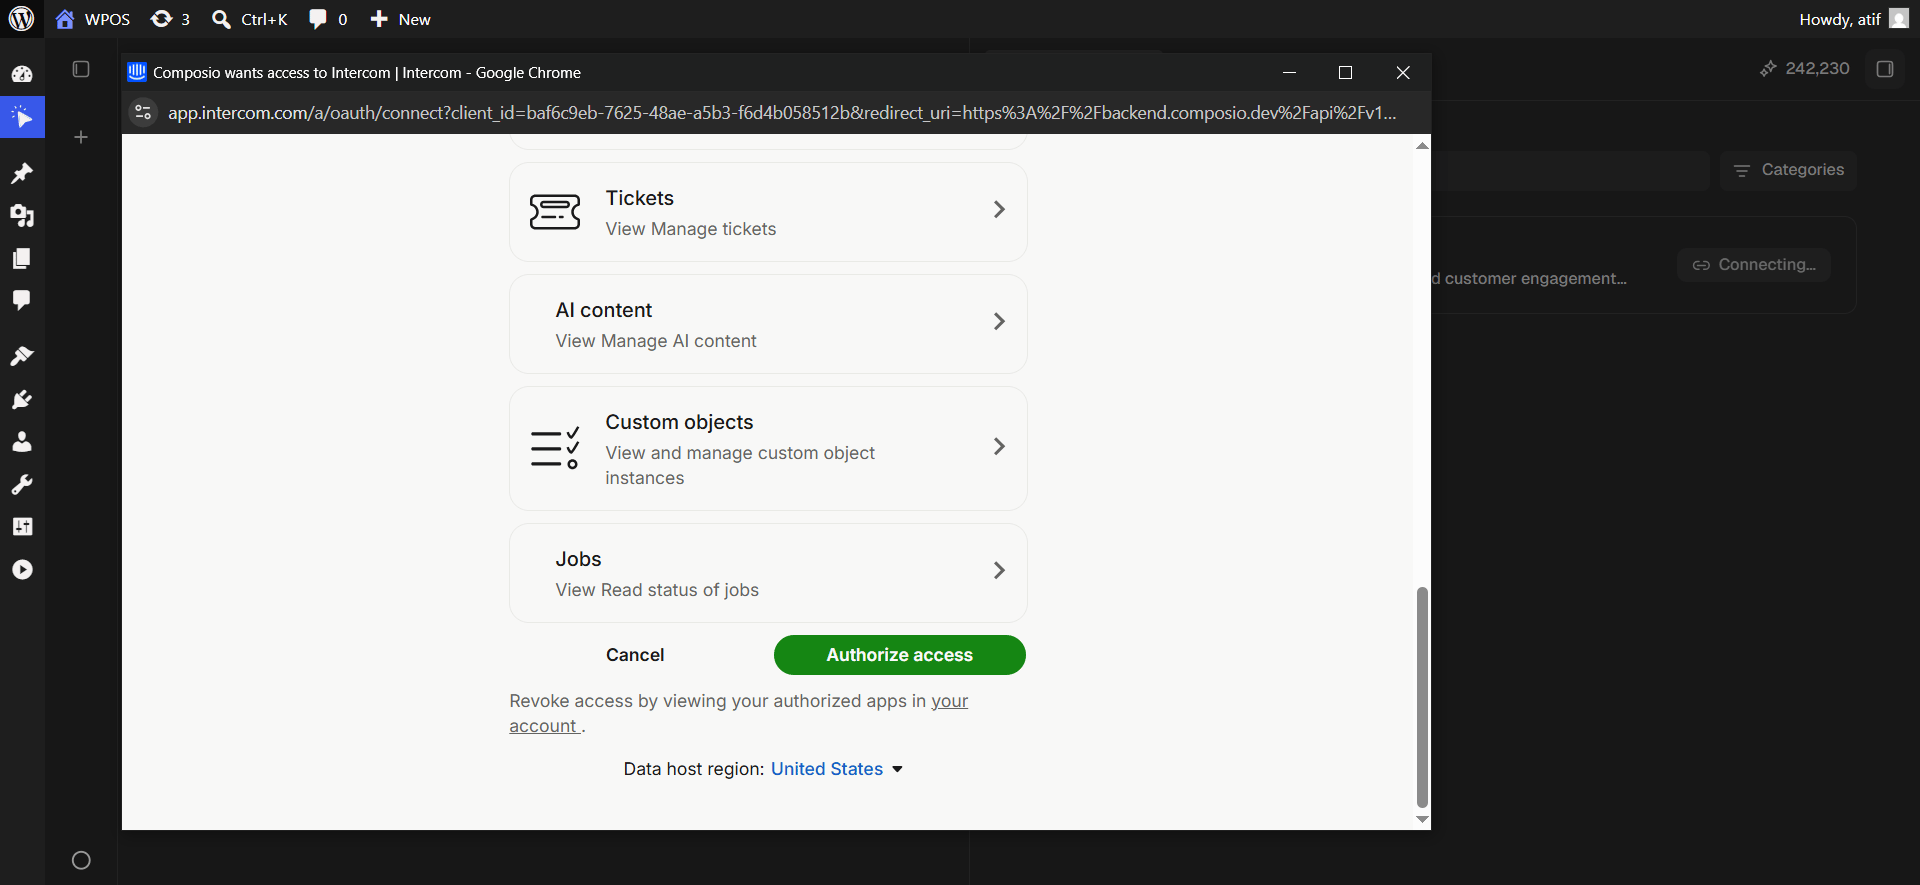
Intercom lists every scope Composio is requesting, including Tickets, AI content, Custom objects, and Jobs. Scroll through, then click Authorize access.
Check the data host region at the bottom of this screen: United States, Europe, or Australia. It must match the region your Intercom workspace lives in, or the connection authorizes against the wrong region and returns no data.
Check the data host region before authorizing.
8
Confirm in WPOS
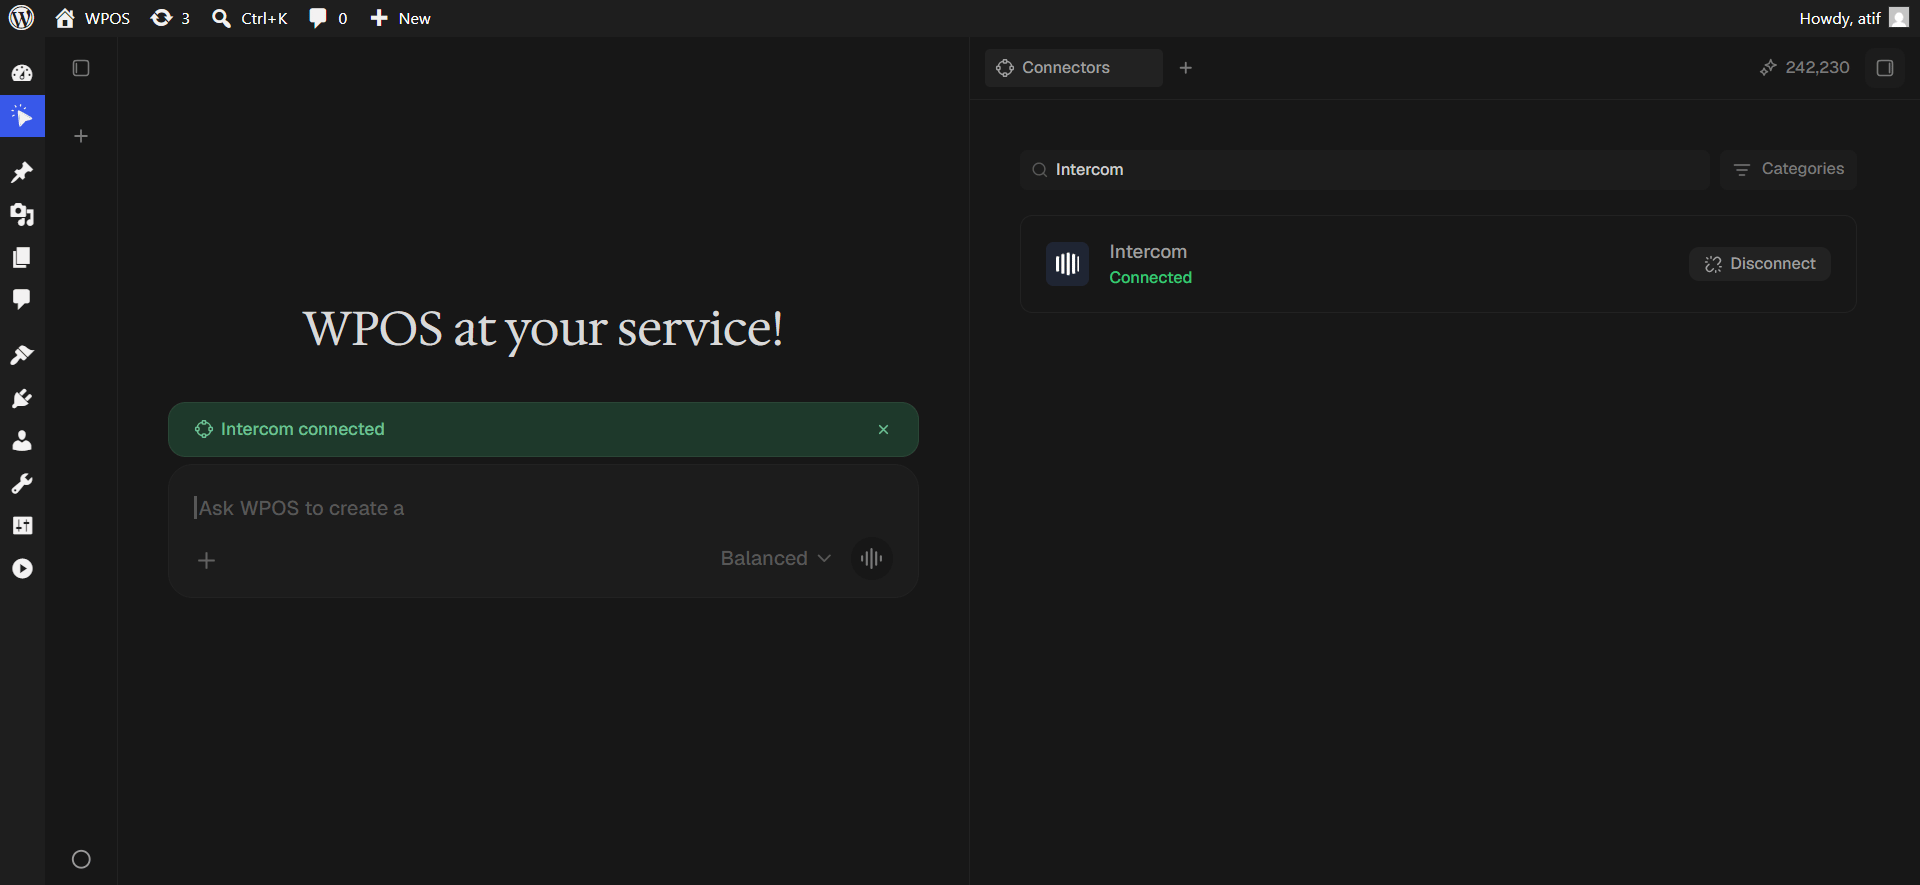
The row reads Connected and a green “Intercom connected” banner appears in the chat.