HubSpot is an inbound marketing, sales, and CRM platform. Connect it to WPOS and the agent can use it as part of the work it does on your site.
HubSpot is an inbound marketing, sales, and CRM platform. Connected to WPOS, it lets the agent capture leads from your site into HubSpot, create deals and contacts, and trigger follow-up emails, all from the chat beside your site’s live preview.Category: CRM and sales Actions available: 229+
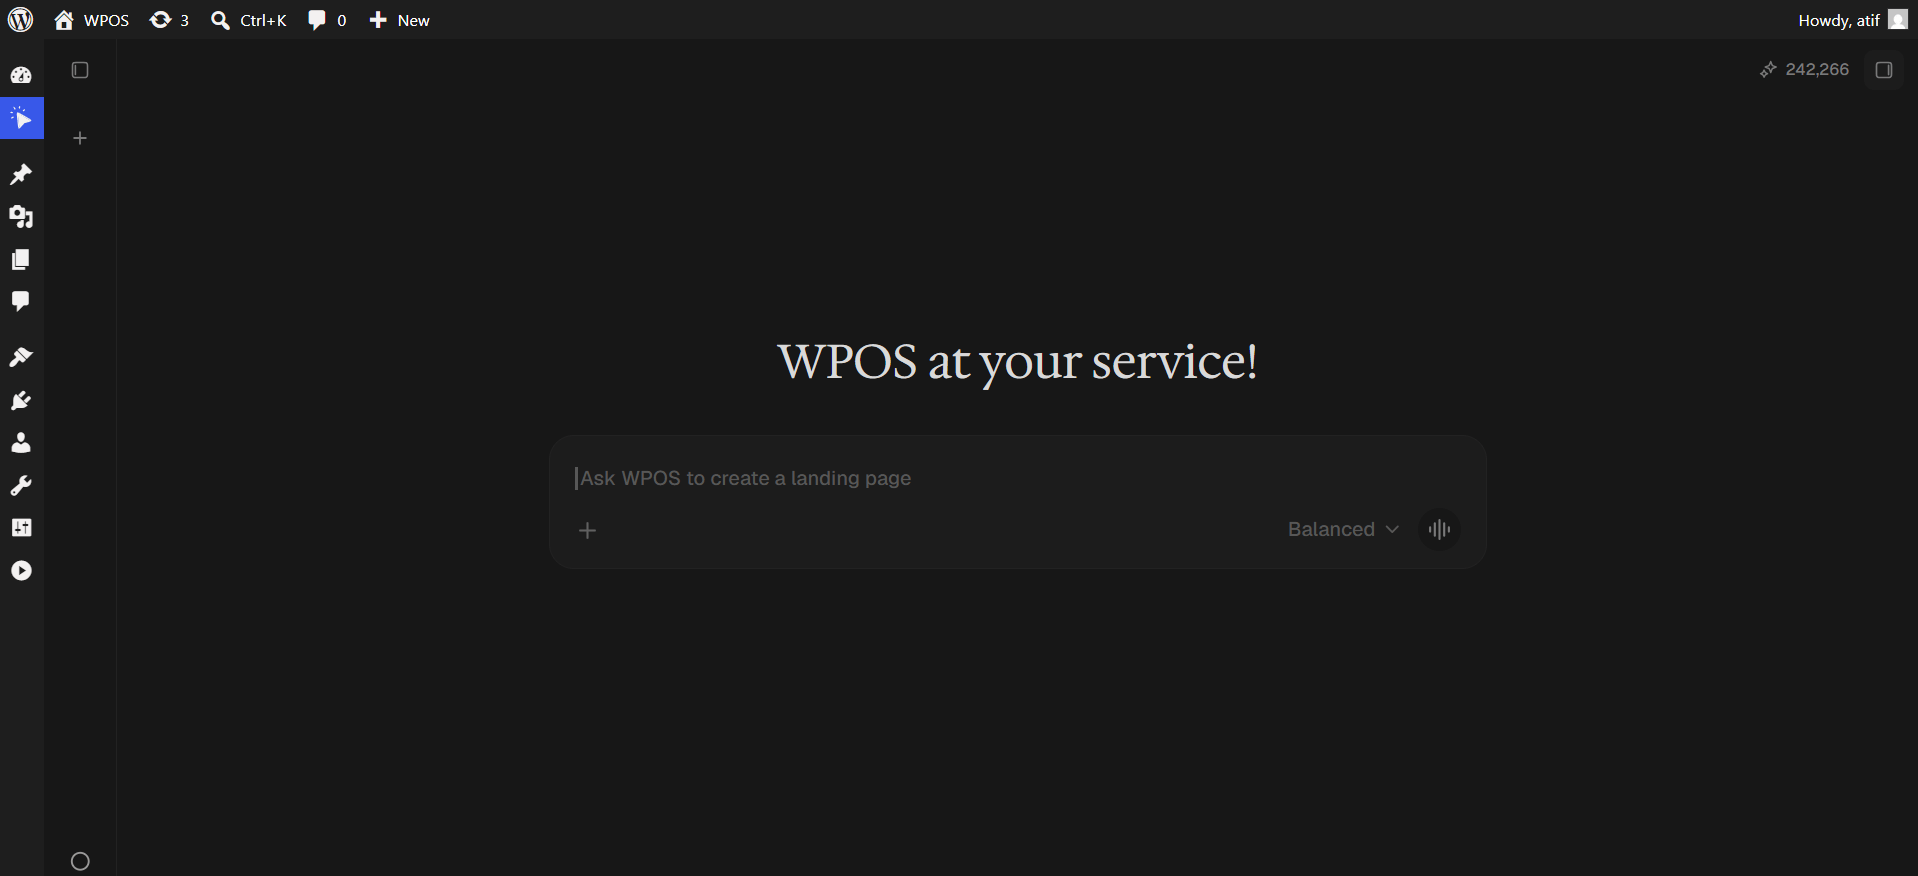
In WordPress admin, open WPOS. You land on the chat screen.
WPOS opens on the chat screen.
2
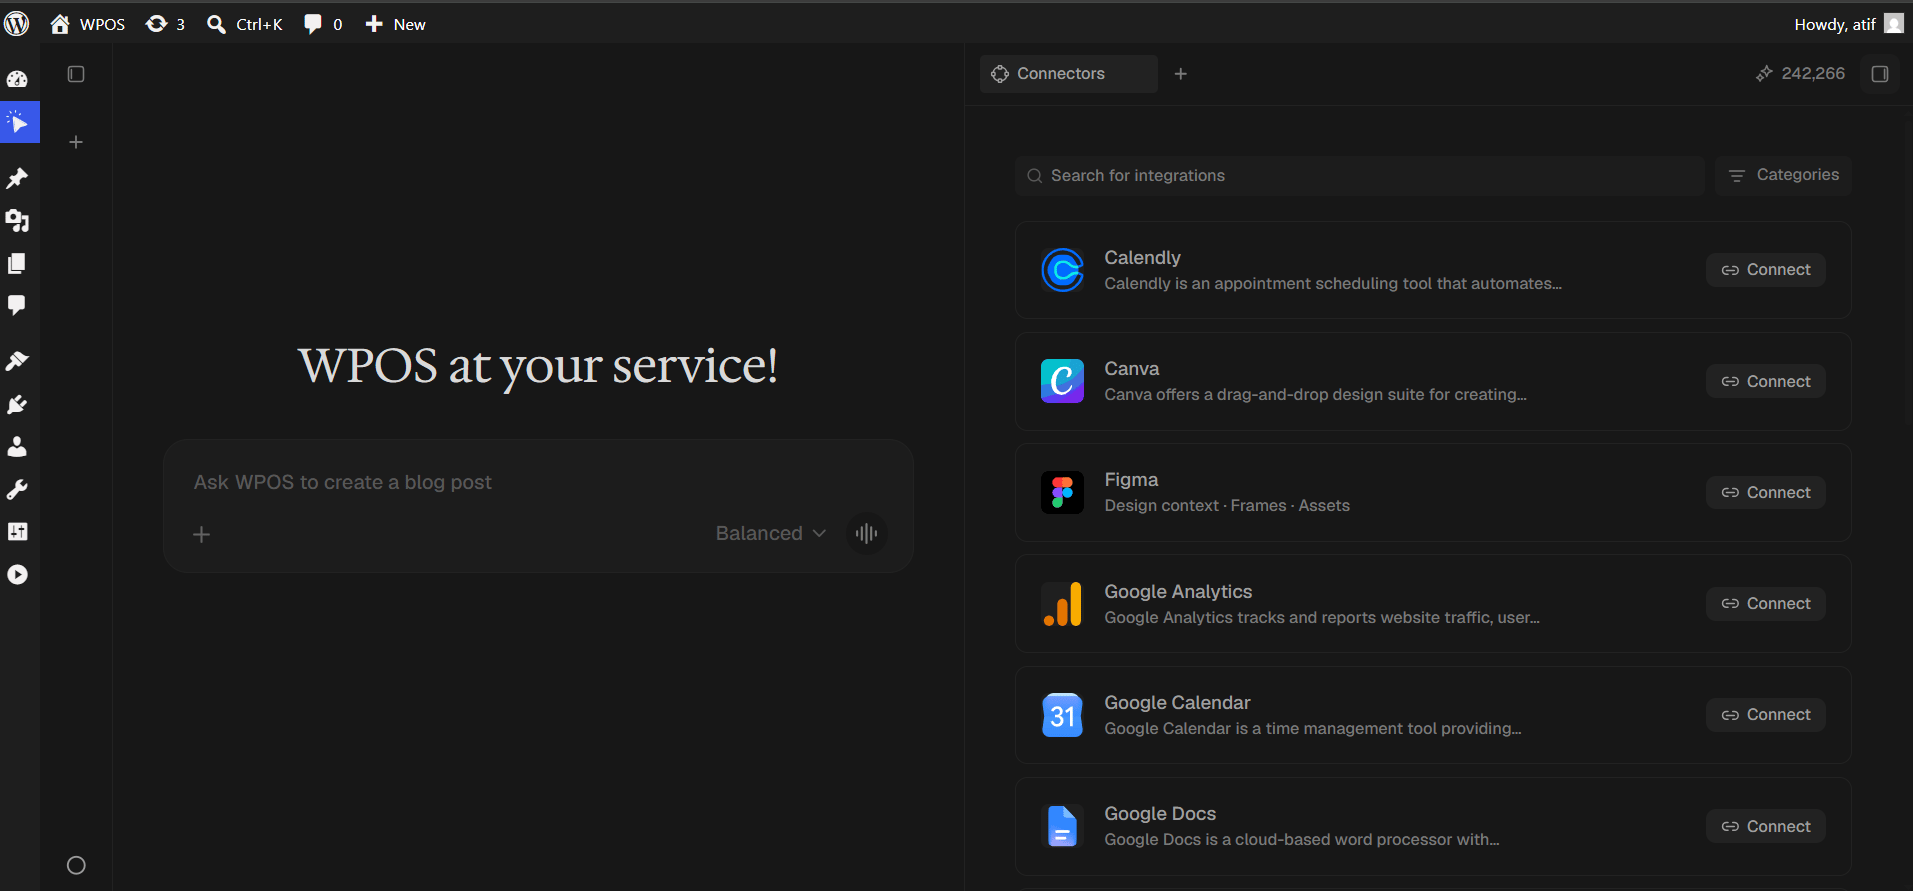
Open a new tab and choose Connectors
Click the + button to open the launcher panel, then choose Connectors.
The launcher panel. Connectors is the fifth entry.
3
Find the connector
Every available connector is listed alphabetically, each with a button showing what it needs.
The Connectors panel, sorted alphabetically.
4
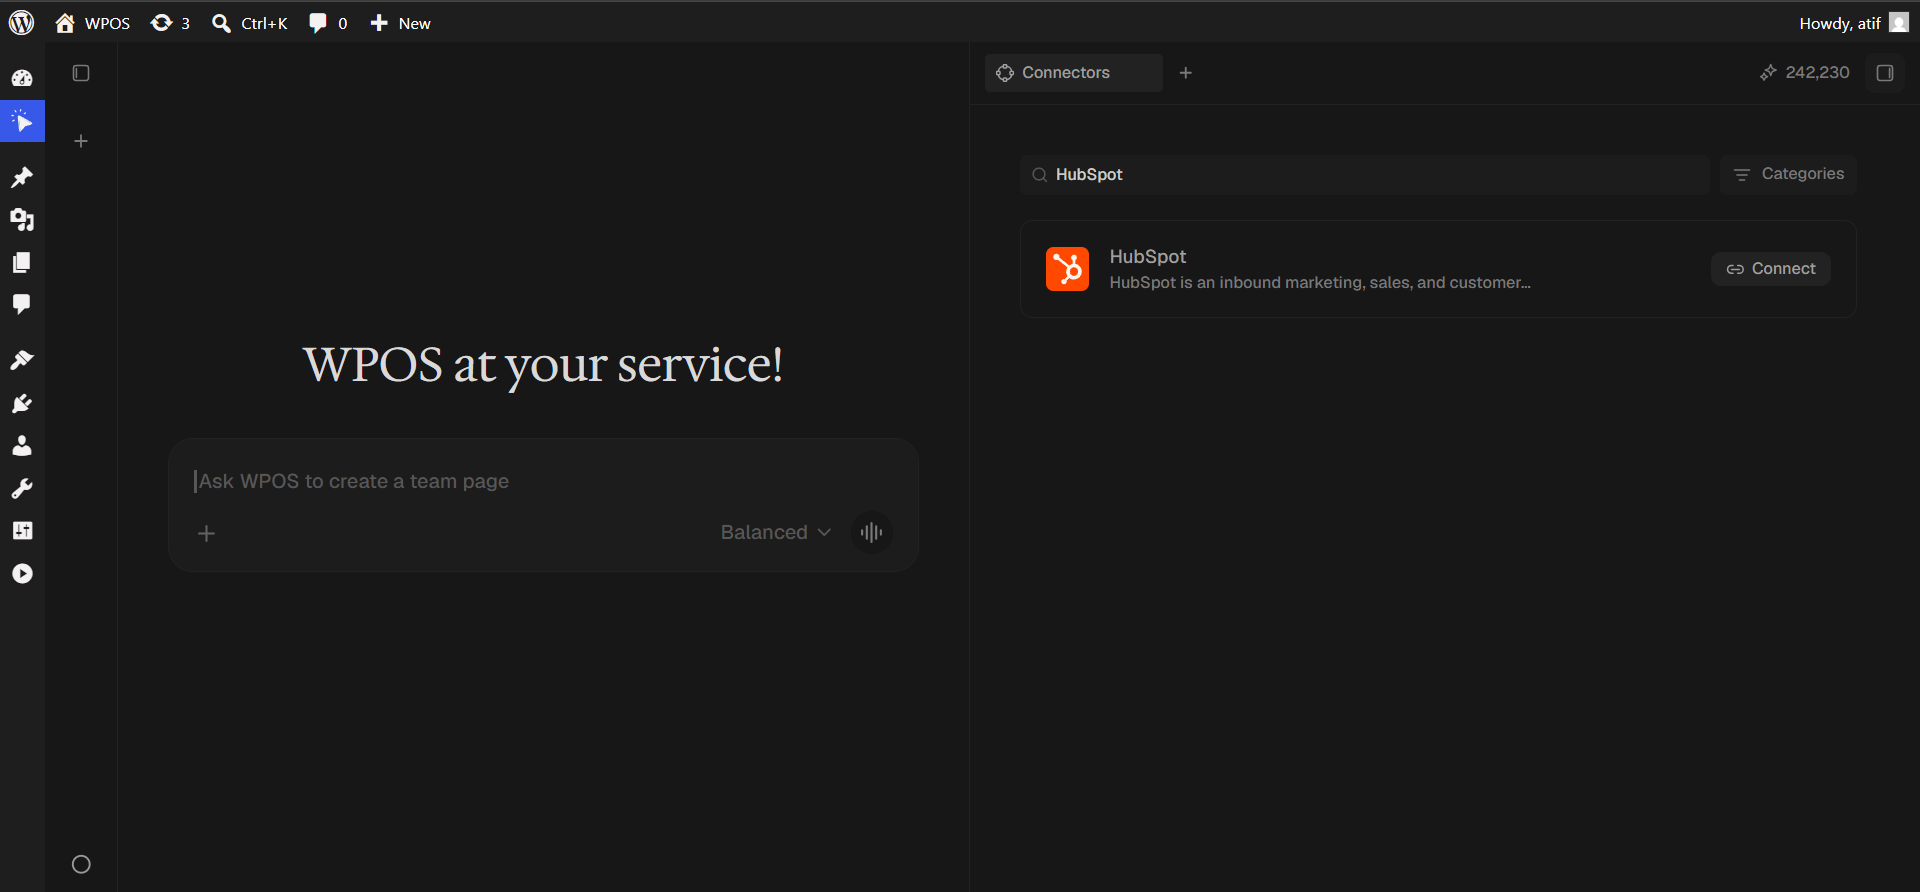
Search and press Connect
Type HubSpot into Search for integrations, then press Connect.
Search narrows the list to one row.
5
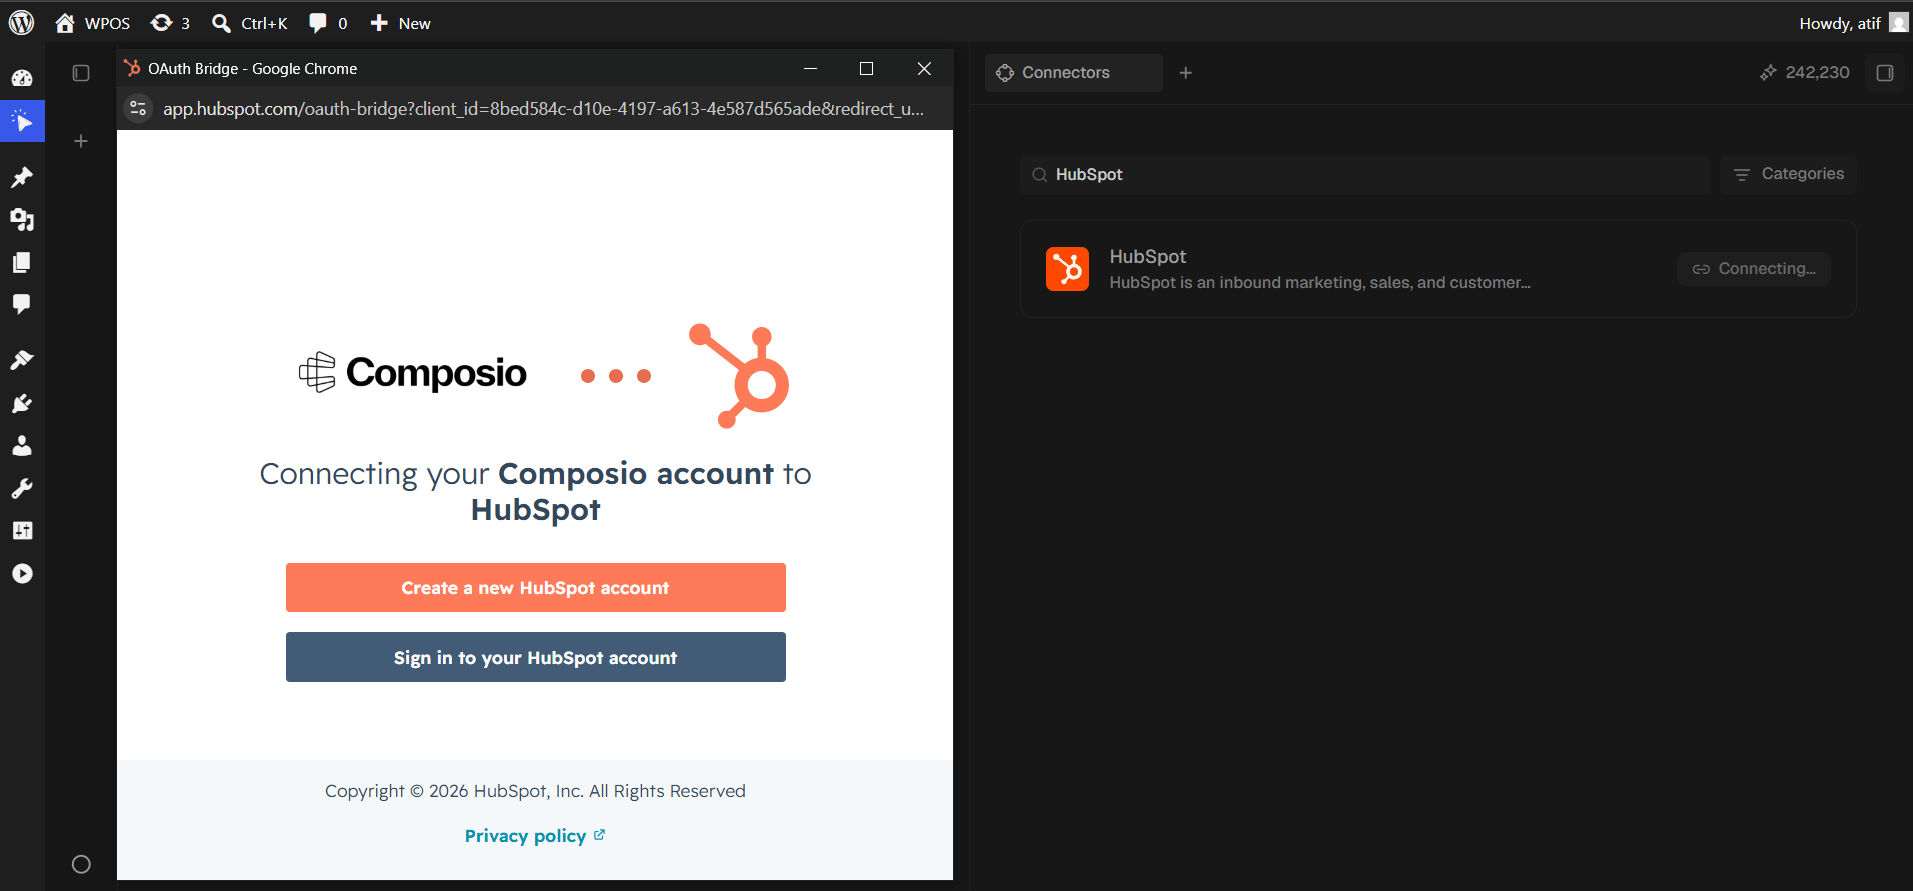
Choose sign in or create an account
A popup opens on HubSpot’s OAuth Bridge, headed “Connecting your Composio account to HubSpot”, with two buttons: Sign in to your HubSpot account and Create a new HubSpot account.
Two paths. Signing in is the reliable one.
6
Sign in to HubSpot
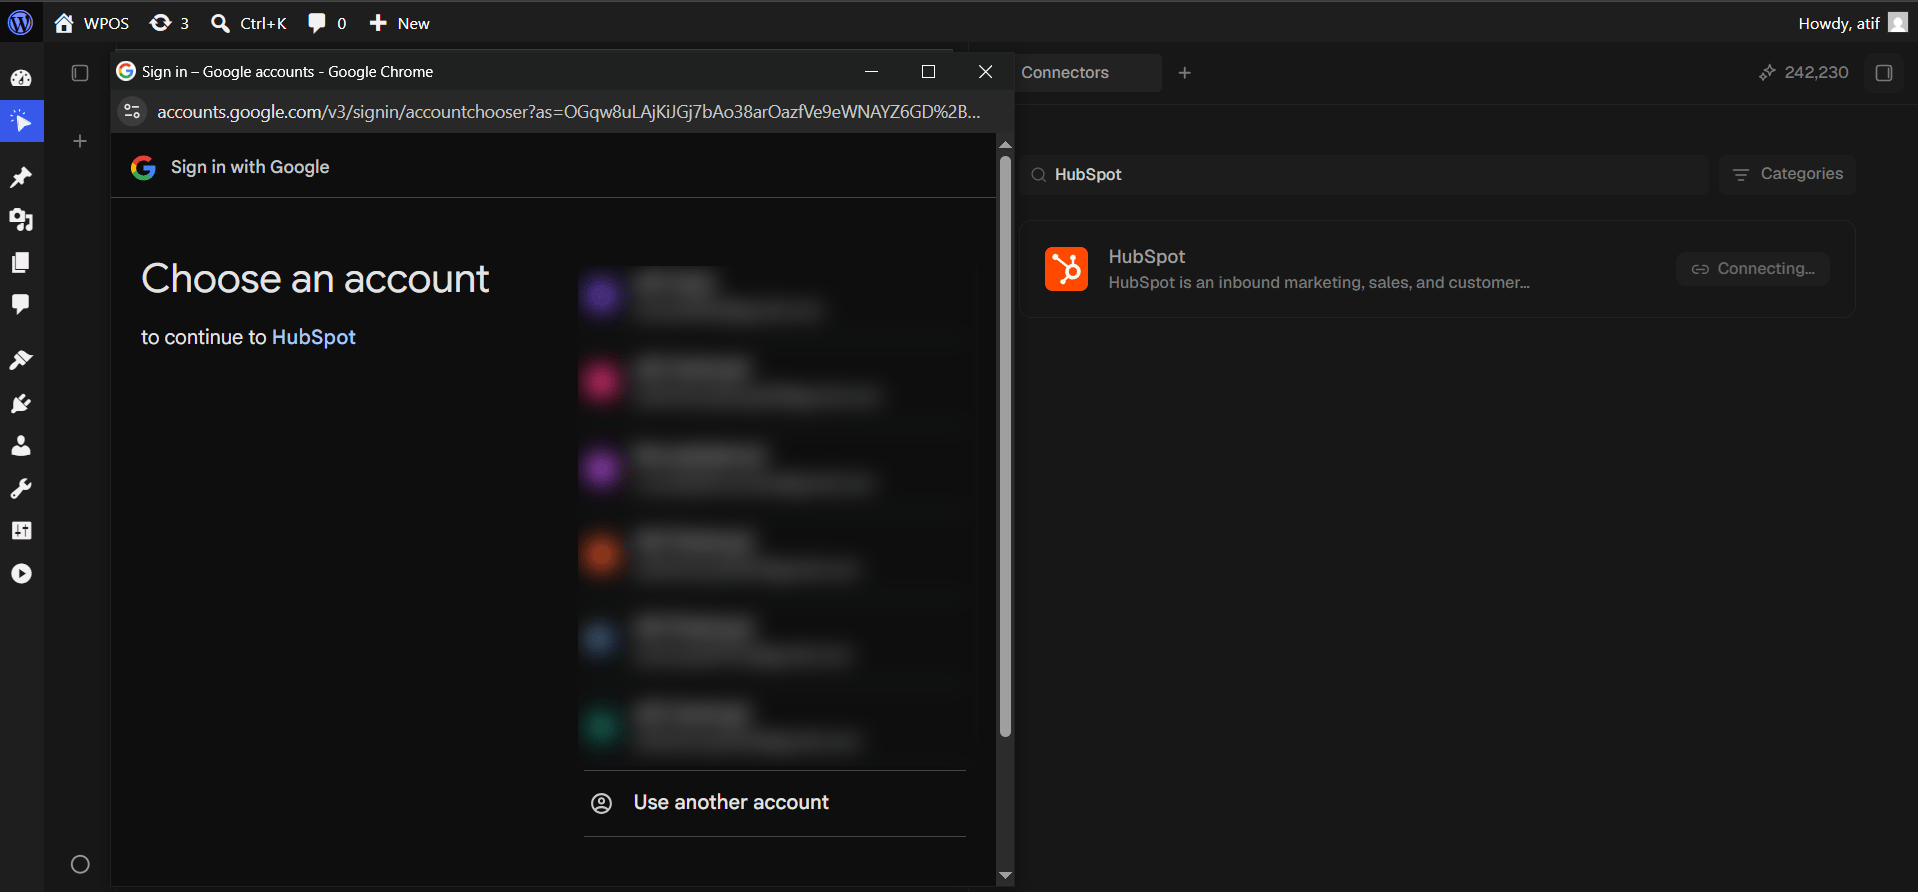
Sign in with email and password, or continue with Google. With Google, its account chooser appears headed “to continue to HubSpot”.
Agencies often hold several HubSpot accounts. Read the account name carefully, because writes go to a live CRM and cleaning up records created in the wrong account is manual work.
Signing in to HubSpot with Google.
7
Confirm your profile, new accounts only
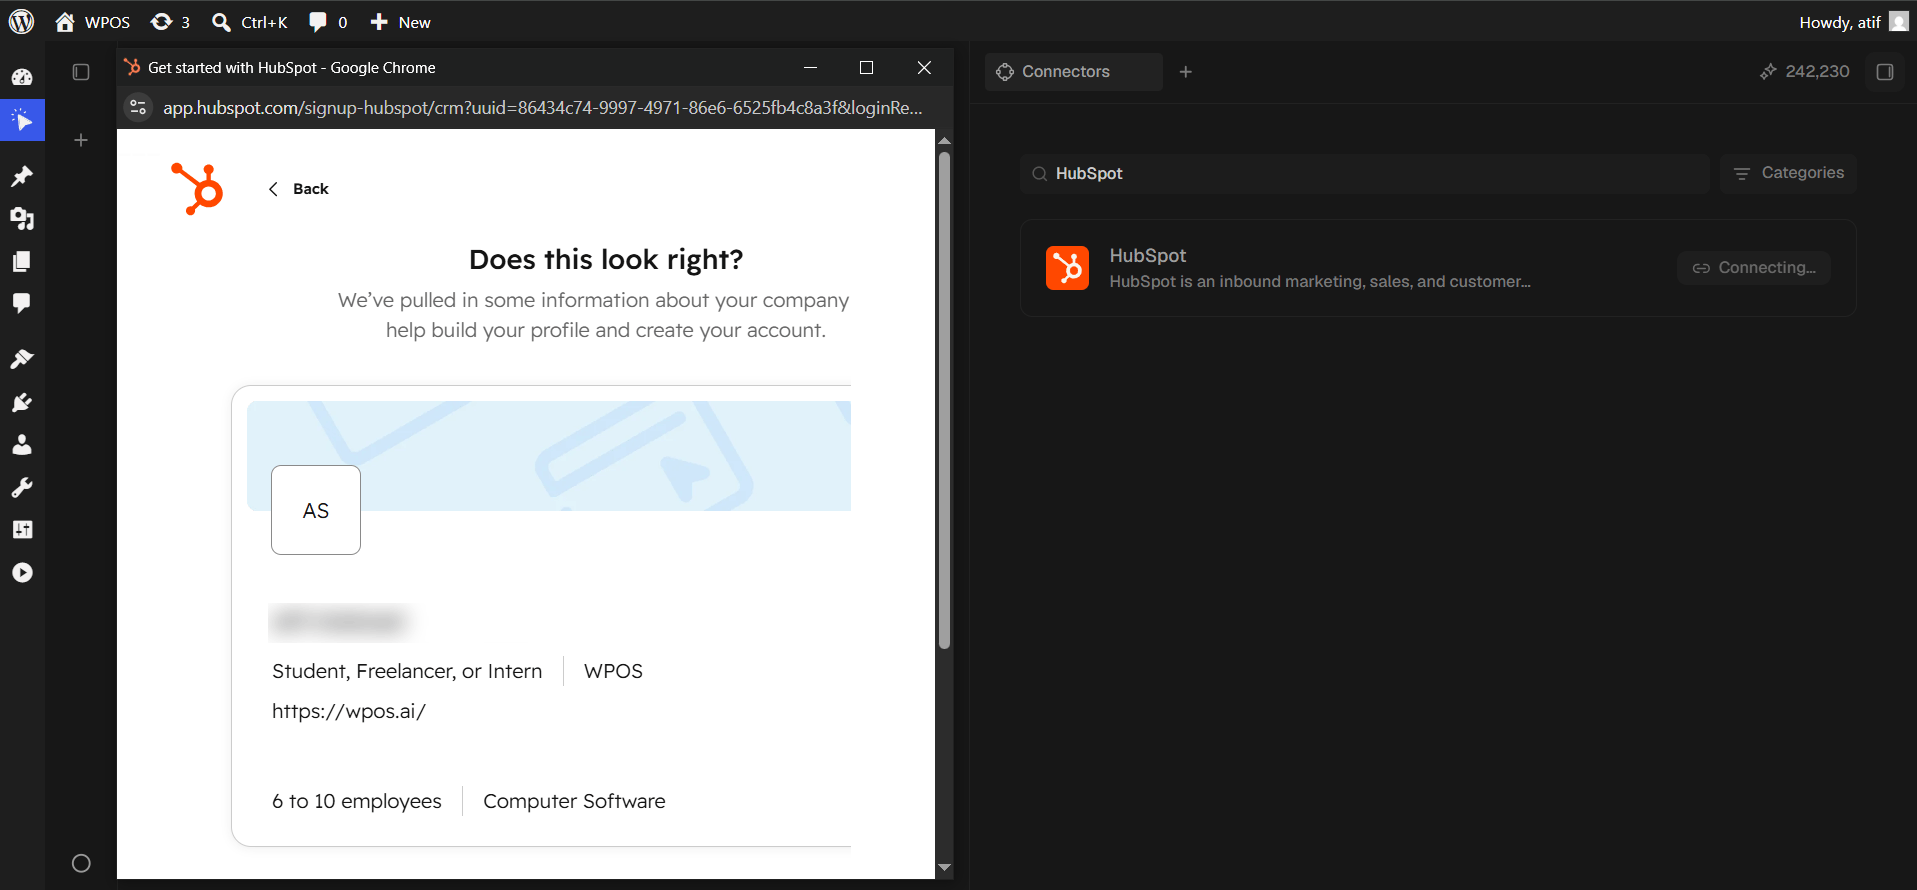
If you chose to create a new account, HubSpot runs its signup wizard. It pre-fills a profile and asks “Does this look right?” for company name, website, size, and industry.
This is where the connection can go astray. The signup wizard is HubSpot’s own flow, not part of the OAuth handshake, so finishing it can land you in the HubSpot dashboard with the connection never completed. If that happens, close the popup, return to Connectors, and press Connect again. The second attempt takes the sign-in path and completes normally. Creating the HubSpot account before starting avoids this entirely.
HubSpot's own signup wizard, not part of the OAuth flow.
8
Confirm in WPOS
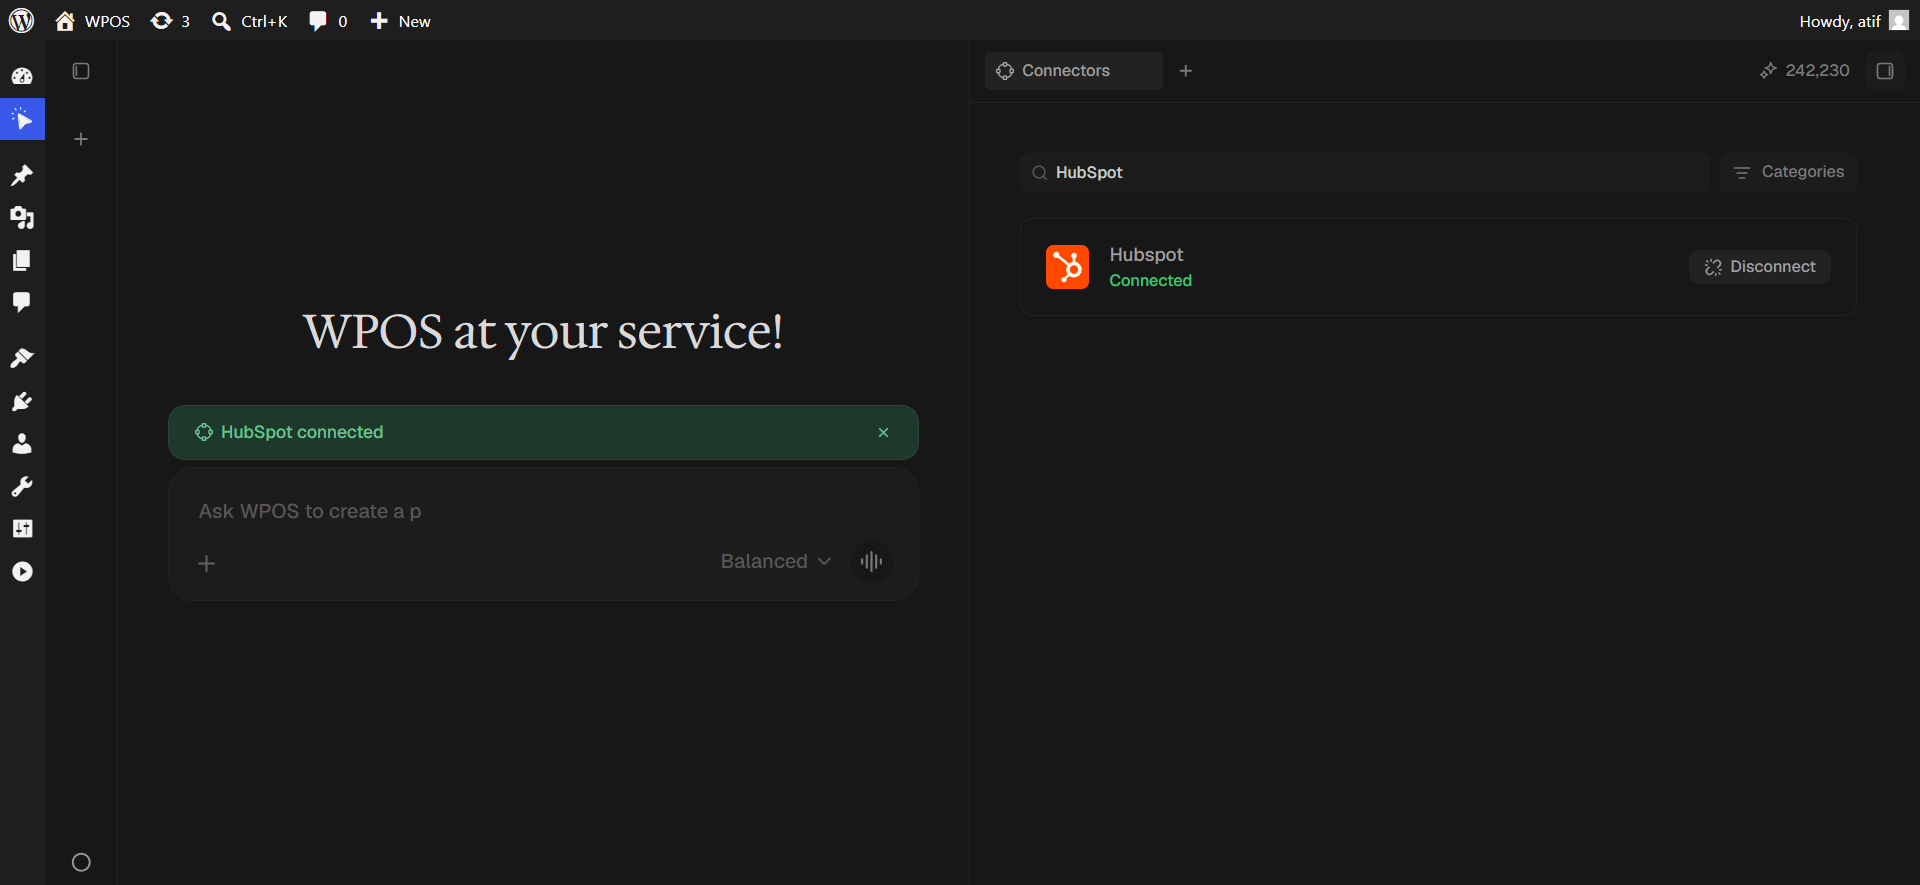
HubSpot asks which account to connect and lists the CRM scopes. Approve it, and the row reads Connected with a green “HubSpot connected” banner in the chat.
The connected row is labelled Hubspot, with a lower case s. Connected rows render the raw toolkit slug rather than the catalog name. Cosmetic only.
The most damaging mistake here, because writes go to a live CRM. Disconnect immediately, reconnect, read the account name, and clean up any records created in the wrong account.
The signup wizard left you in HubSpot, not WPOS
Expected when you create the account mid flow. Close the popup, return to Connectors, and press Connect again.
“This app requires additional scopes”
Your subscription tier does not include the object you are reaching for. Deals and tickets need paid tiers.
Custom properties are not found
Custom properties use internal names that differ from their display labels. Look up the internal name in Settings, then Properties.
For popup failures, expired connections, and other issues shared across every
connector, see Introducing Connectors.