Mailchimp is an email marketing platform. Connect it to WPOS and the agent can use it as part of the work it does on your site.
Mailchimp is an email marketing platform. Connected to WPOS, it lets the agent add subscribers from your site forms and build campaigns and automations, all from the chat beside your site’s live preview.Category: Marketing Actions available: 262+
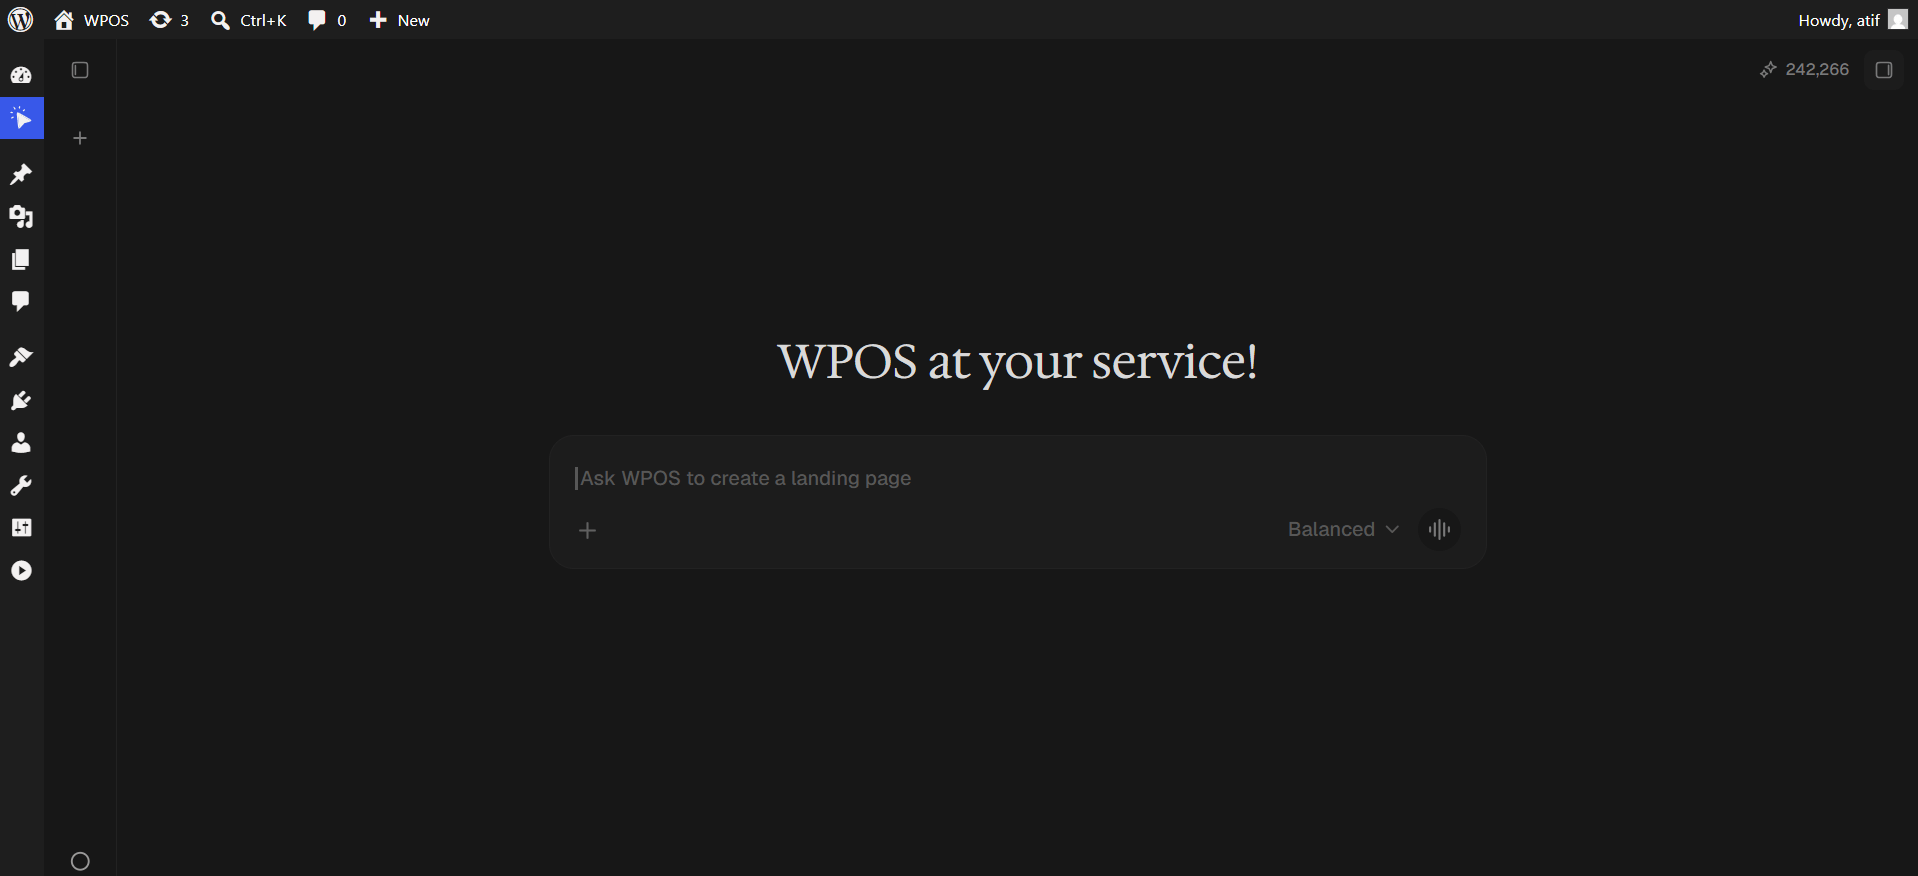
In WordPress admin, open WPOS. You land on the chat screen.
WPOS opens on the chat screen.
2
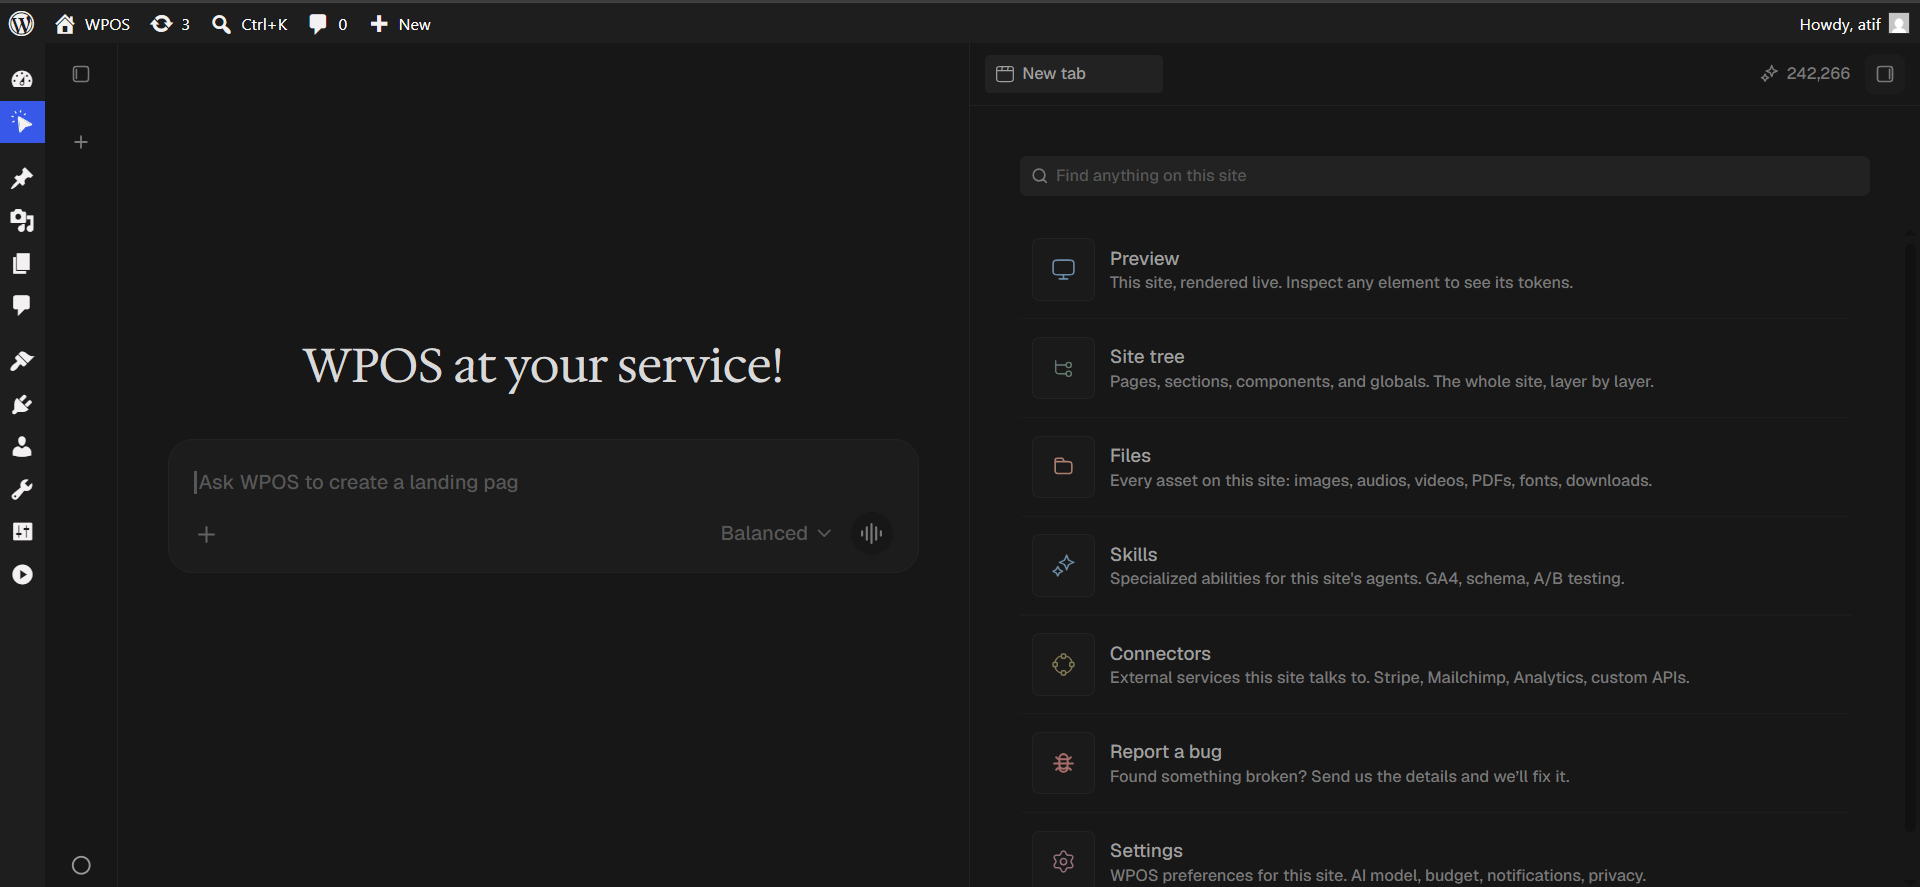
Open a new tab and choose Connectors
Click the + button to open the launcher panel, then choose Connectors.
The launcher panel. Connectors is the fifth entry.
3
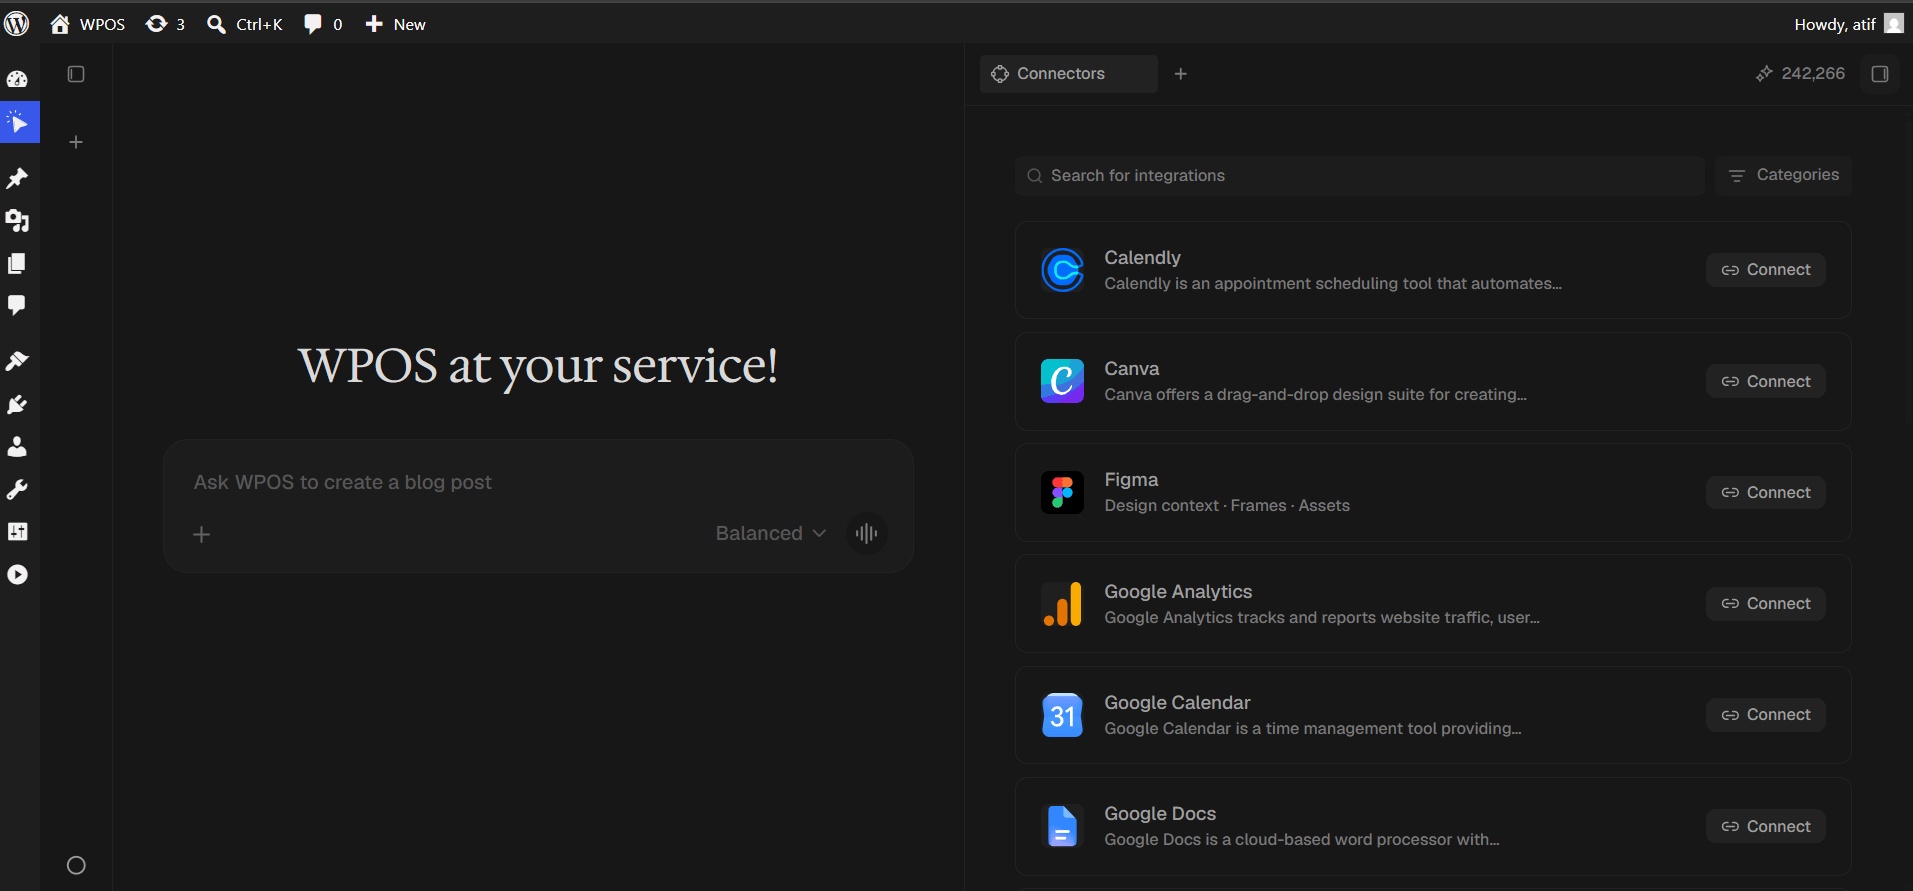
Find the connector
Every available connector is listed alphabetically, each with a button showing what it needs.
The Connectors panel, sorted alphabetically.
4
Search and press Connect
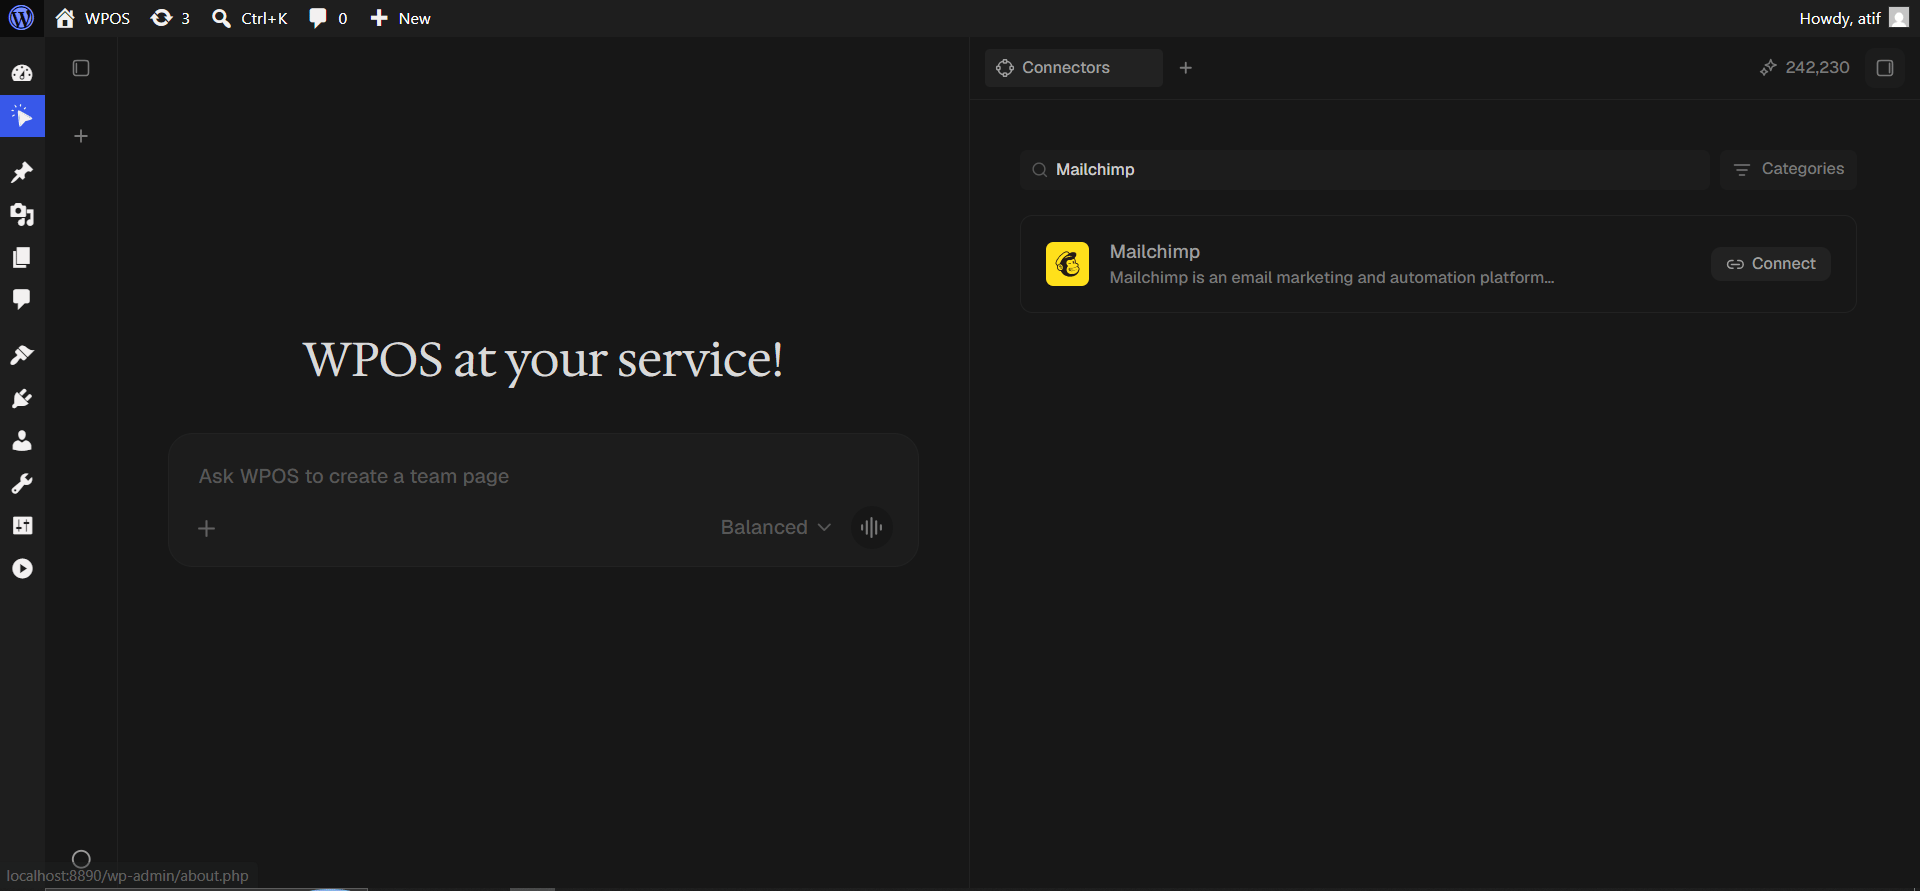
Type Mailchimp into Search for integrations, then press Connect.
Search narrows the list to one row.
5
Enter your server prefix
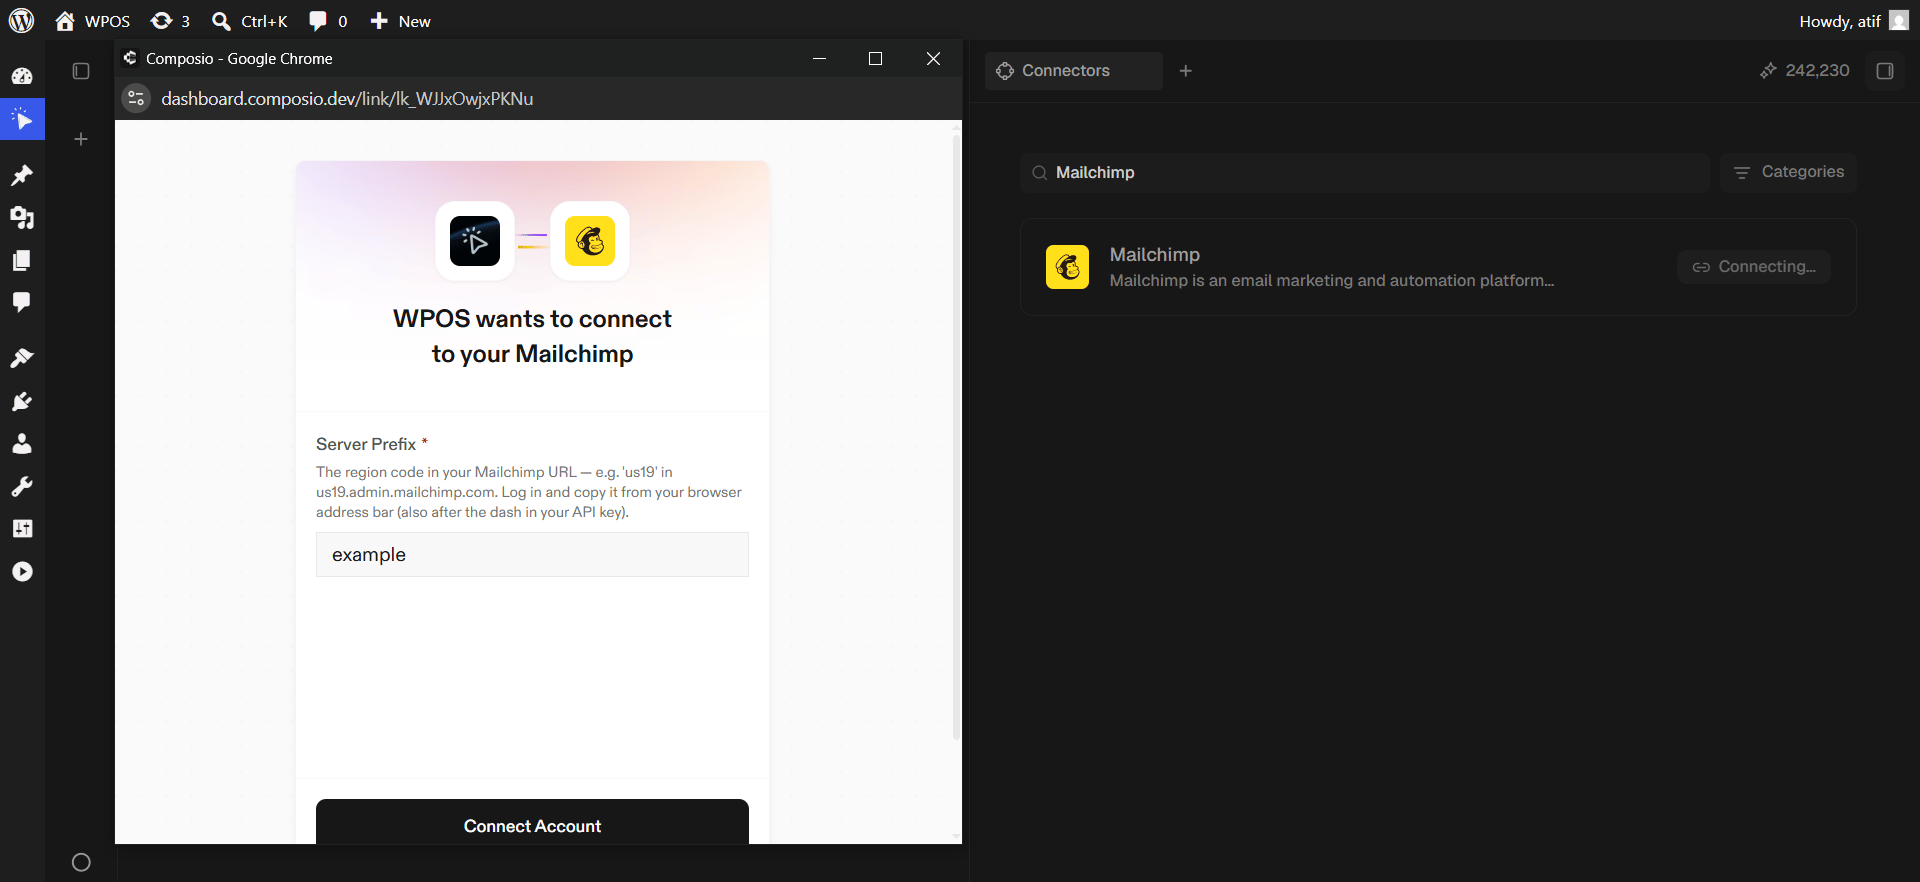
Mailchimp is the one connector that asks for something before sign-in. A Composio page headed “WPOS wants to connect to your Mailchimp” asks for a Server Prefix.This is the region code in your Mailchimp URL. If you log in at us19.admin.mailchimp.com, the prefix is us19. It is also the part after the dash in your API key.
Get this wrong and the connection authorizes against the wrong Mailchimp region, so it completes but returns nothing. Copy it from your browser address bar rather than guessing.
Click Connect Account.
Mailchimp asks for the region code first.
6
Log in and authorize
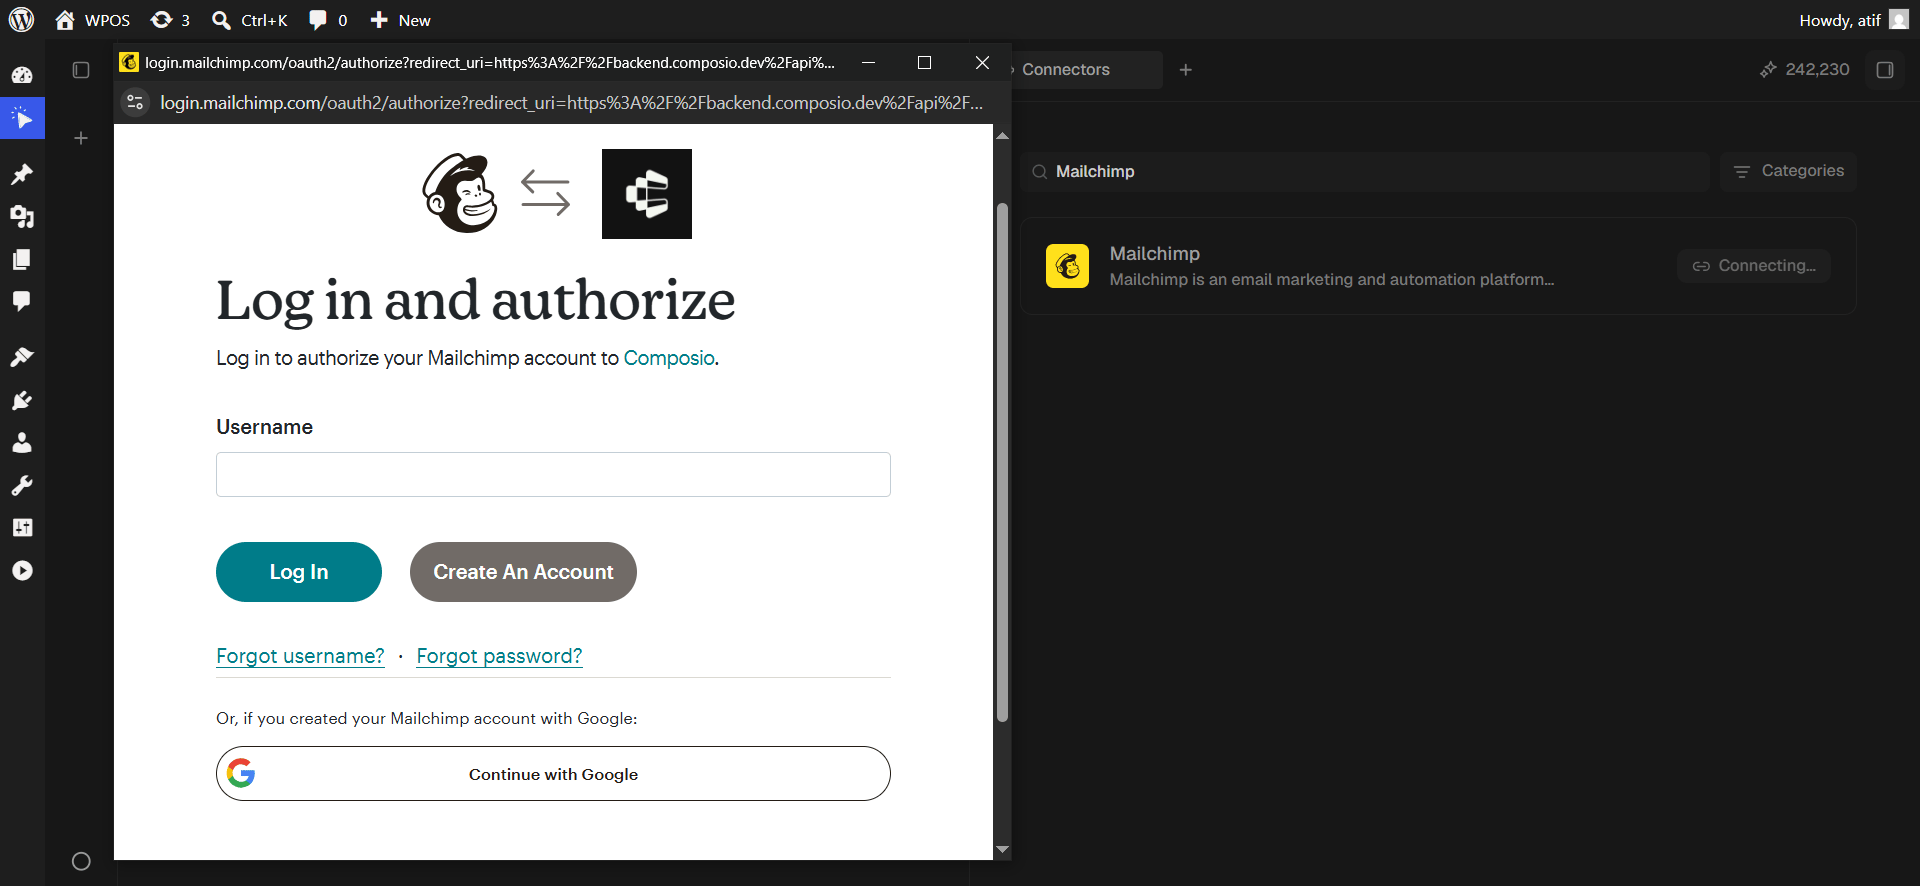
Mailchimp shows “Log in and authorize”. Enter your username and password, or continue with Google if that is how the account was created.
If two factor authentication is on, have your authenticator ready. A slow second factor is what usually times the flow out.
Mailchimp asks you to log in and authorize Composio.
7
Choose your Google account, if using Google
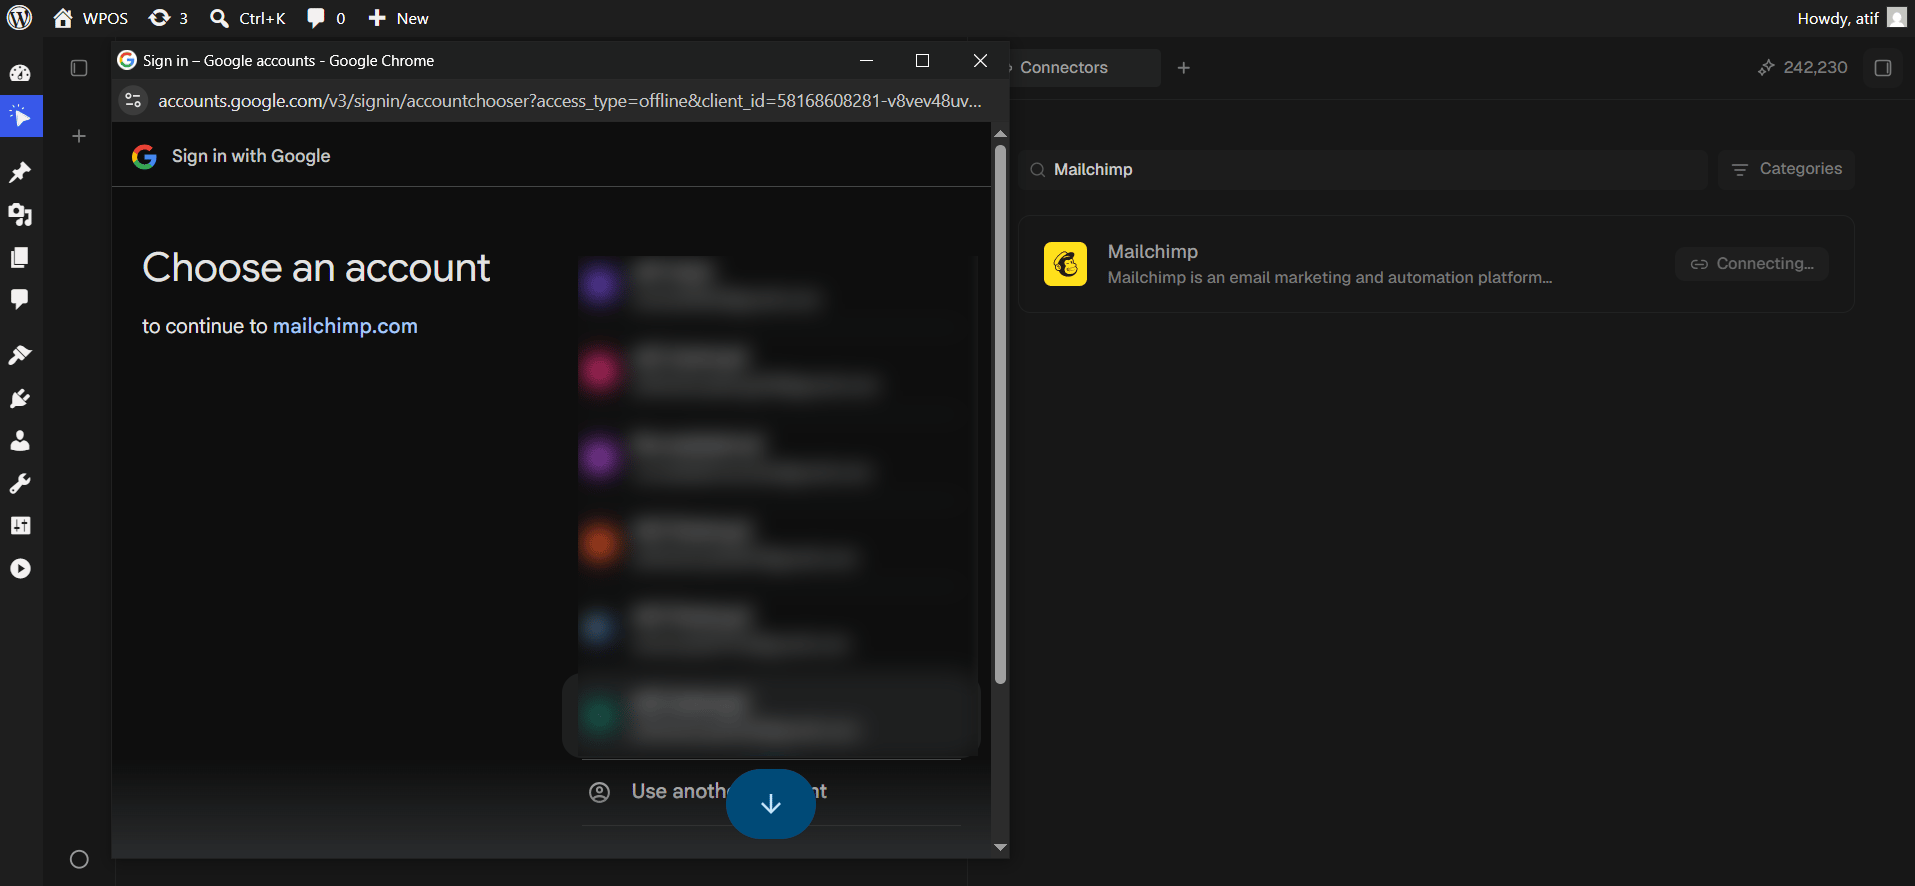
Signing in with Google shows the account chooser headed “to continue to mailchimp.com”.
Signing in to Mailchimp with Google.
8
Confirm in WPOS
The popup closes on its own. The row reads Connected with a Disconnect button, and a green “Mailchimp connected” banner appears in the chat.