Jotform is an online form builder. Connect it to WPOS and the agent can use it as part of the work it does on your site.
Jotform is an online form builder. Connected to WPOS, it lets the agent build and manage forms for lead capture and embed them on a site, all from the chat beside your site’s live preview.Category: Design and forms Actions available: 14+
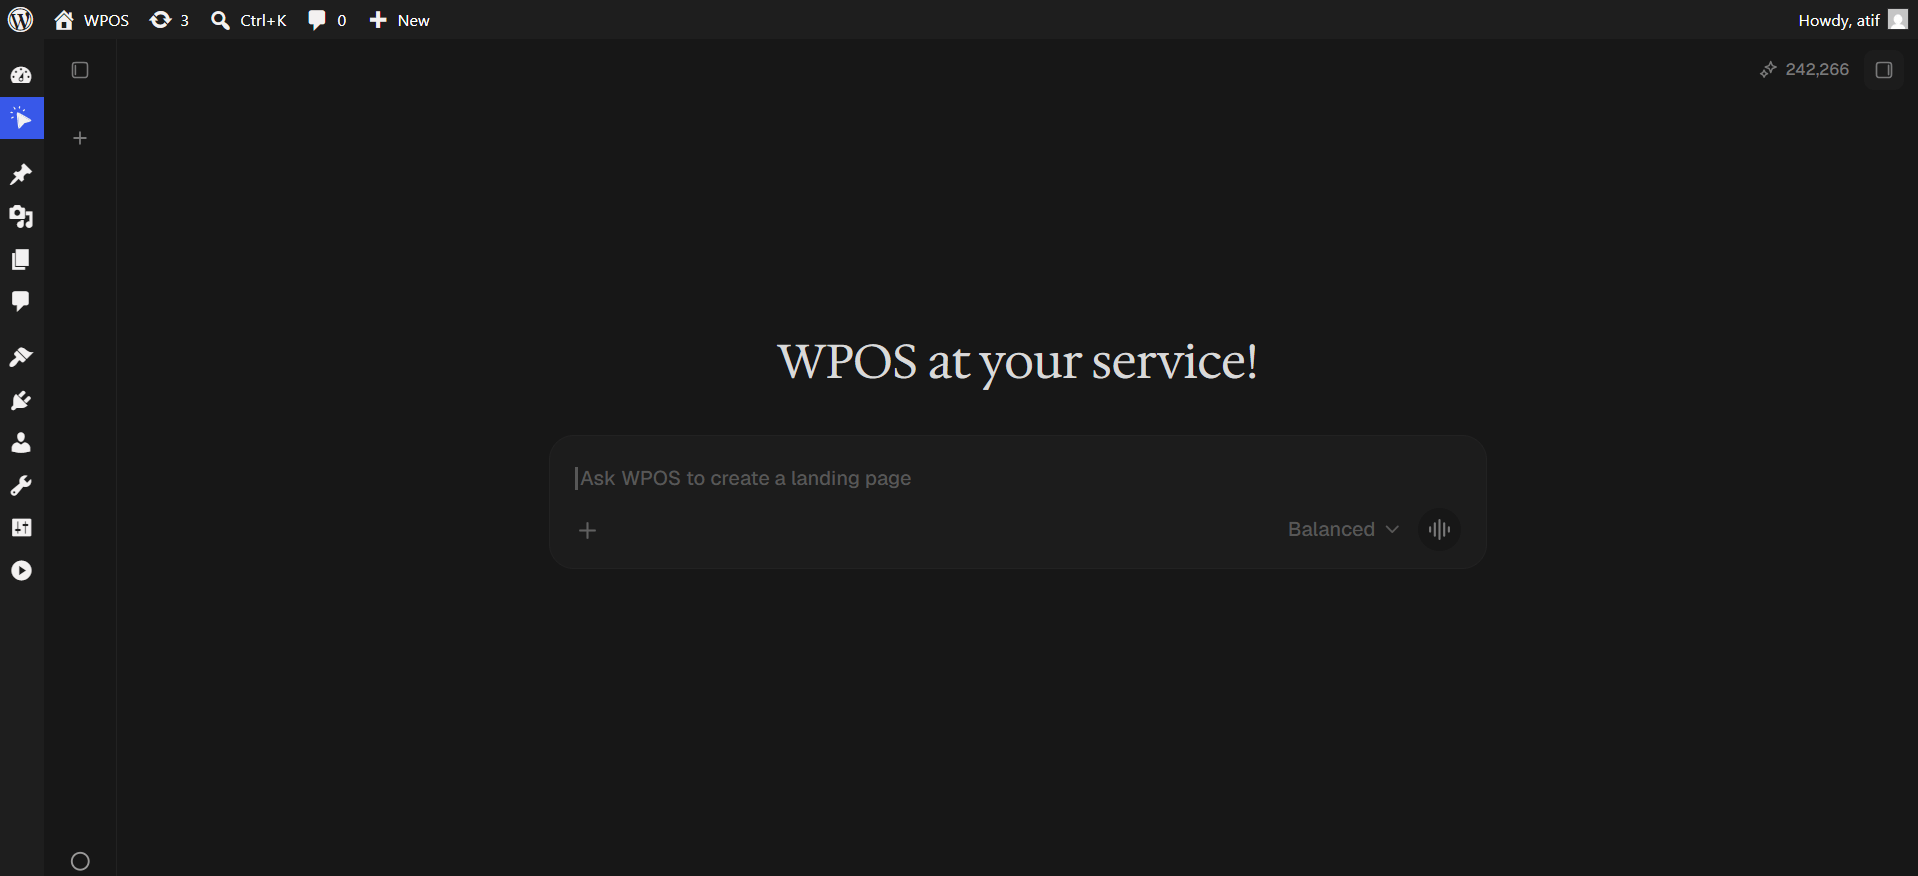
In WordPress admin, open WPOS. You land on the chat screen.
WPOS opens on the chat screen.
2
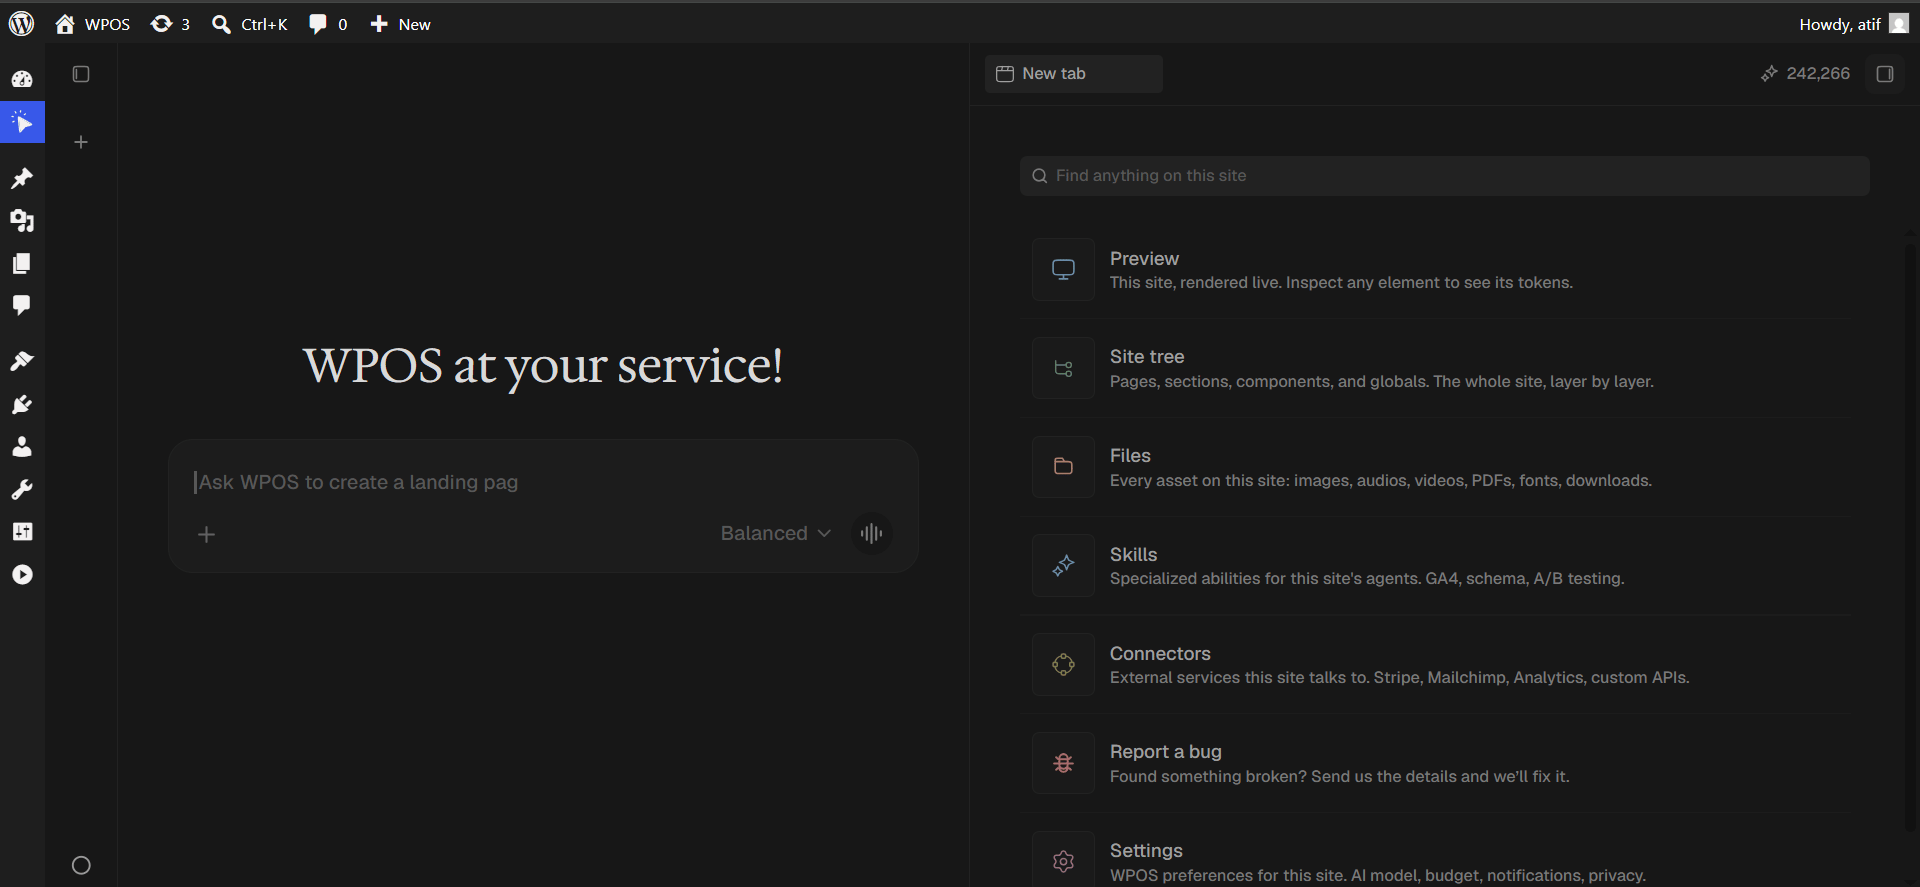
Open a new tab and choose Connectors
Click the + button to open the launcher panel, then choose Connectors.
The launcher panel. Connectors is the fifth entry.
3
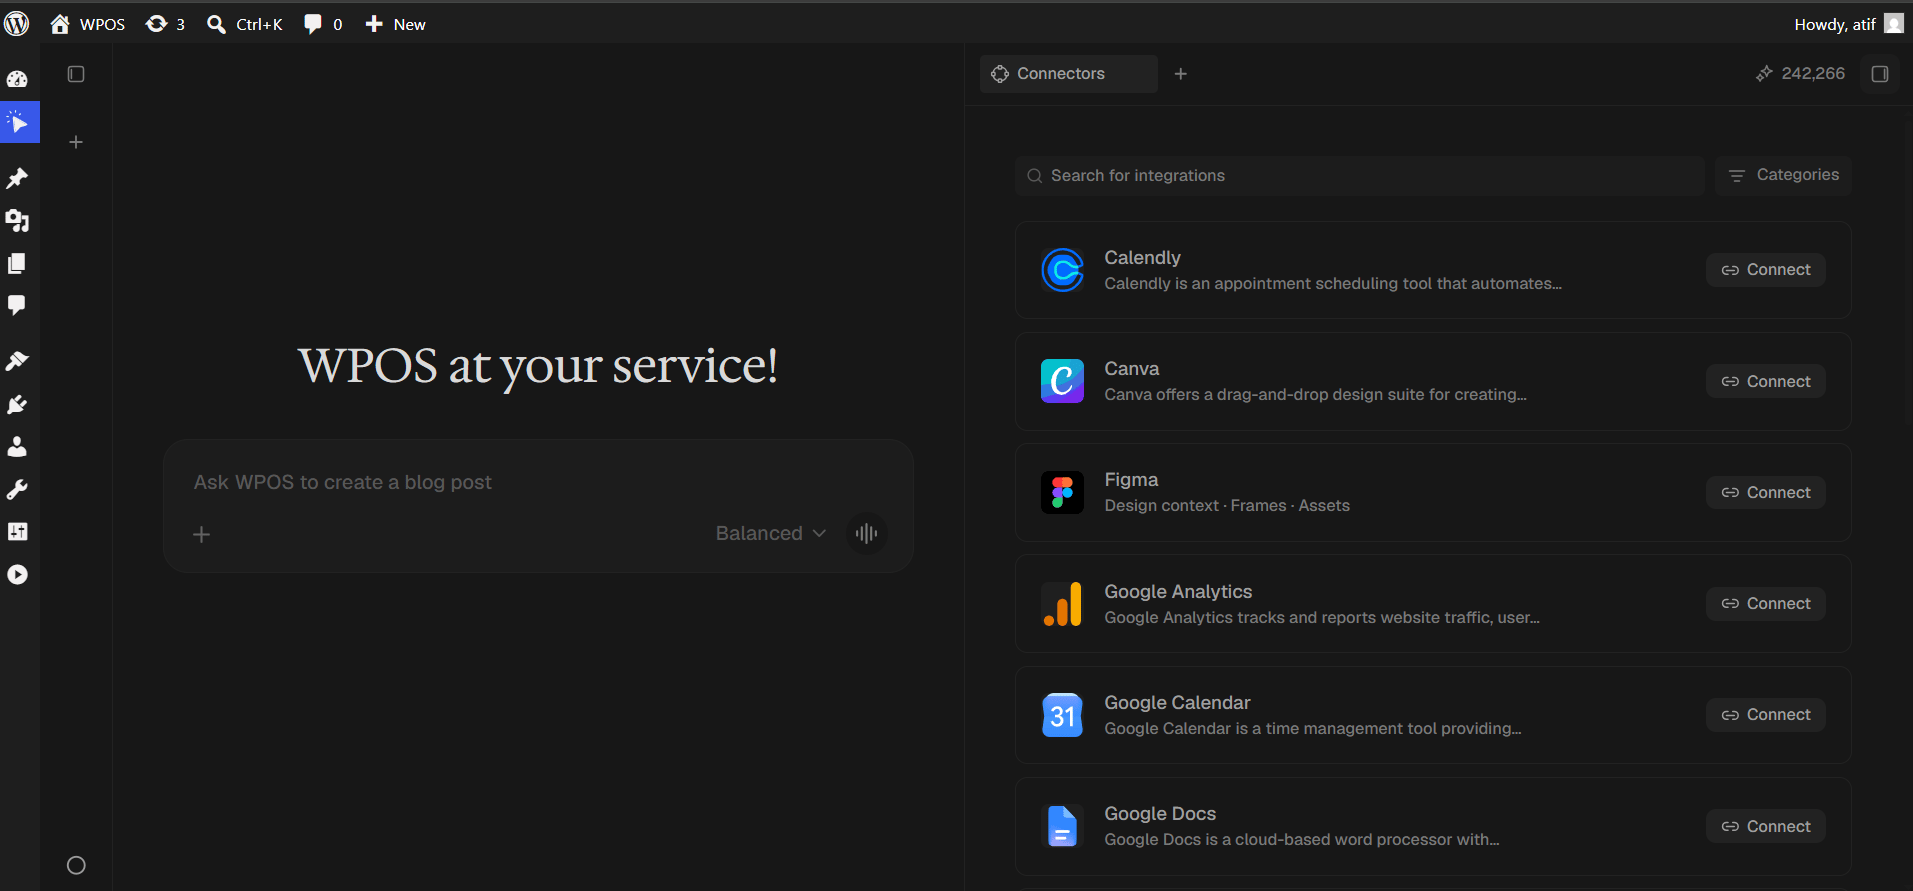
Find the connector
Every available connector is listed alphabetically, each with a button showing what it needs.
The Connectors panel, sorted alphabetically.
4
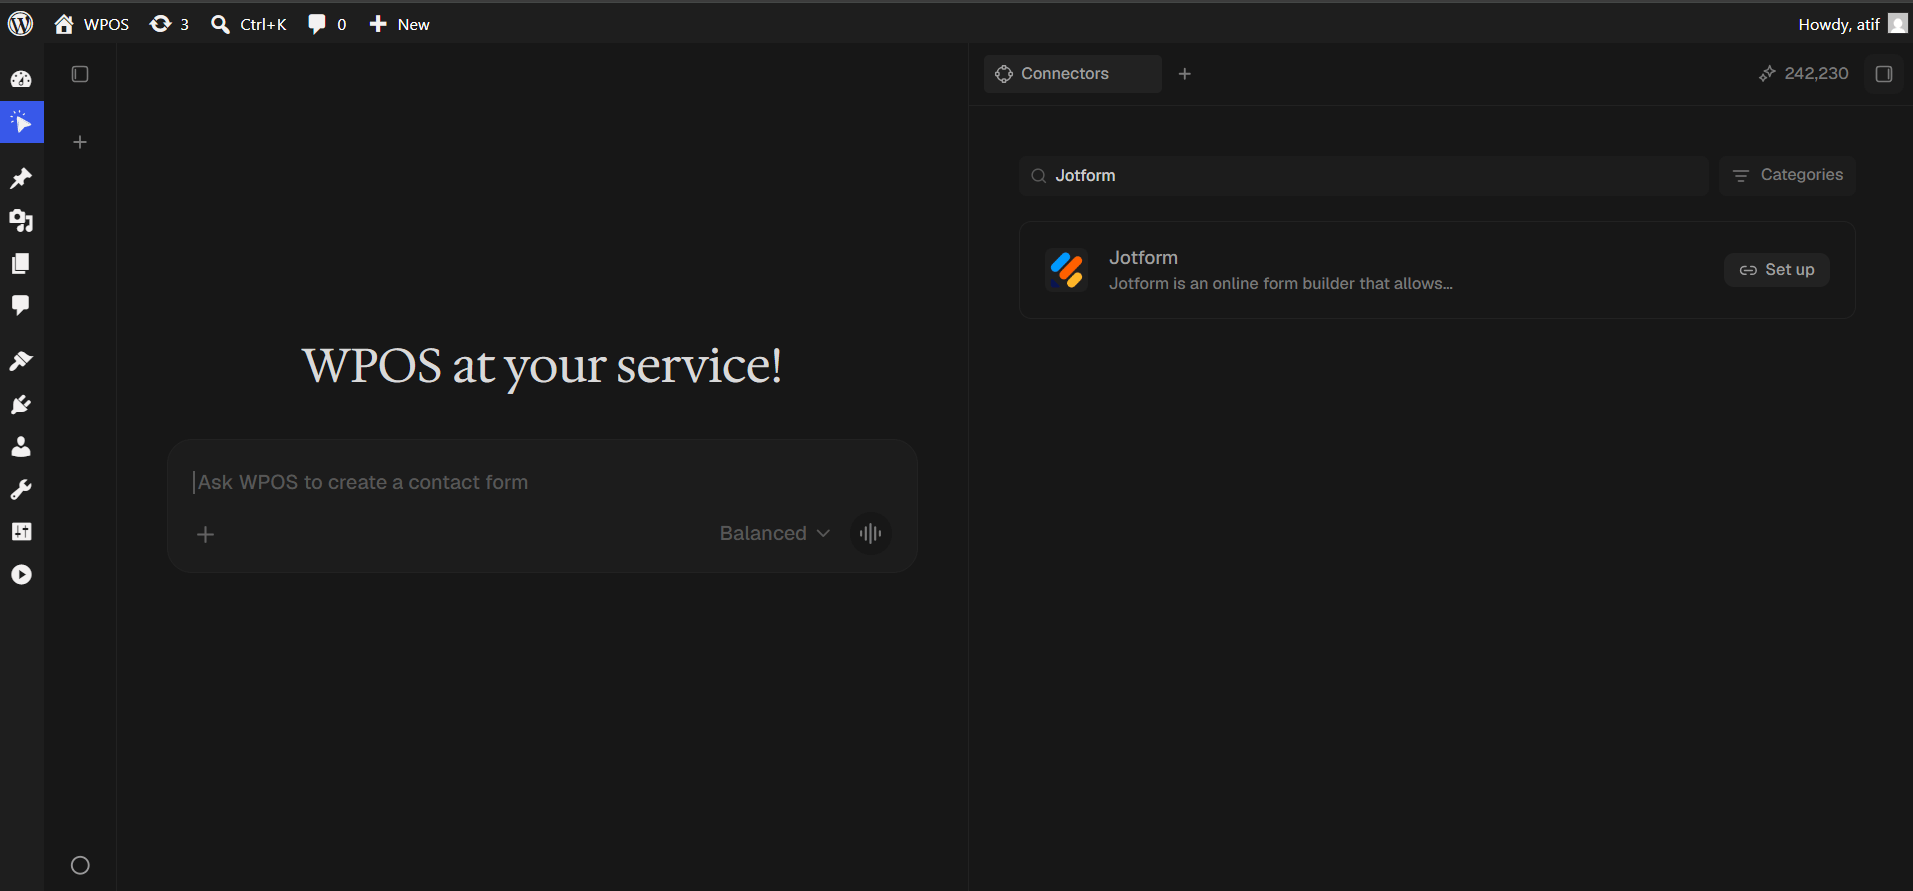
Search and press Set up
Type Jotform into Search for integrations. The button on the row reads Set up, not Connect. That is how WPOS marks a connector that needs your own credentials.
Set up, not Connect. Jotform needs your own API key.
5
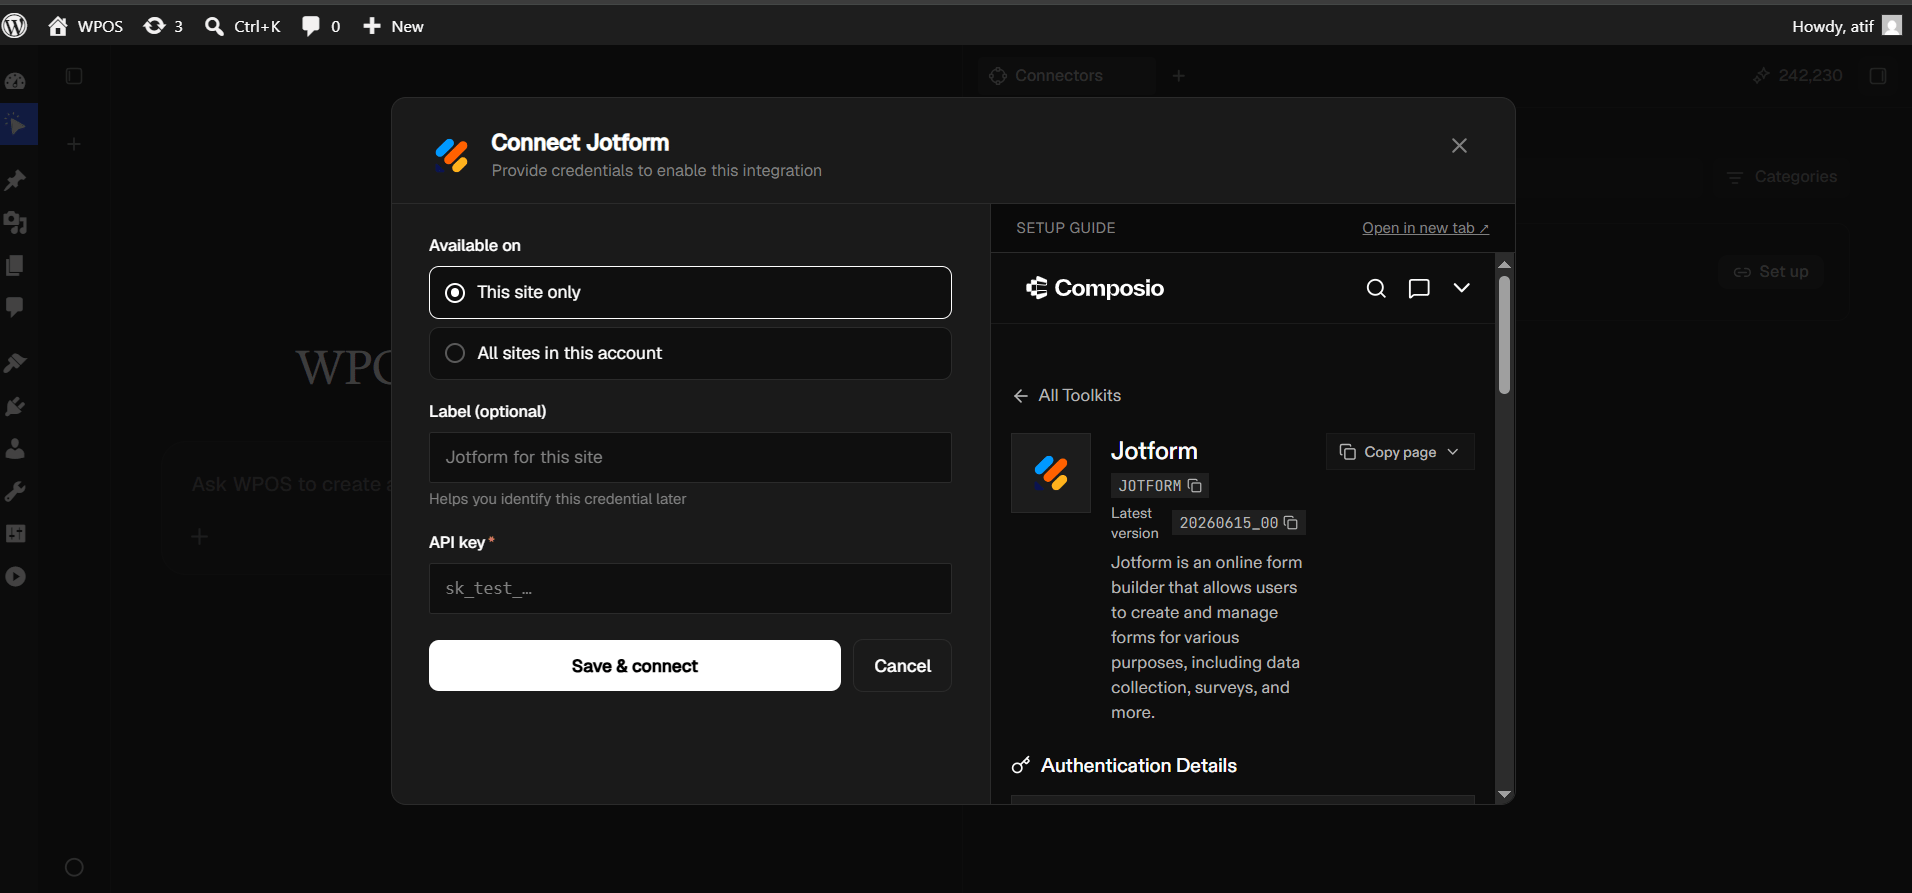
The credentials form opens
A two column dialog appears, headed “Connect Jotform”. The form is on the left, and Composio’s Jotform documentation is embedded on the right.
Field
What it does
Available on
This site only keeps the credential to this WordPress install. All sites in this account shares it with every site on your WPOS account
Label (optional)
A name to recognise this credential by later
API key
Your Jotform API key, generated next
The credentials form, with setup docs alongside.
6
Create an API key in Jotform
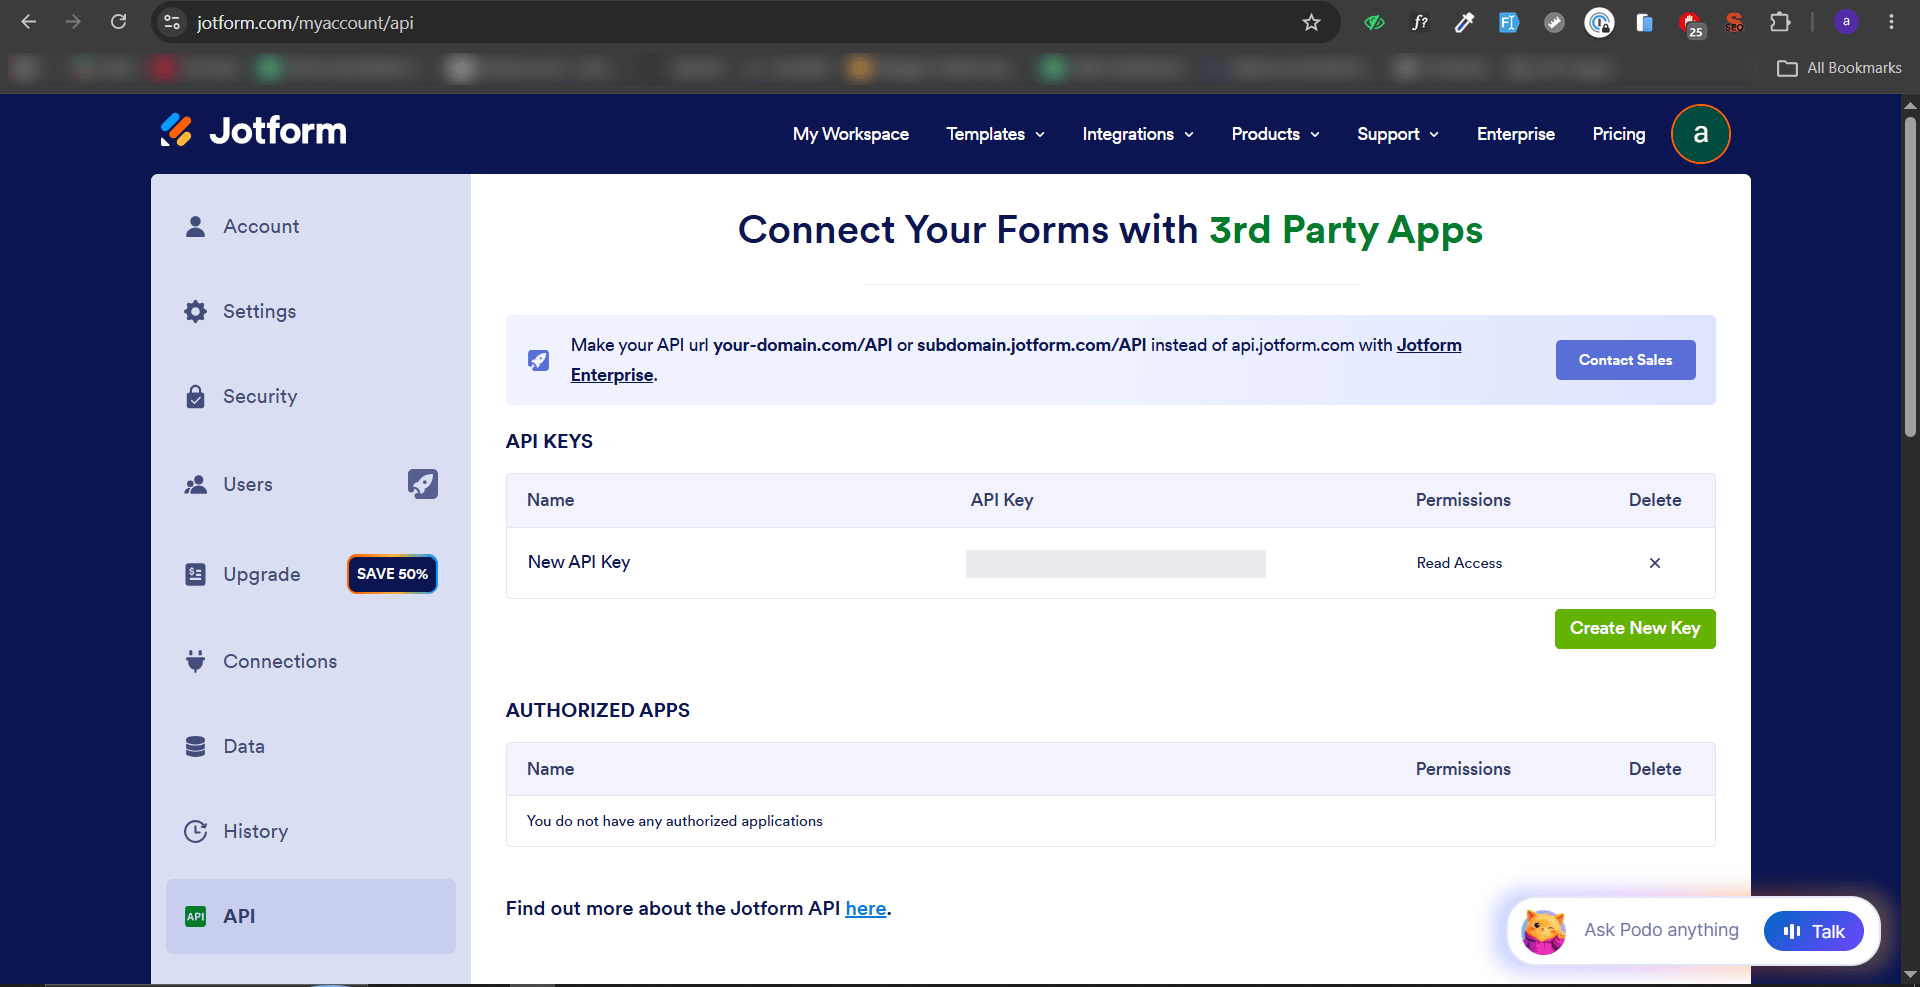
In Jotform, go to My Account, then API, and click Create New Key. The key appears in the table, and unlike Figma it stays visible so you can copy it again later.
Check the Permissions column. A new key defaults to Read Access, which is enough to search and fetch but not to create or edit forms. Raise it to Full Access if you want WPOS to build forms.
Note the Permissions column. New keys default to Read Access.
7
Paste the key and save
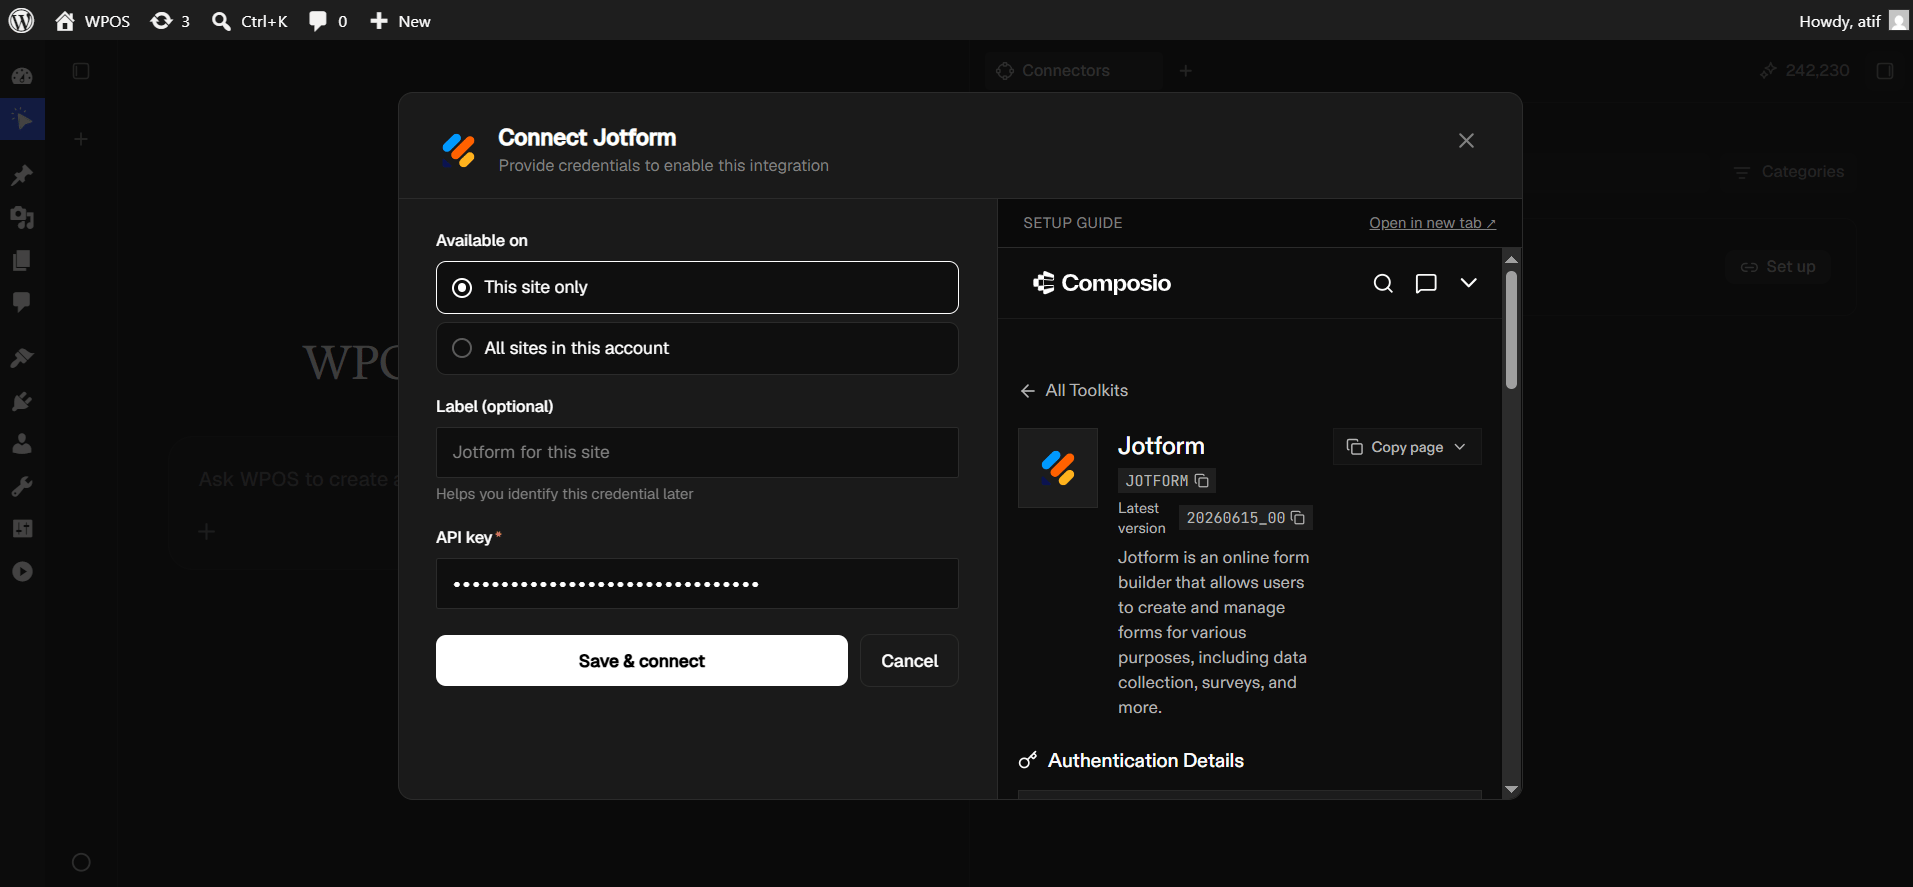
Back in WPOS, paste the key into API key, where it masks as you type, then click Save & connect.
The key masks as you paste it.
8
Confirm in WPOS
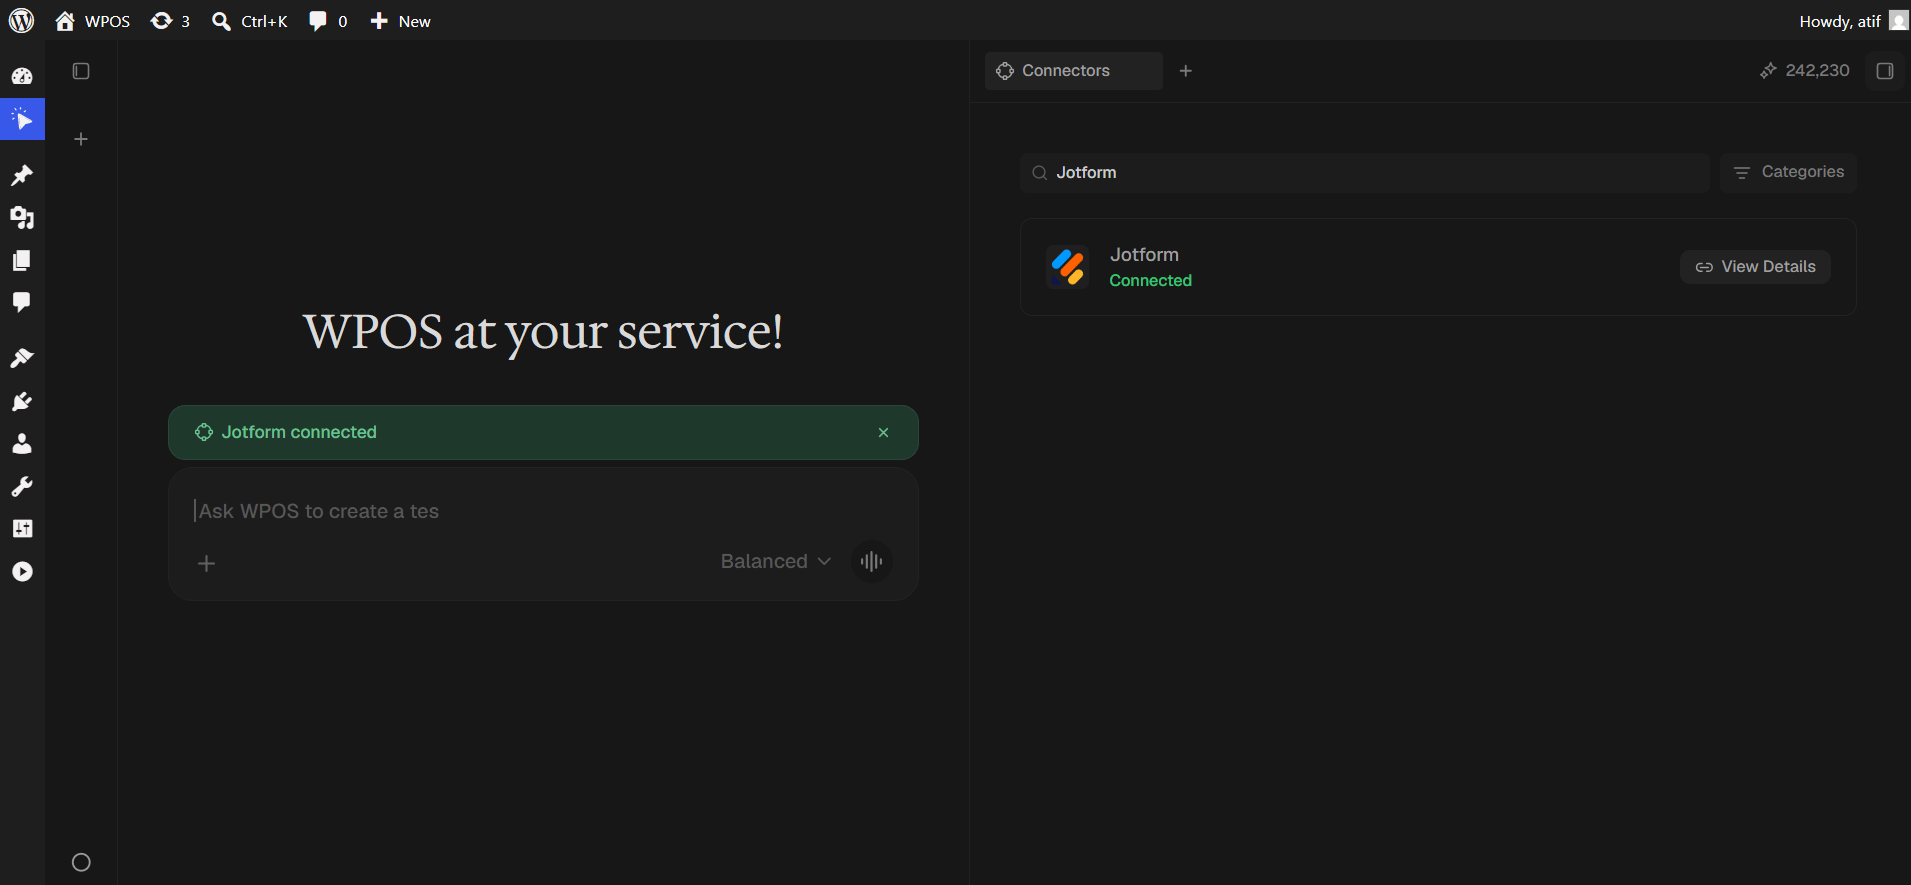
Because this is an API key rather than OAuth, there is no authorization popup and nothing to approve. WPOS stores the credential and completes the connection immediately.The row reads Connected with View Details, and a green “Jotform connected” banner appears in the chat.
Press View Details on the row, then Disconnect inside the panel. The row itself has no Disconnect button. Your forms and submissions stay in Jotform, and only the stored key is removed.To invalidate the key entirely, also delete it in Jotform under My Account, then API. Disconnecting in WPOS does not revoke it on Jotform’s side.
The most common Jotform problem. New keys default to Read Access, and nothing in WPOS warns you. The connection reports Connected either way, because the key is valid, just limited. Raise the key to Full Access in Jotform and reconnect.
The row says “Set up”, not “Connect”
Correct behaviour. Jotform has no managed authorization, so WPOS asks for credentials before it can connect anything.
“Invalid API key”
Check for whitespace copied along with the key, confirm the key still exists, and confirm your account region matches.
The key leaked into a screenshot, ticket, or chat
Treat it as compromised. Delete it in My Account, then API, create a replacement, and reconnect.
For popup failures, expired connections, and other issues shared across every
connector, see Introducing Connectors.