Notion is a workspace for notes, docs, wikis, and databases. Connect it to WPOS and the agent can use it as part of the work it does on your site.
Notion is where a lot of agencies plan content. Connected to WPOS, the agent can read and write the pages and databases you share with it, so a content calendar in Notion can drive what gets published on the site.Category: Productivity and documents Actions available: 45+
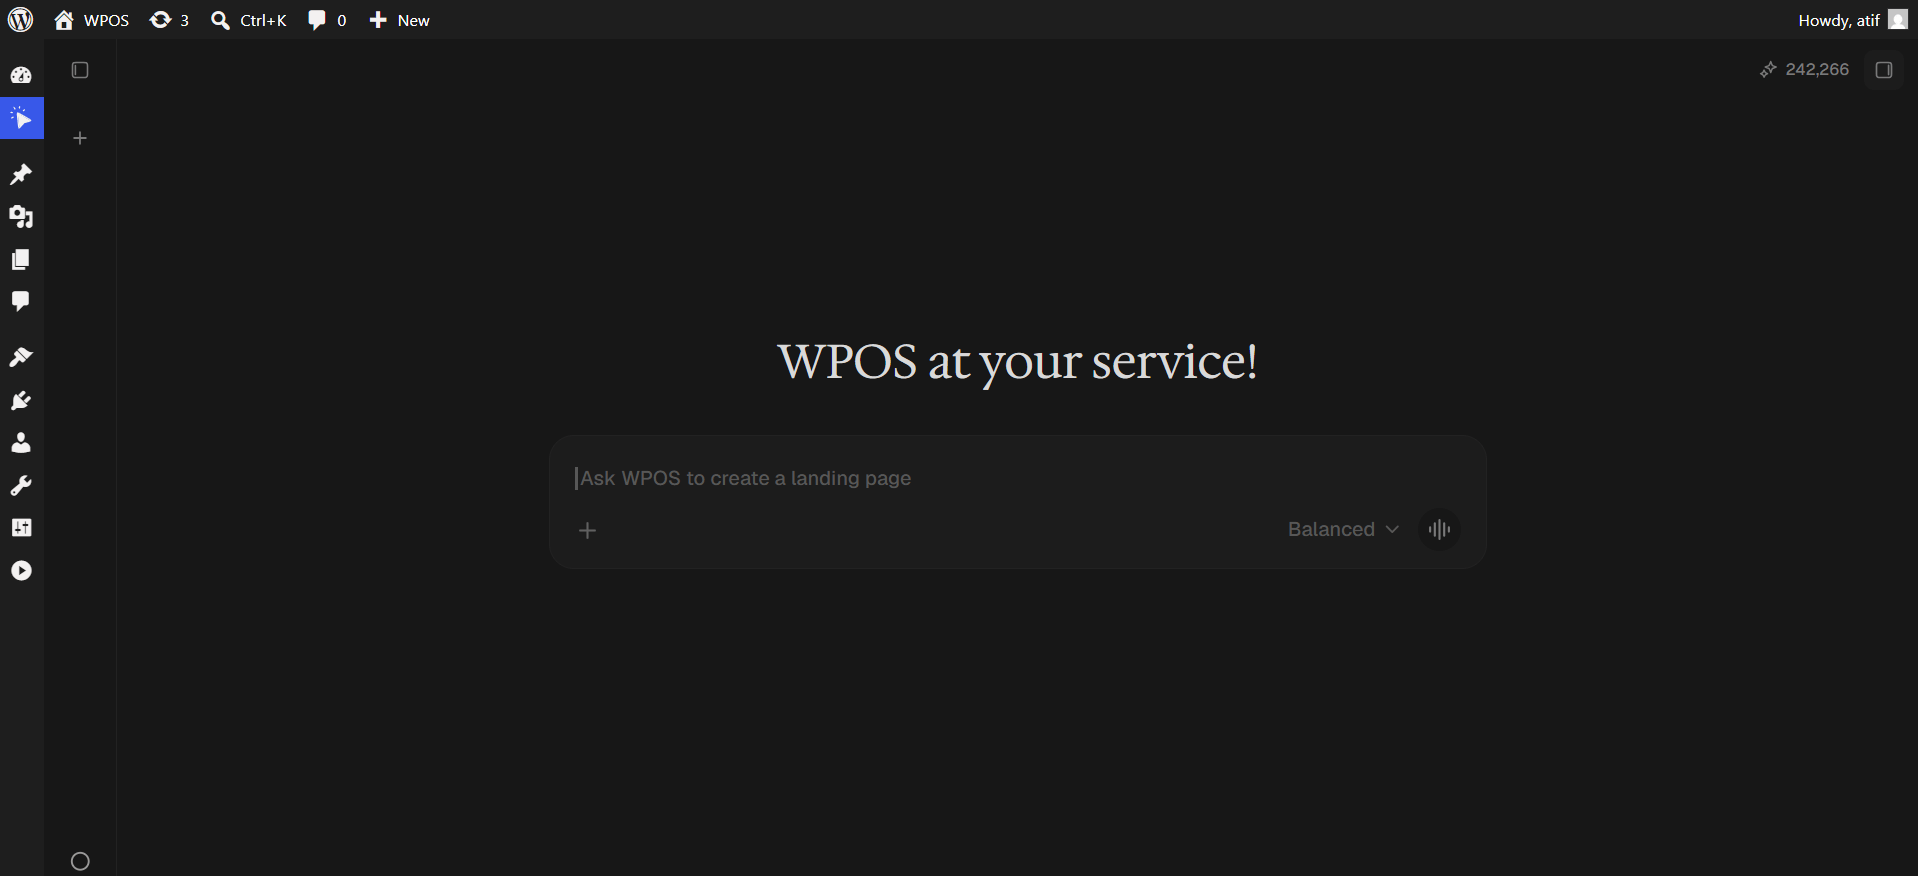
In WordPress admin, open WPOS. You land on the chat screen.
WPOS opens on the chat screen.
2
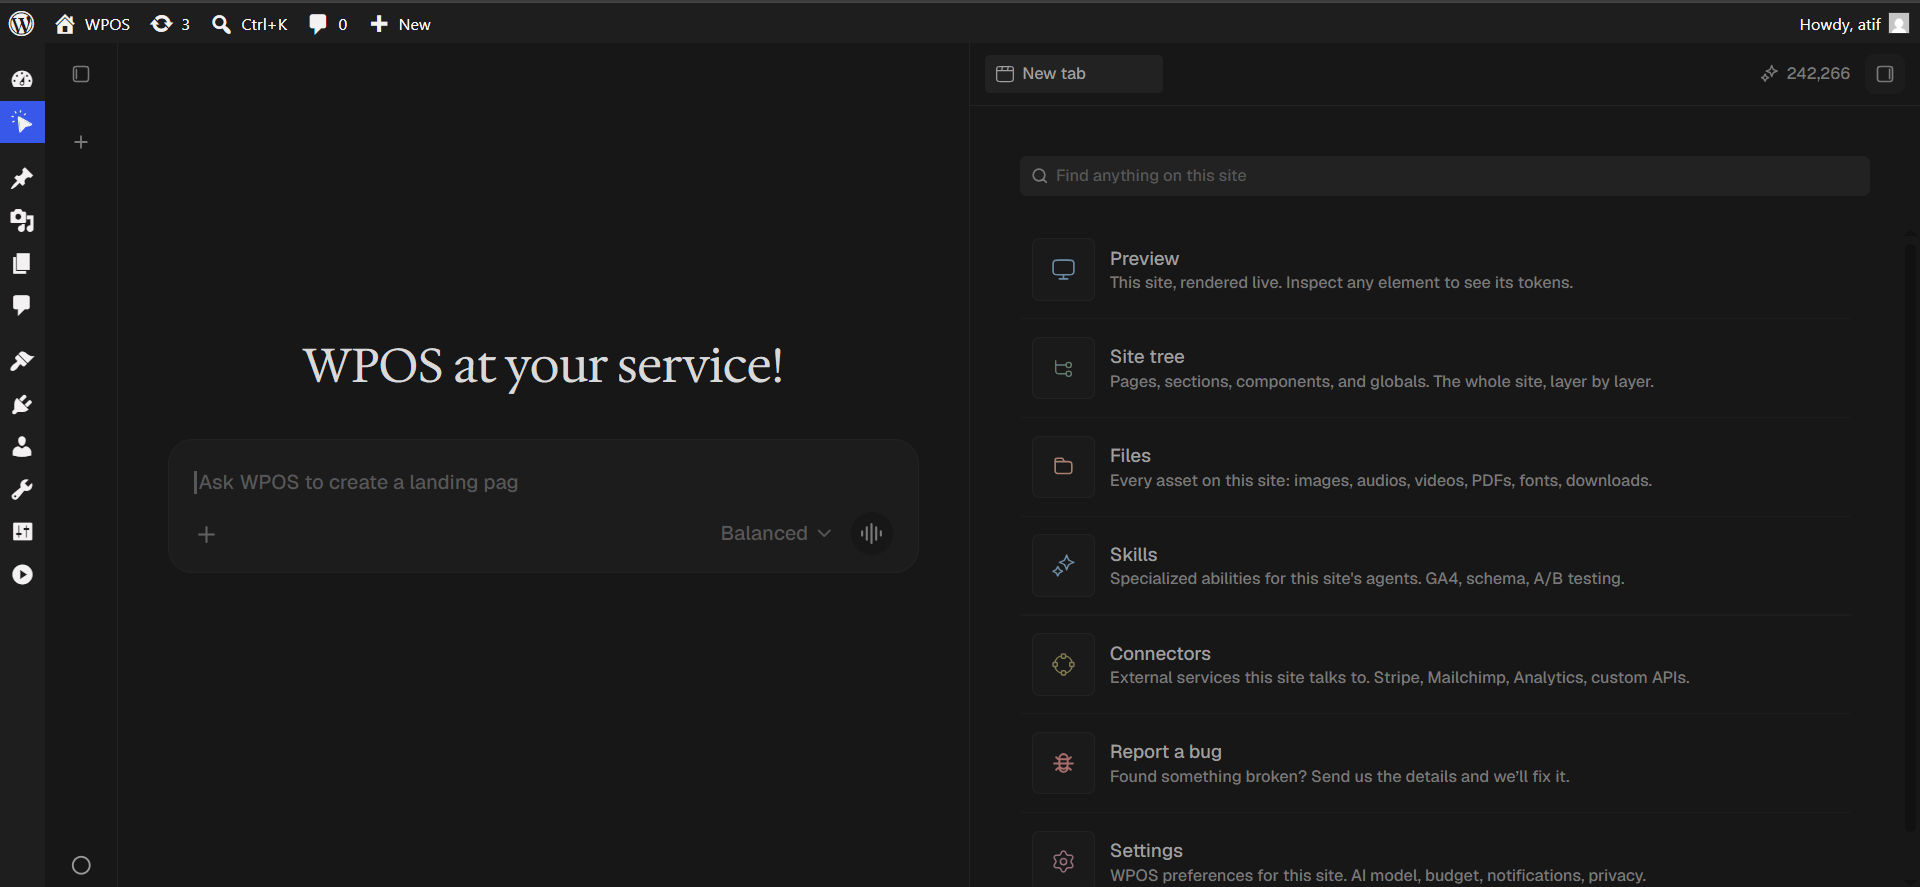
Open a new tab and choose Connectors
Click the + button to open the launcher panel, then choose Connectors.
The launcher panel. Connectors is the fifth entry.
3
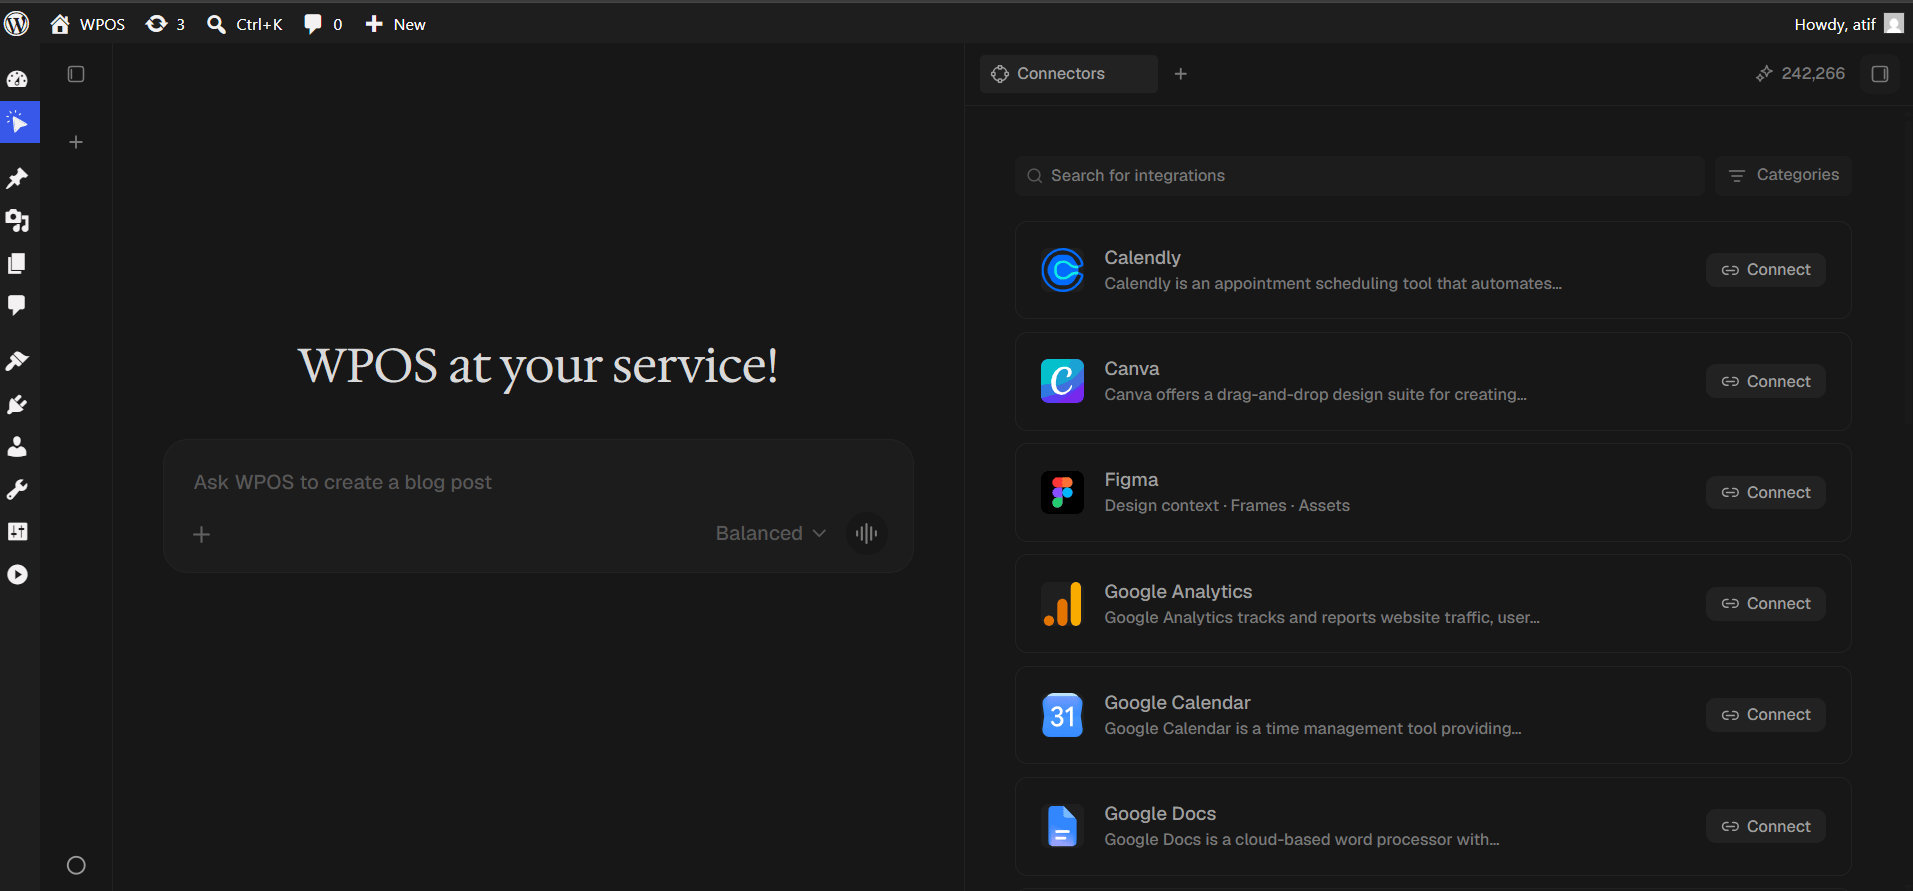
Find the connector
Every available connector is listed alphabetically, each with a button showing what it needs.
The Connectors panel, sorted alphabetically.
4
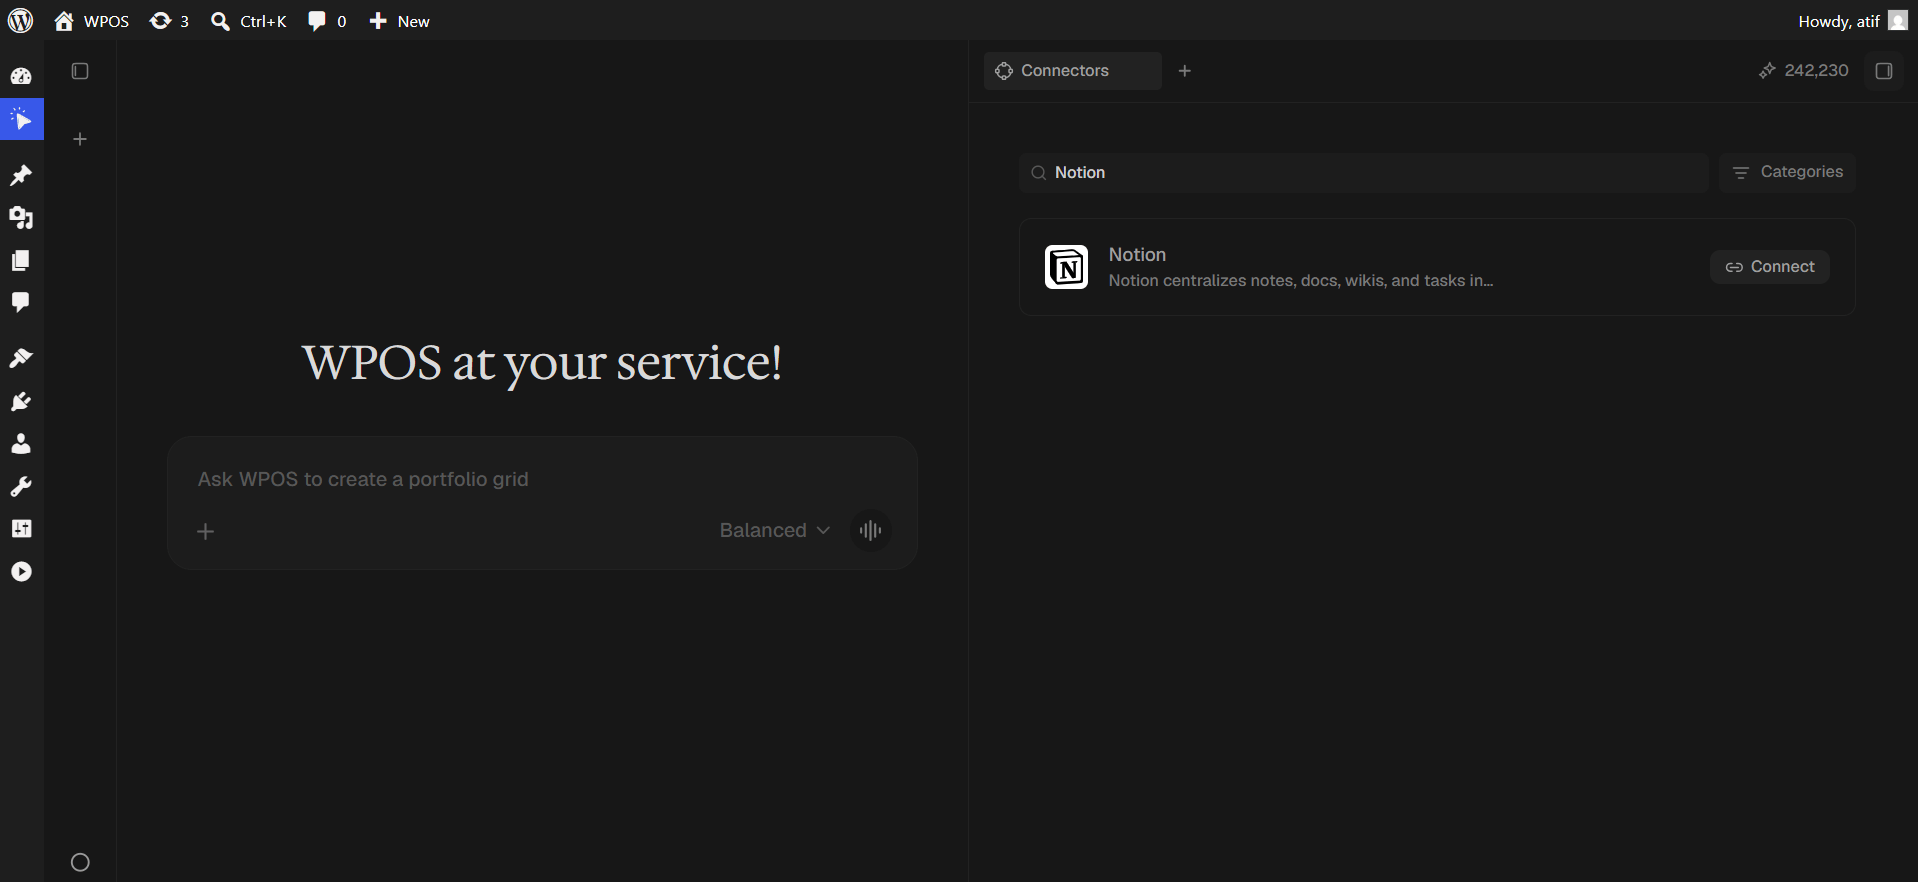
Search and press Connect
Type Notion into Search for integrations, then press Connect.
Search narrows the list to one row.
5
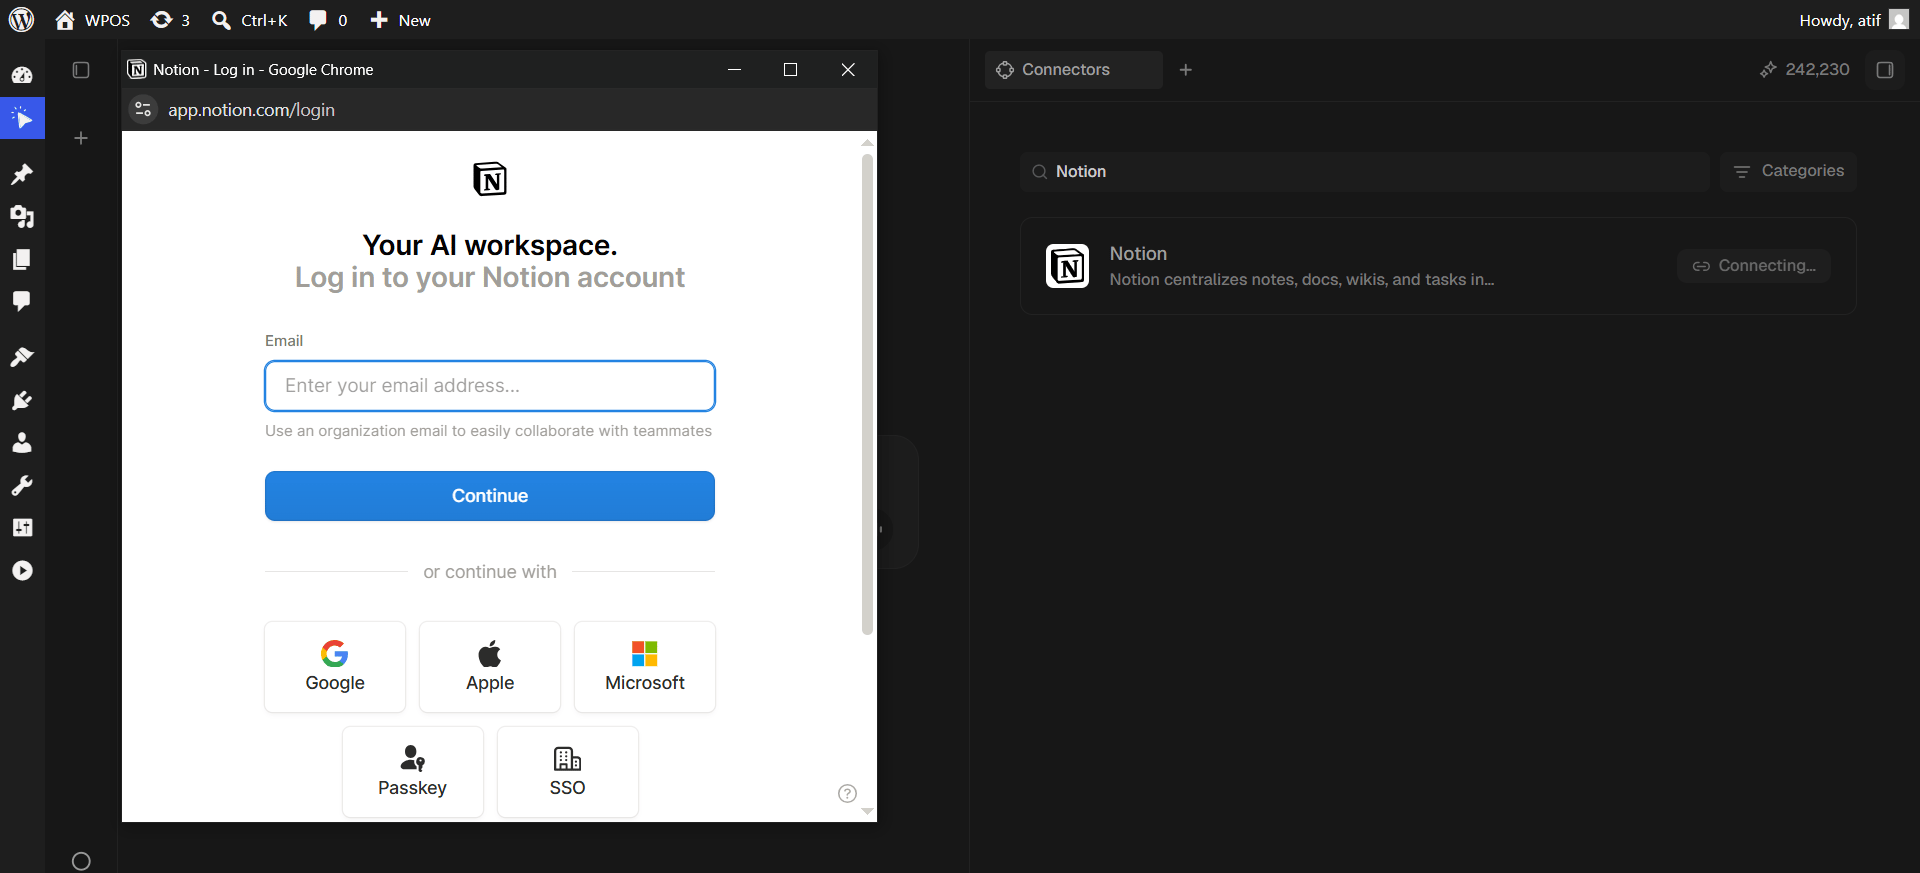
Log in to Notion
A popup opens on Notion’s login page. Enter your email and click Continue, or use Google, Apple, Microsoft, Passkey, or SSO.
Notion offers six ways to sign in.
6
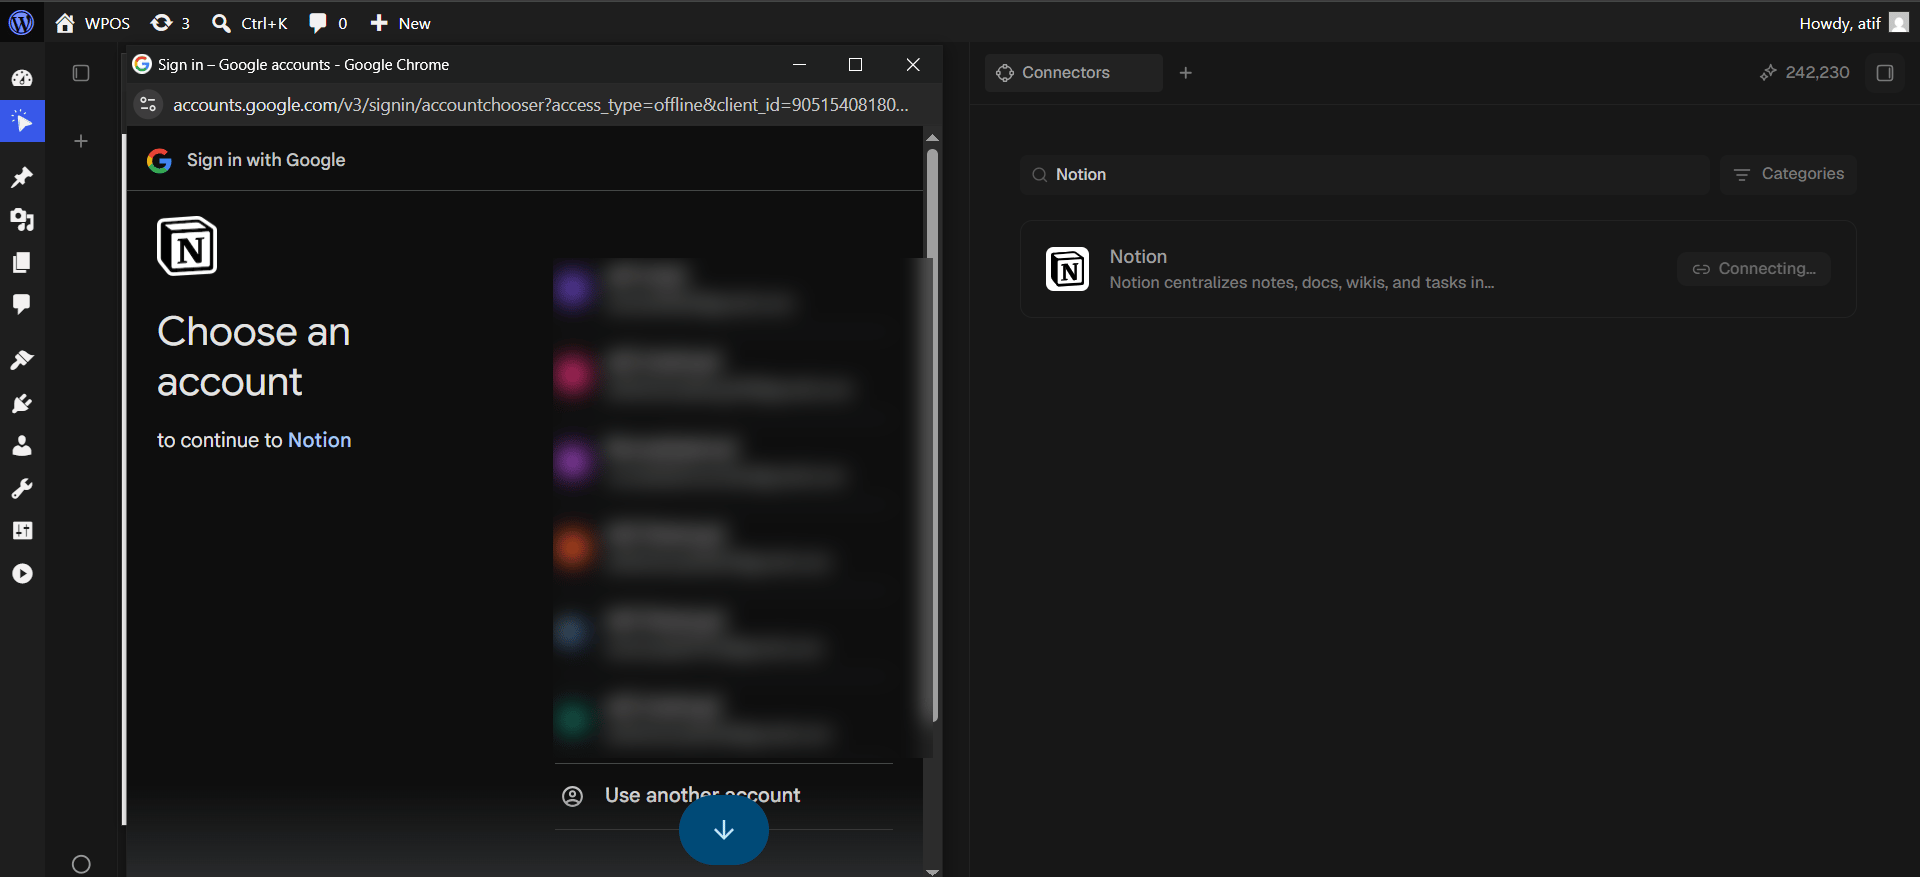
Choose your Google account
If you log in with Google, its account chooser appears headed “to continue to Notion”.
Signing in with Google.
7
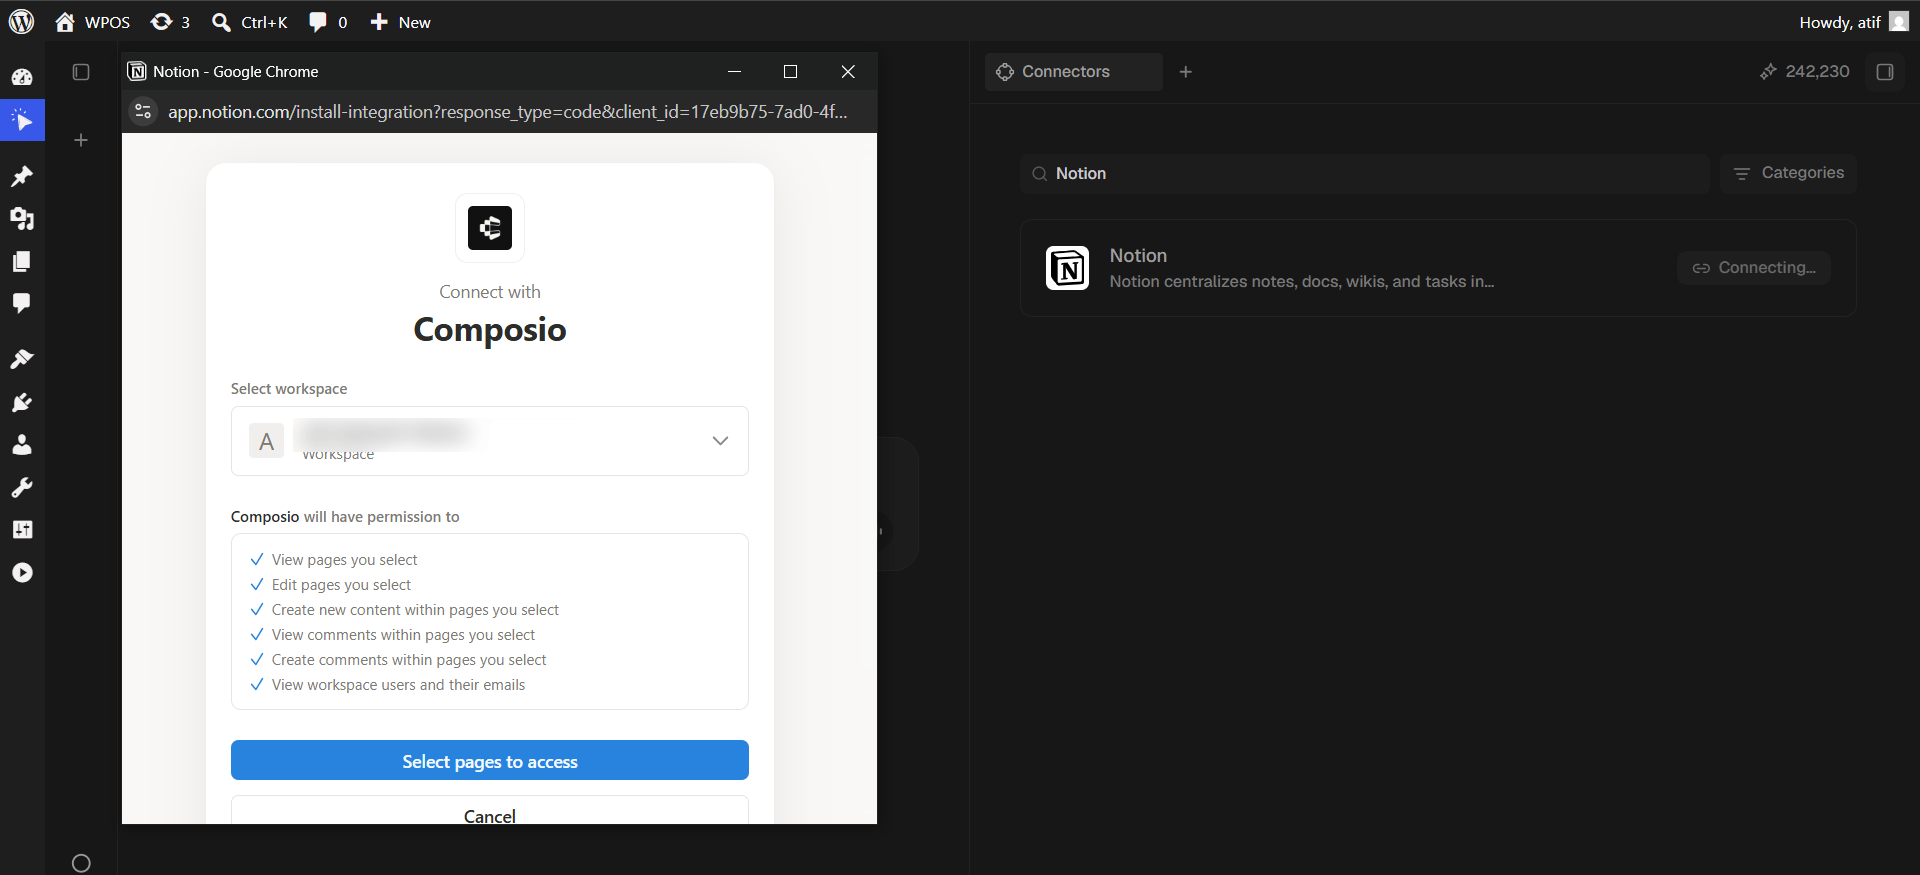
Select the workspace and review permissions
Notion shows “Connect with Composio”. Pick the workspace from the dropdown and review what Composio will be permitted to do: view, edit, and create content in pages you select, view and create comments, and view workspace users and their emails.Click Select pages to access.
Note how often “pages you select” appears.
8
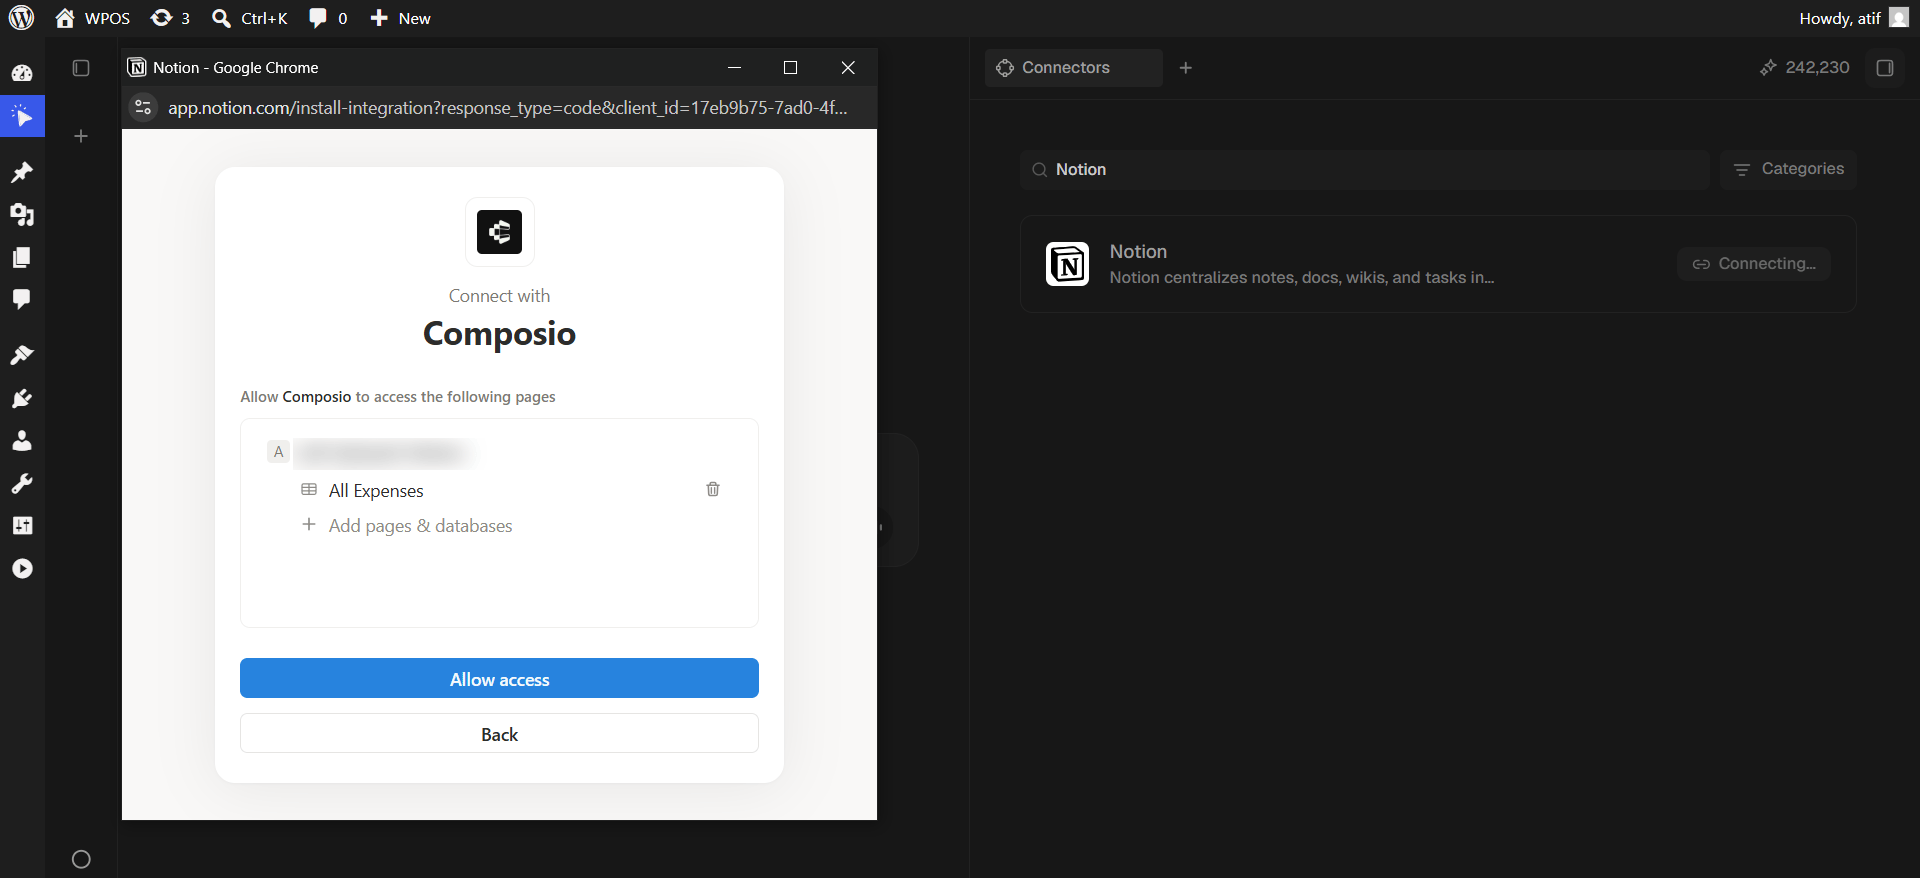
Select the pages to share
Add every page or database WPOS should reach. Selecting a parent page includes its children.
Anything you do not add here is invisible to WPOS. This is the biggest difference between Notion and the other connectors: Notion grants access page by page, never workspace-wide. It is also the most common cause of “page not found” later.
Click Allow access.
Only the pages listed here are visible to WPOS.
9
Confirm in WPOS
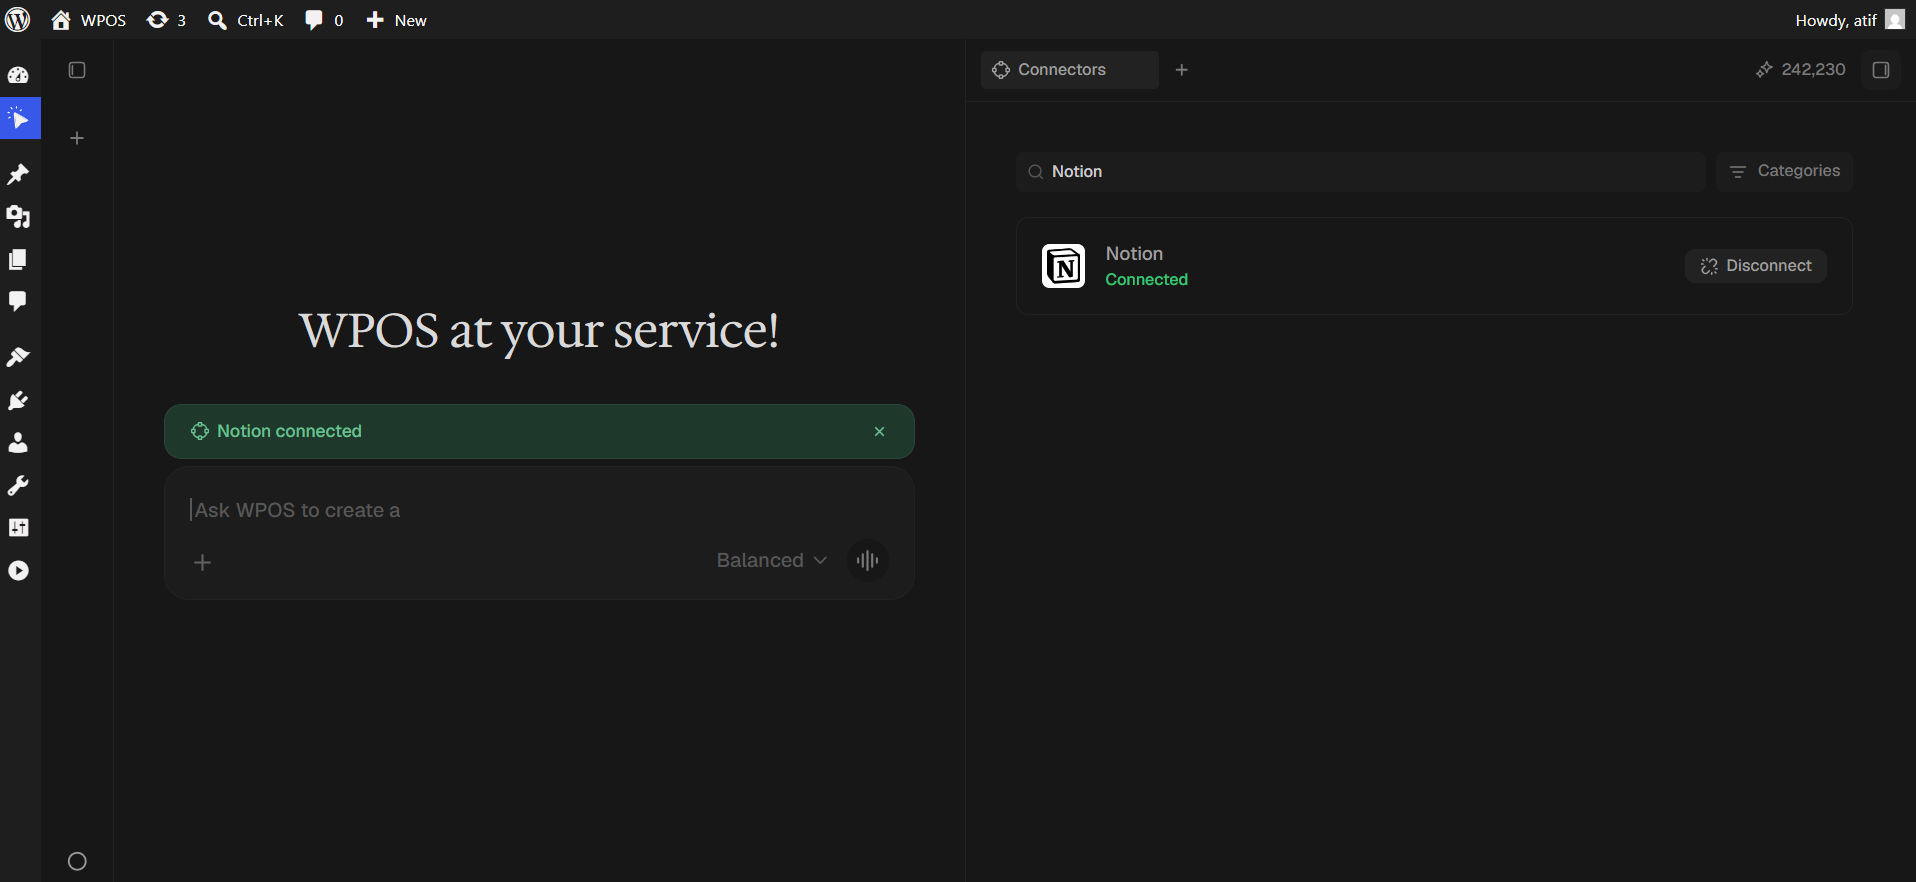
The row reads Connected and a green “Notion connected” banner appears in the chat.
It was not shared with the integration. In Notion, open the page, then the more menu, then Connections, and add WPOS. Or disconnect and reconnect, ticking more pages.
Newly created pages are invisible
A page created outside a shared parent is not shared automatically. Create pages inside an already shared parent, or share each new one explicitly.
Database properties do not map cleanly
Relations, rollups, and formulas have no WordPress equivalent. Title, text, select, date, number, and checkbox transfer reliably.
Formatting is lost on publish
Headings, paragraphs, lists, quotes, code, and images transfer well. Toggles, synced blocks, columns, and embeds do not.
For popup failures, expired connections, and other issues shared across every
connector, see Introducing Connectors.